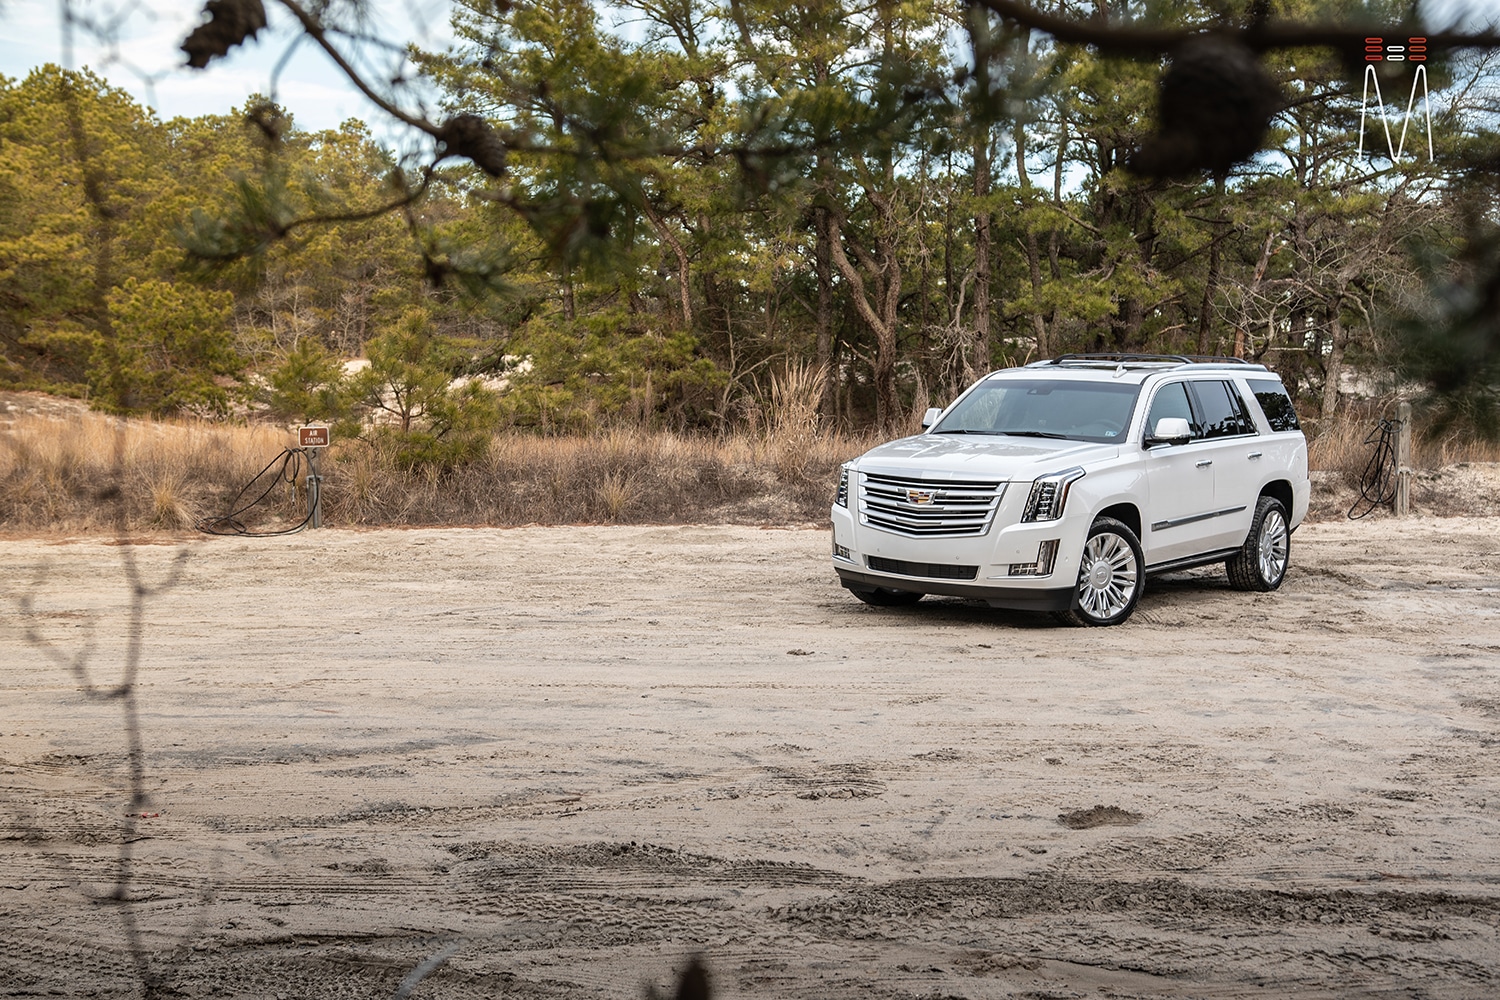
2019 Cadillac Escalade Platinum
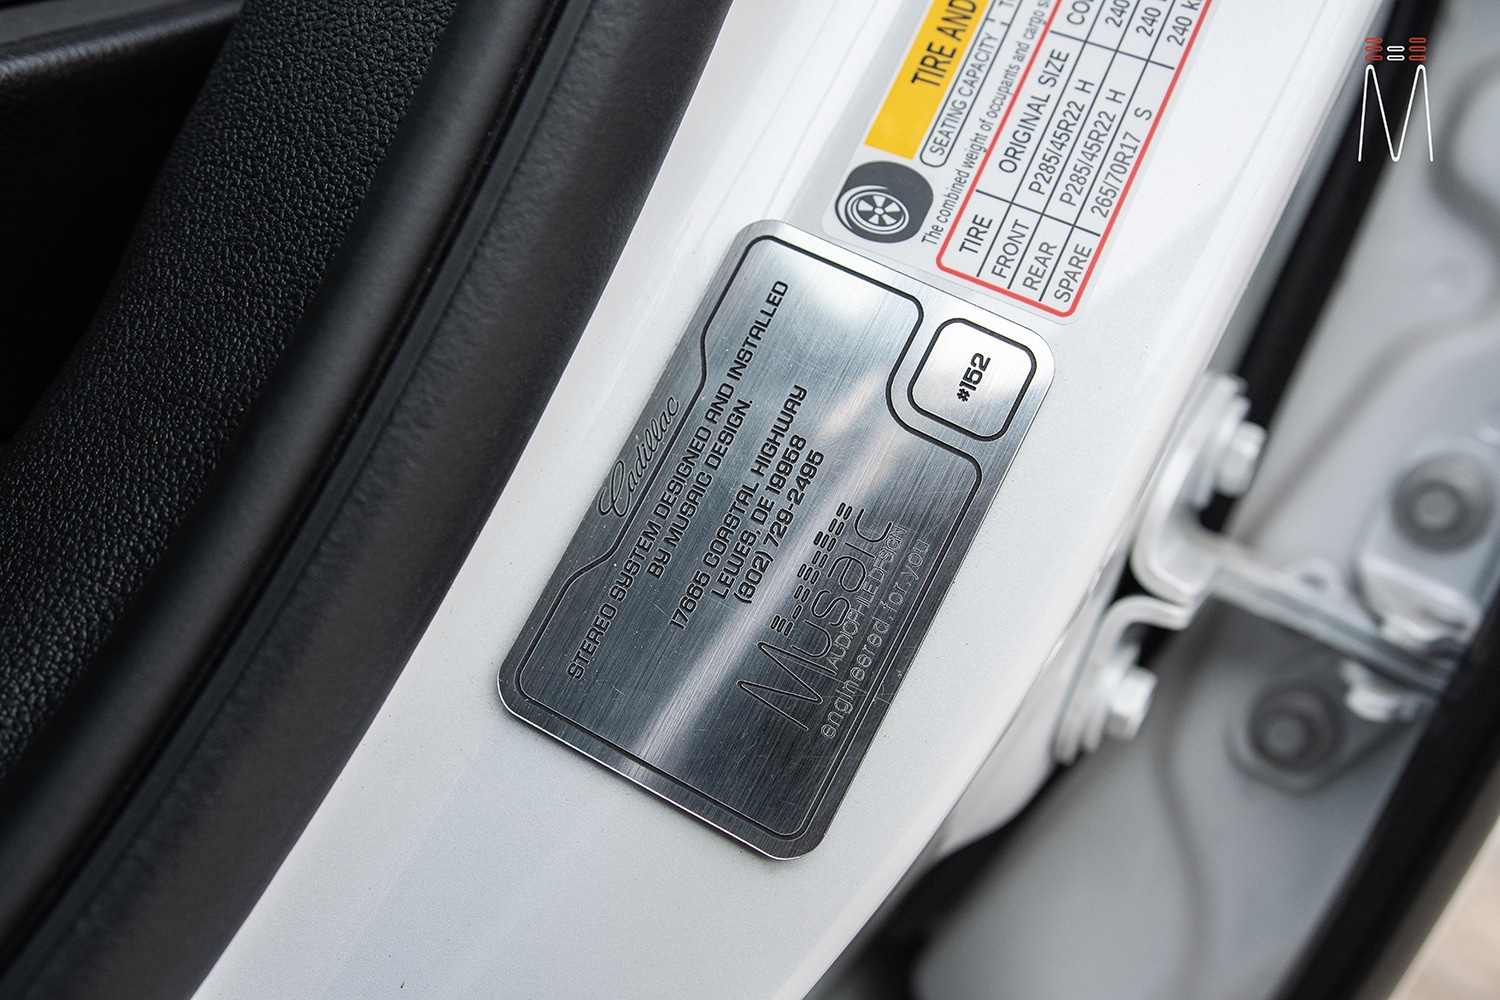
Install By:
Matt Schaeffer
Musaic Design / Sound FX Car
17665 Coastal Highway
Lewes, DE 19958
(302) 729-2495
View: Musaic Design / Sound FX
Products Used:
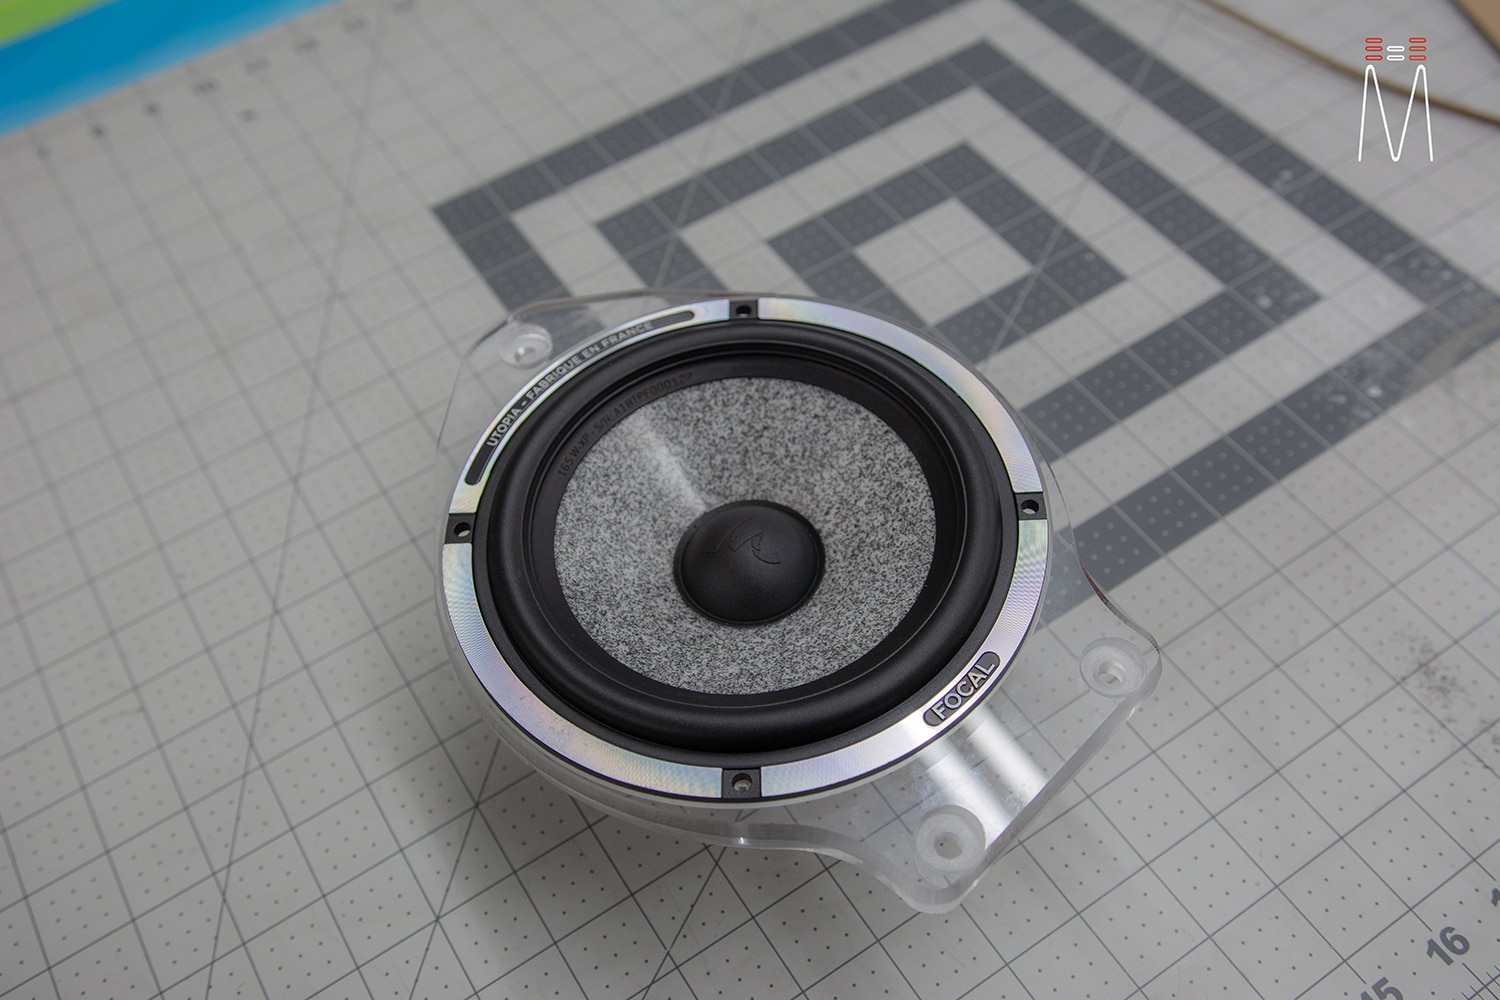
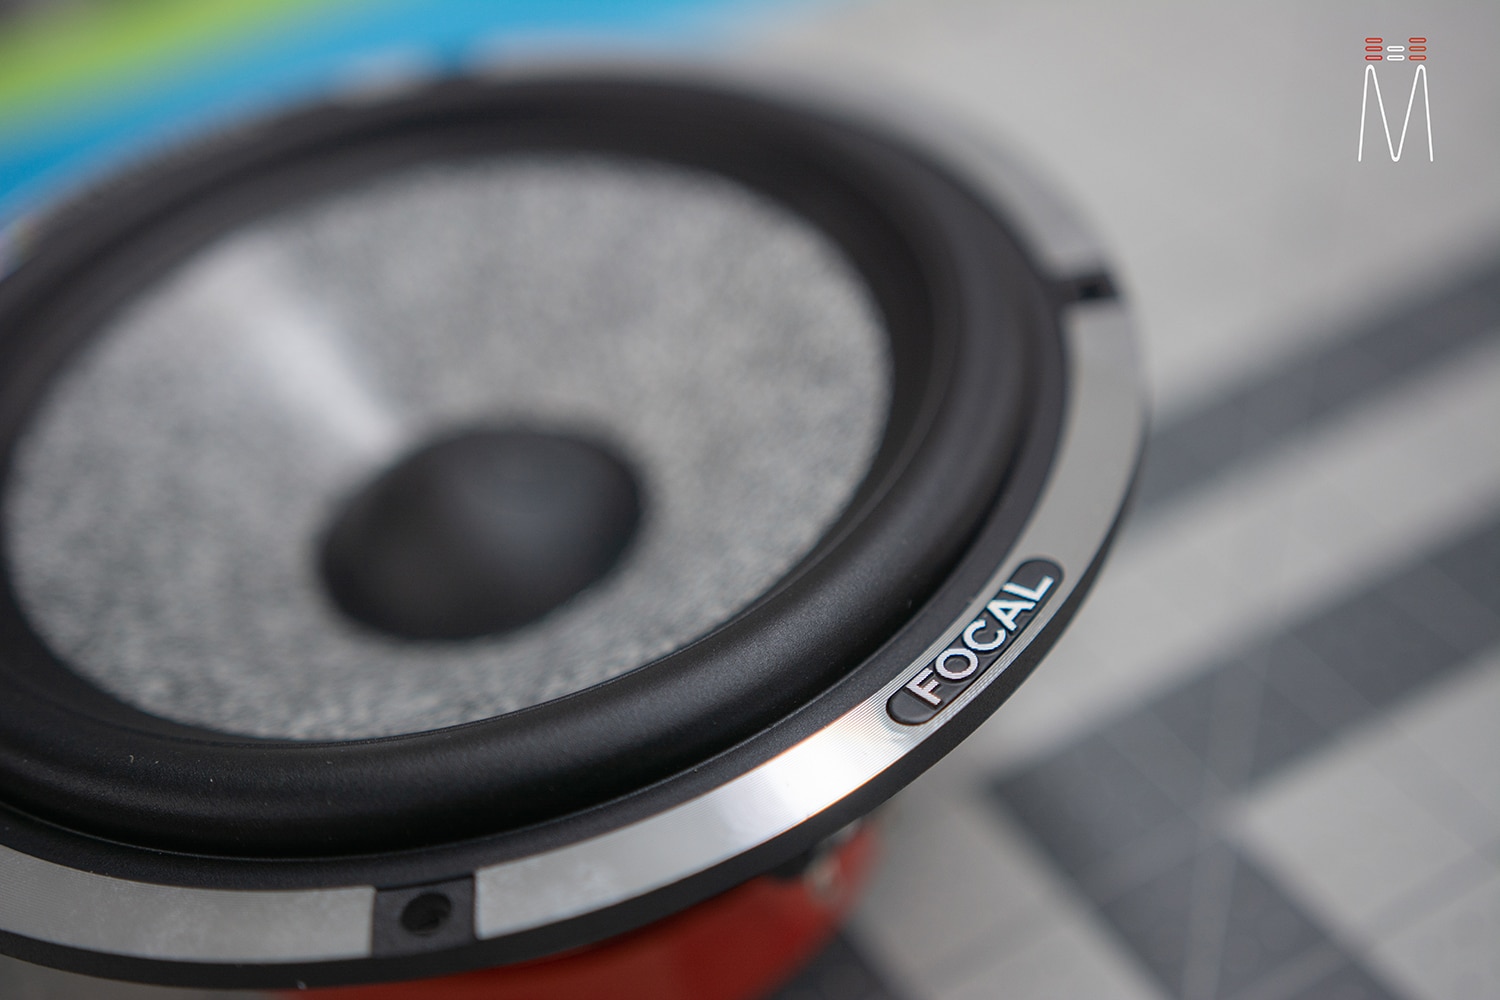
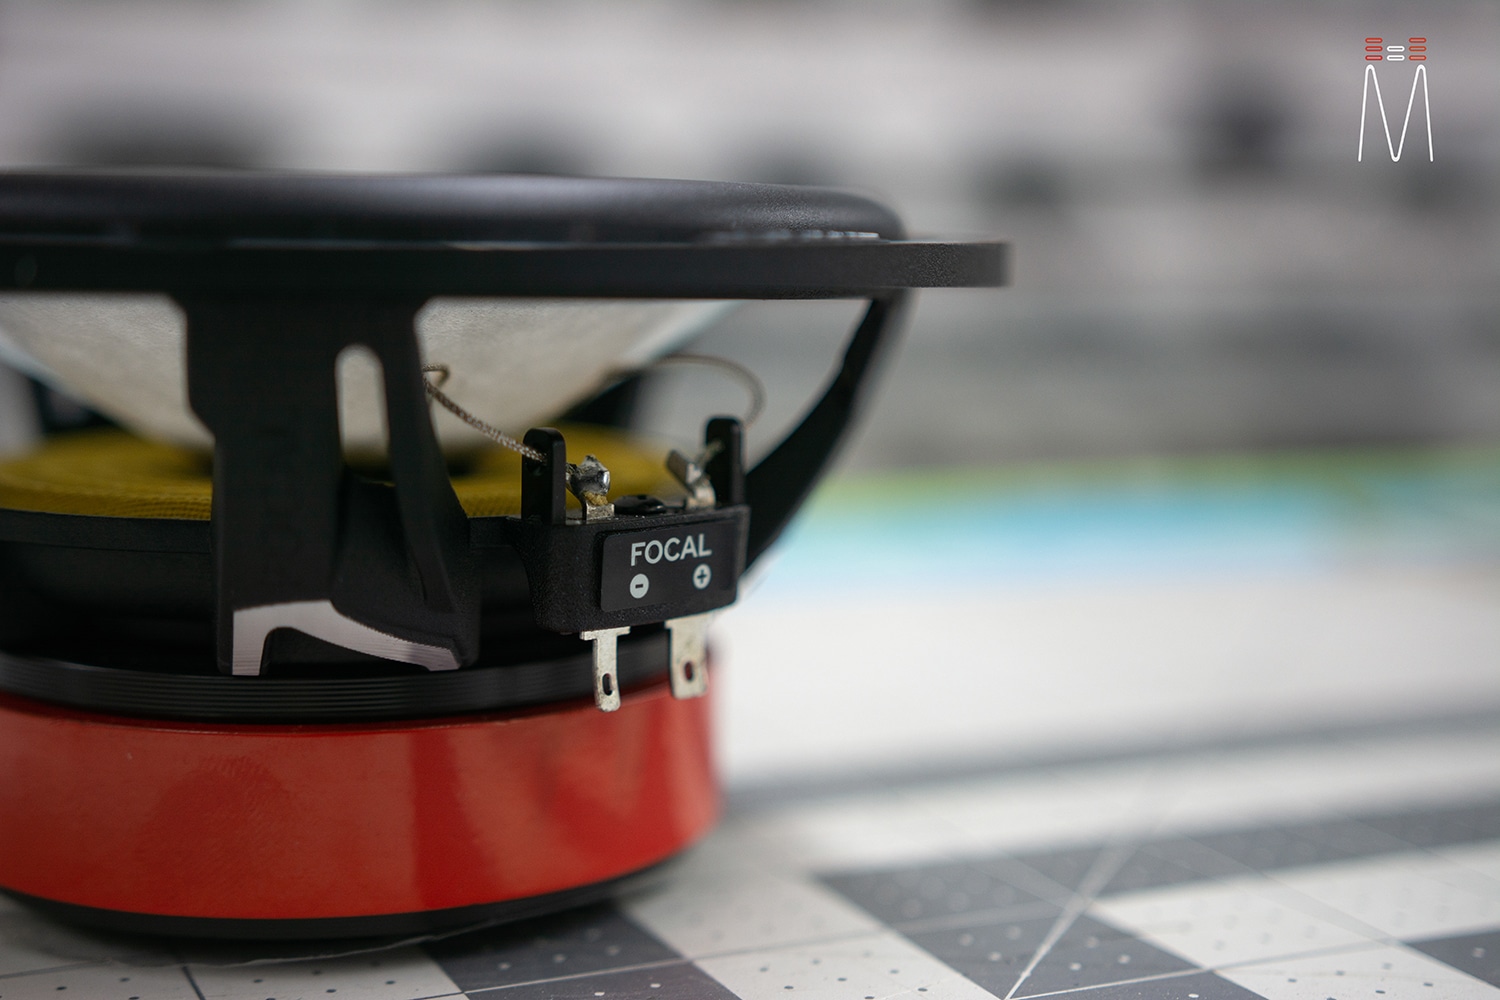
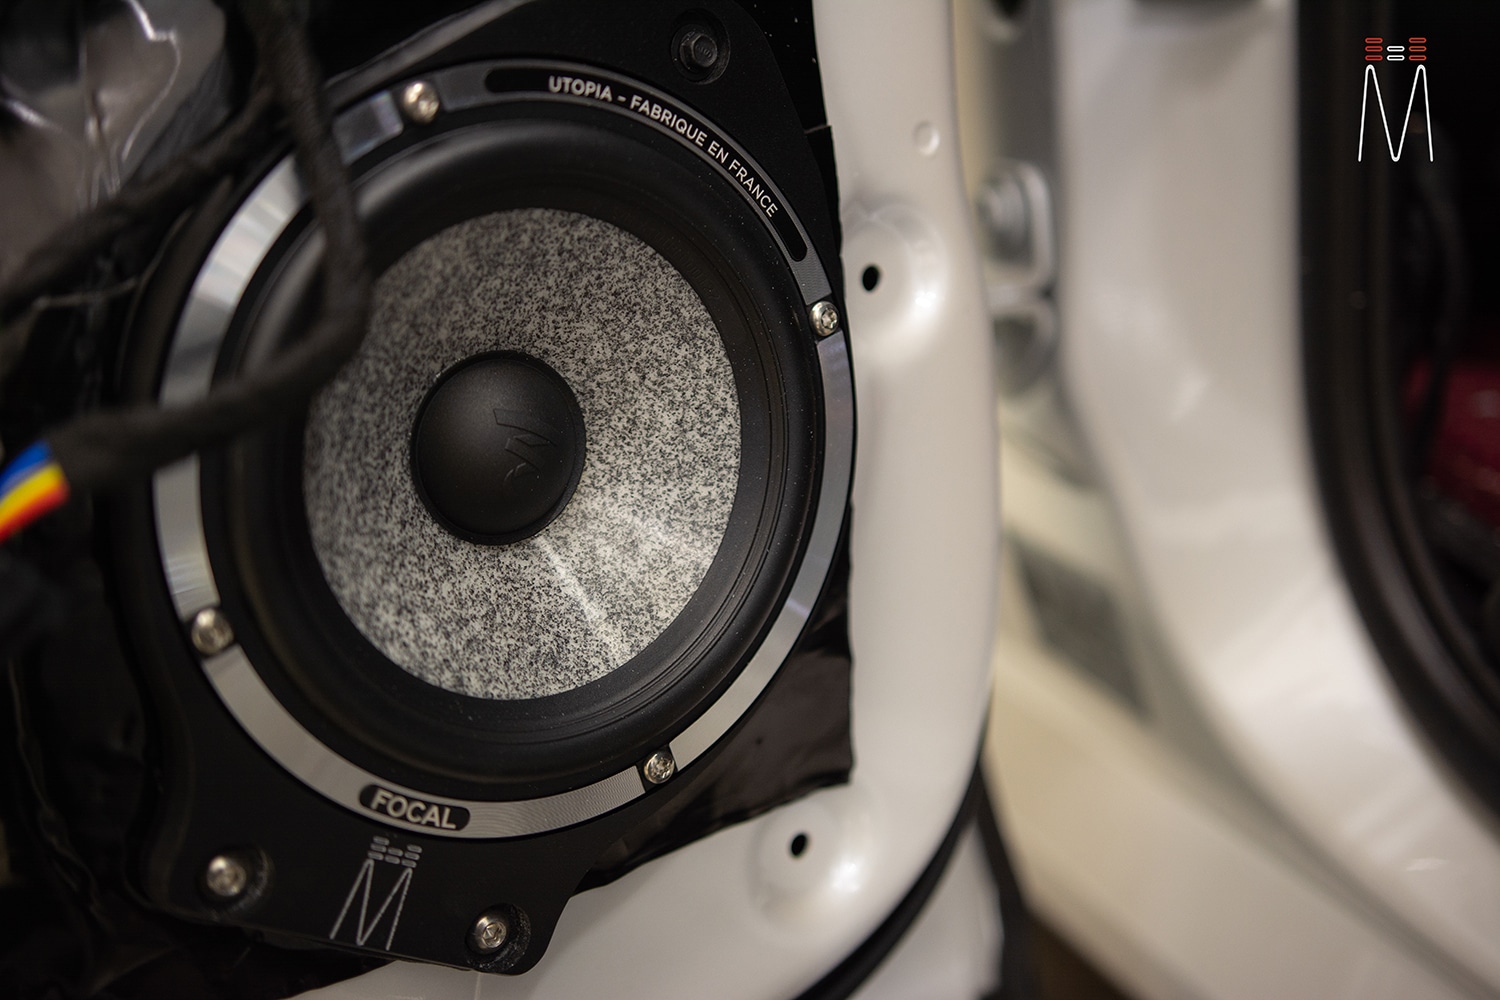
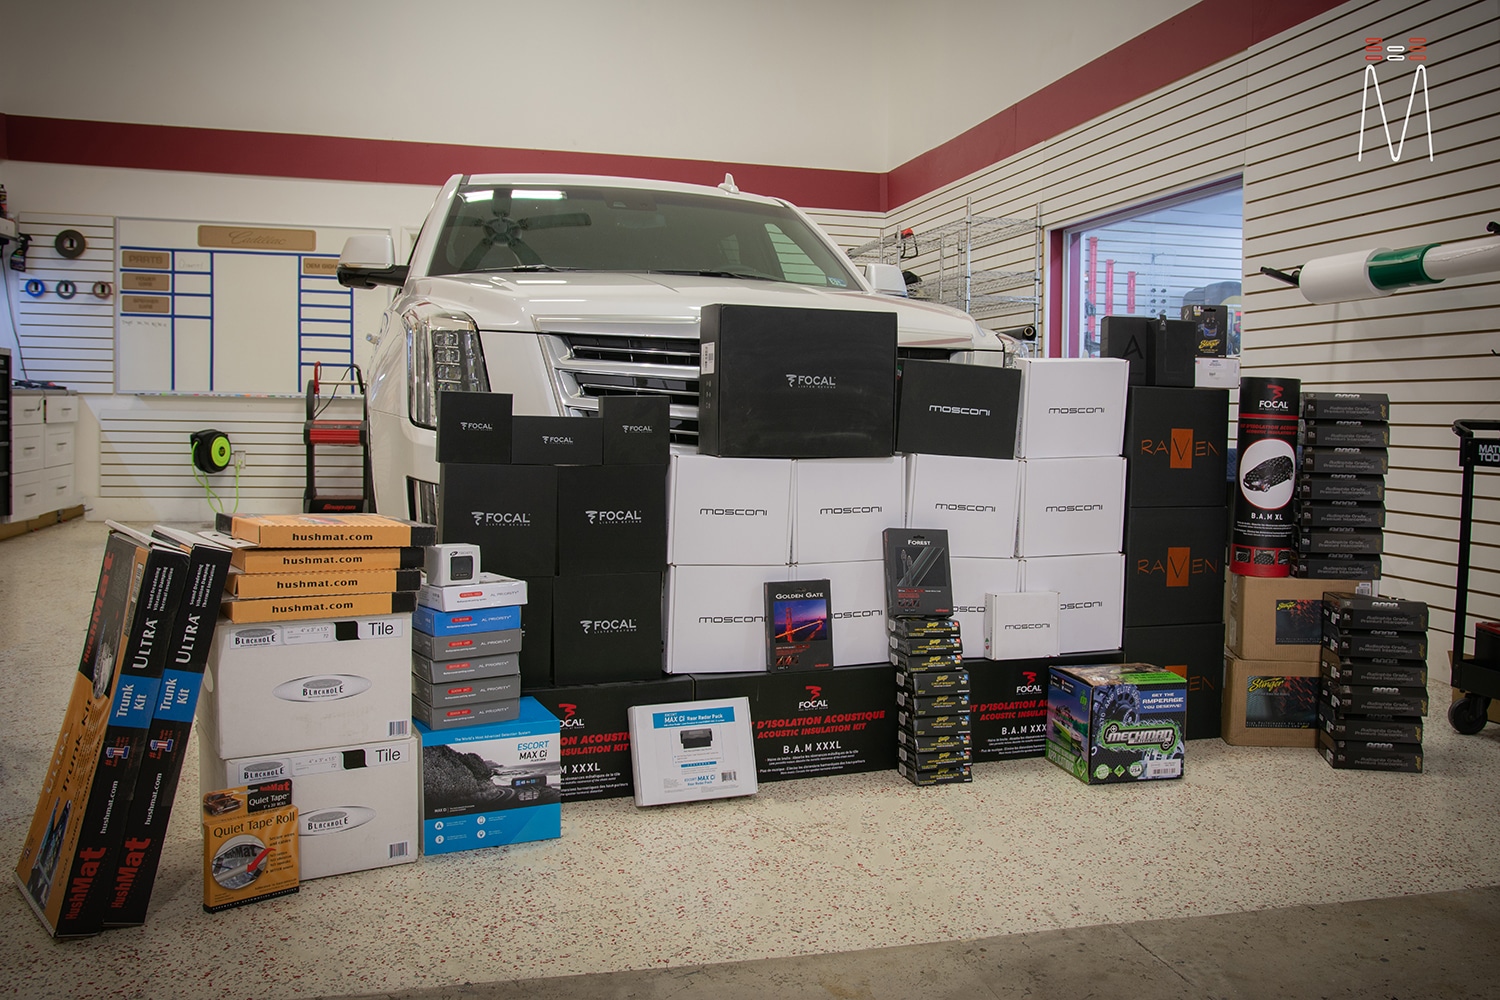
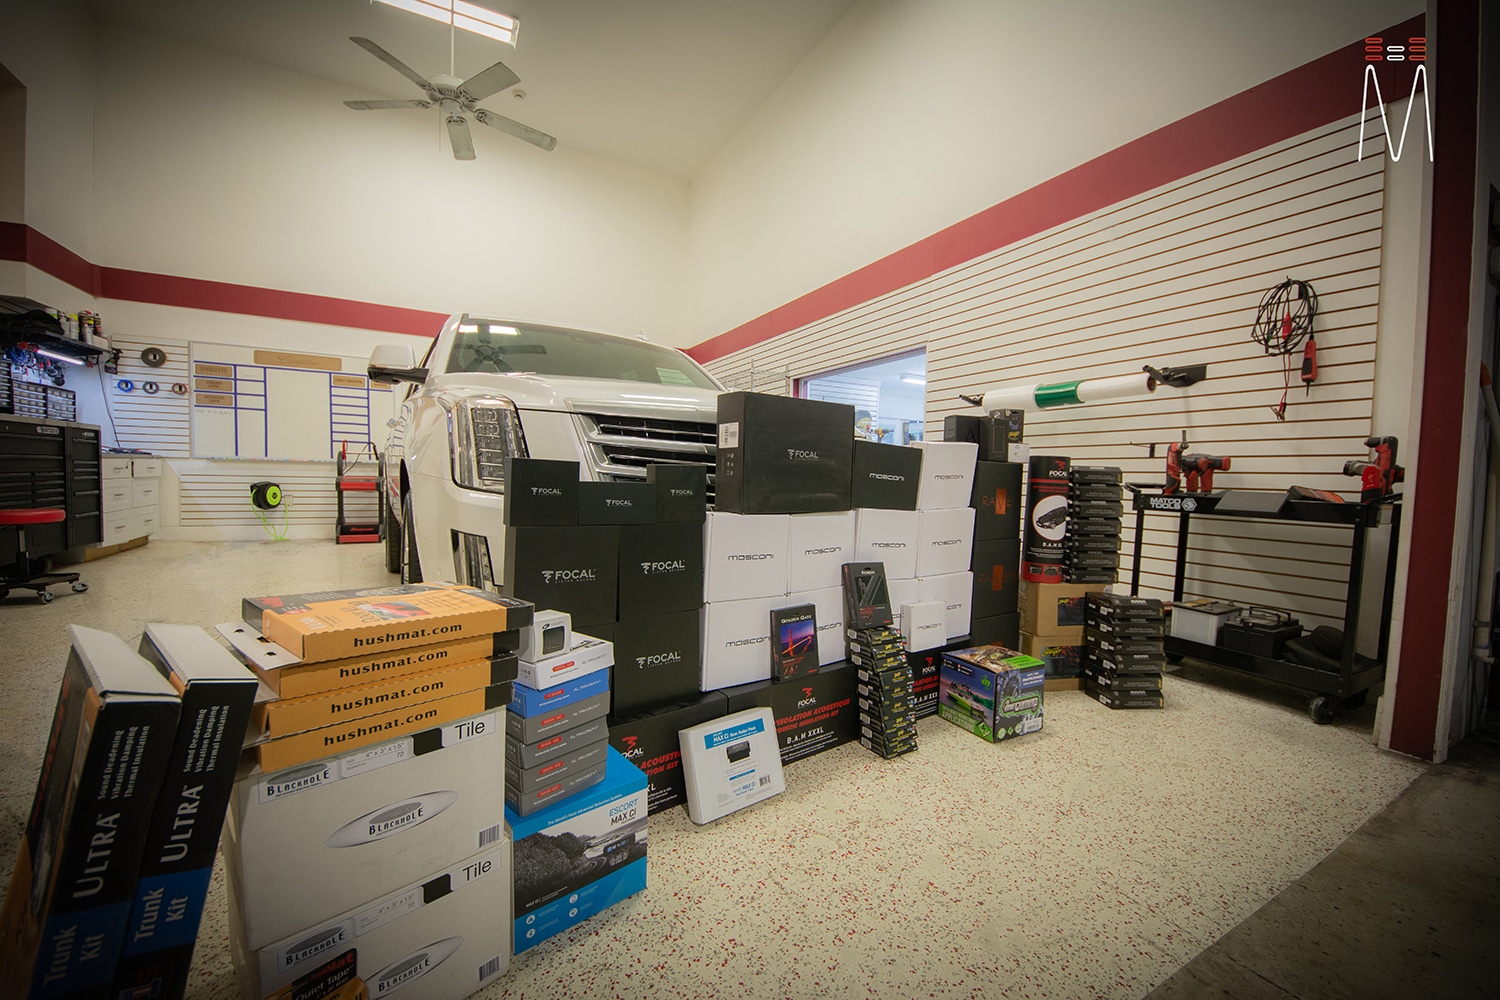
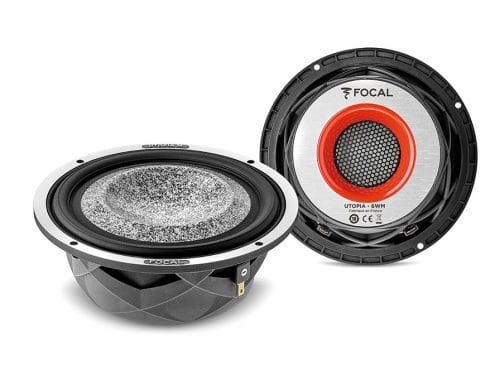
- Focal Utopia M 6 WM
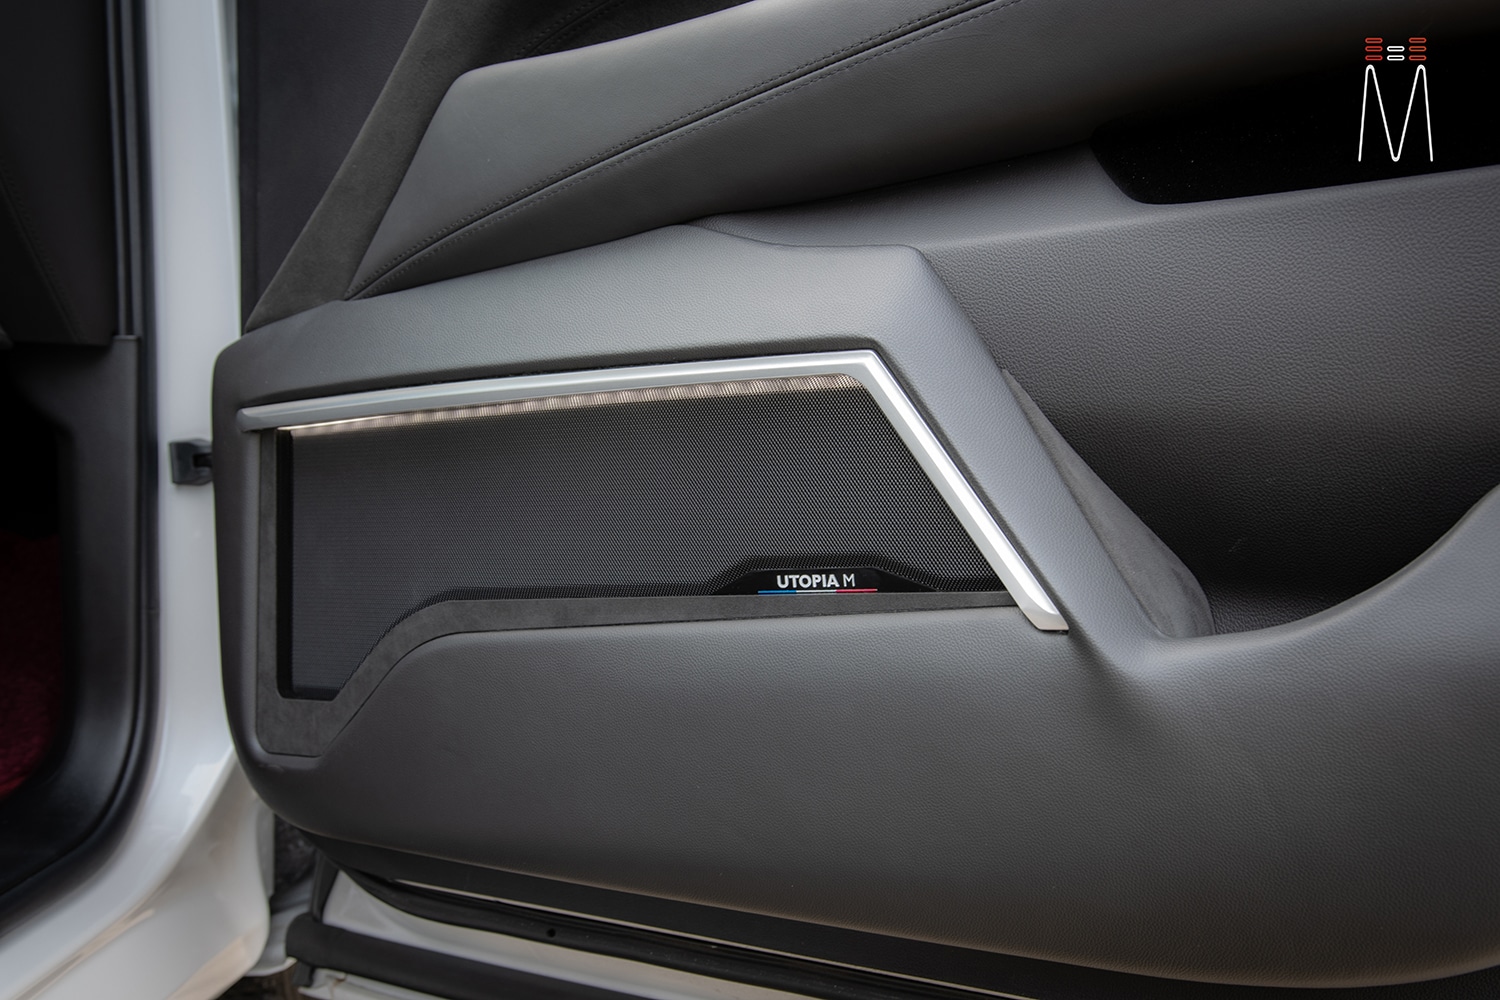
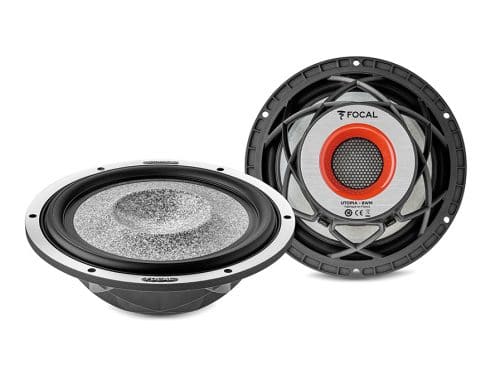
- Focal Utopia M 8 WM (4)
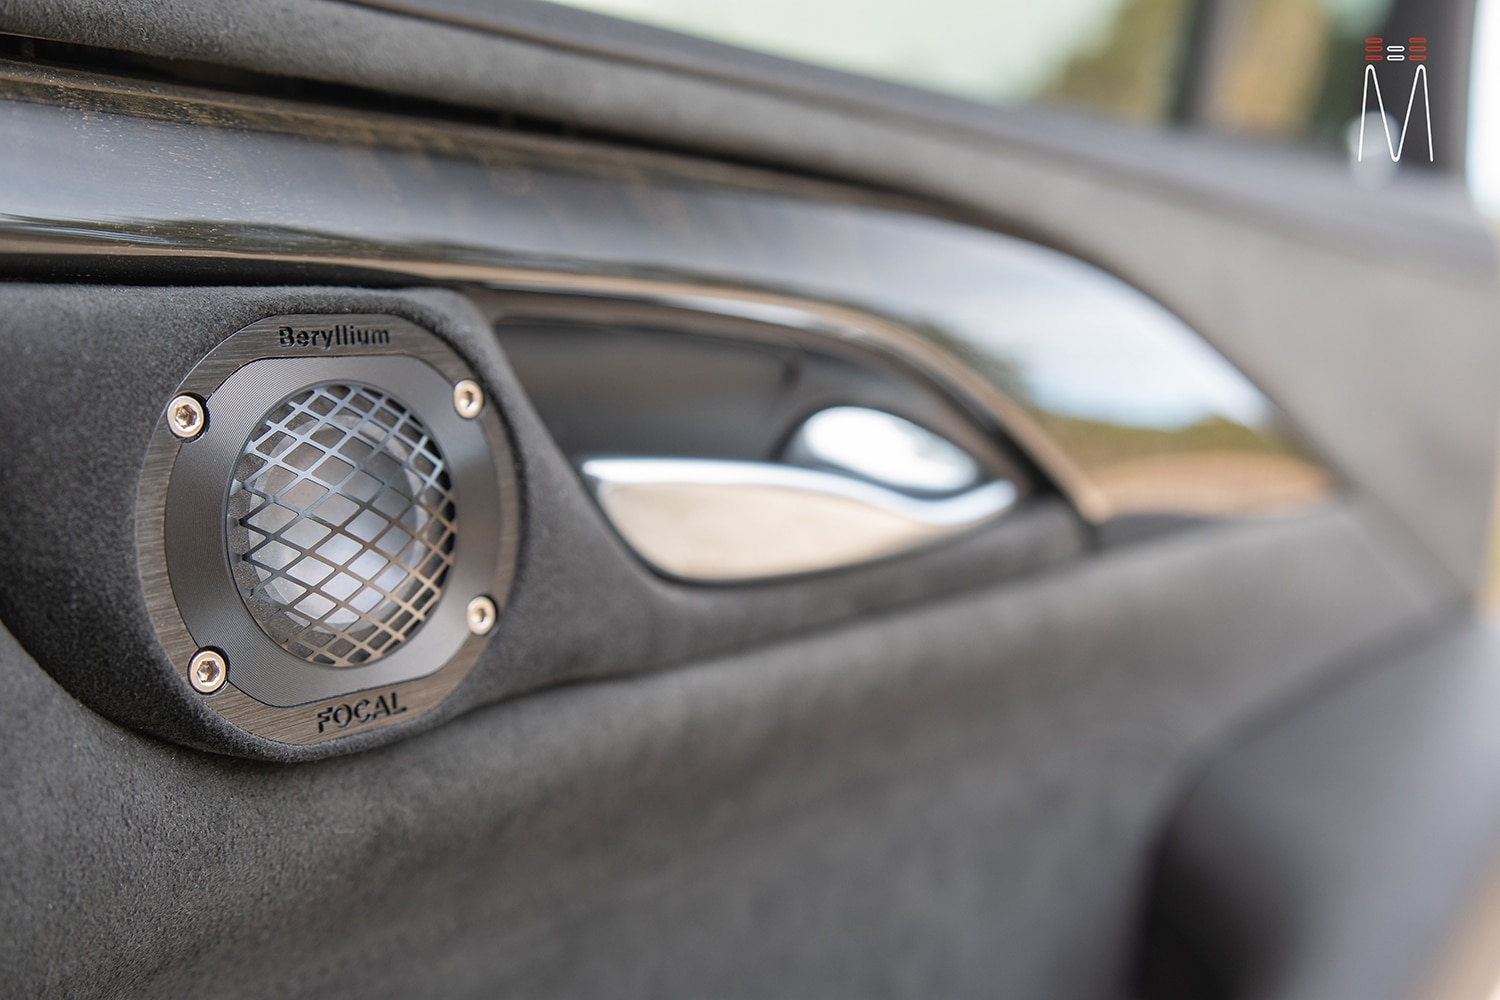
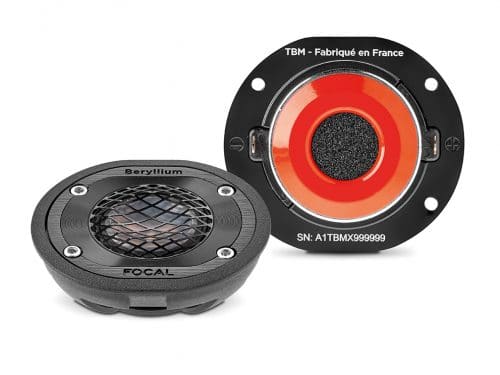
- Focal Utopia M TBM Tweeters
- Focal BAM XL
- Focal BAM XXXL
- Blackhole Tile
- Raven 10XL Subwoofer (2)
- Mosconi Pro 1|10 (6)
- Mosconi Pro 4|10 (3)
- Mosconi 8to12 Aerospace DSP
- Mosconi AMAS96K BT
MORE BY THIS INSTALLER:
Notes
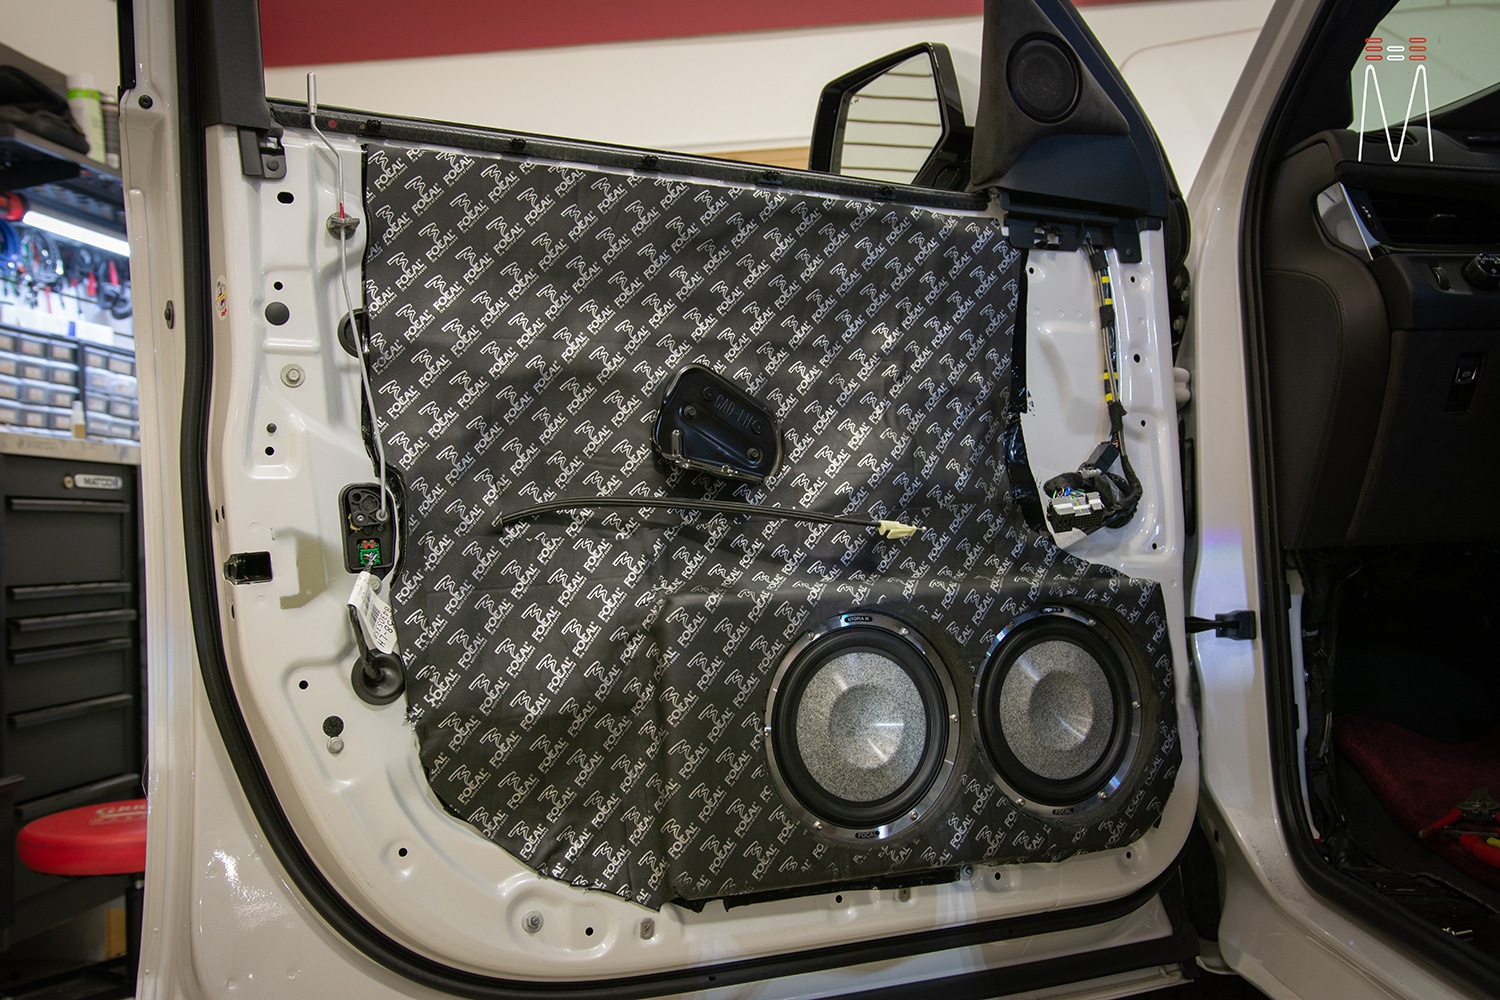
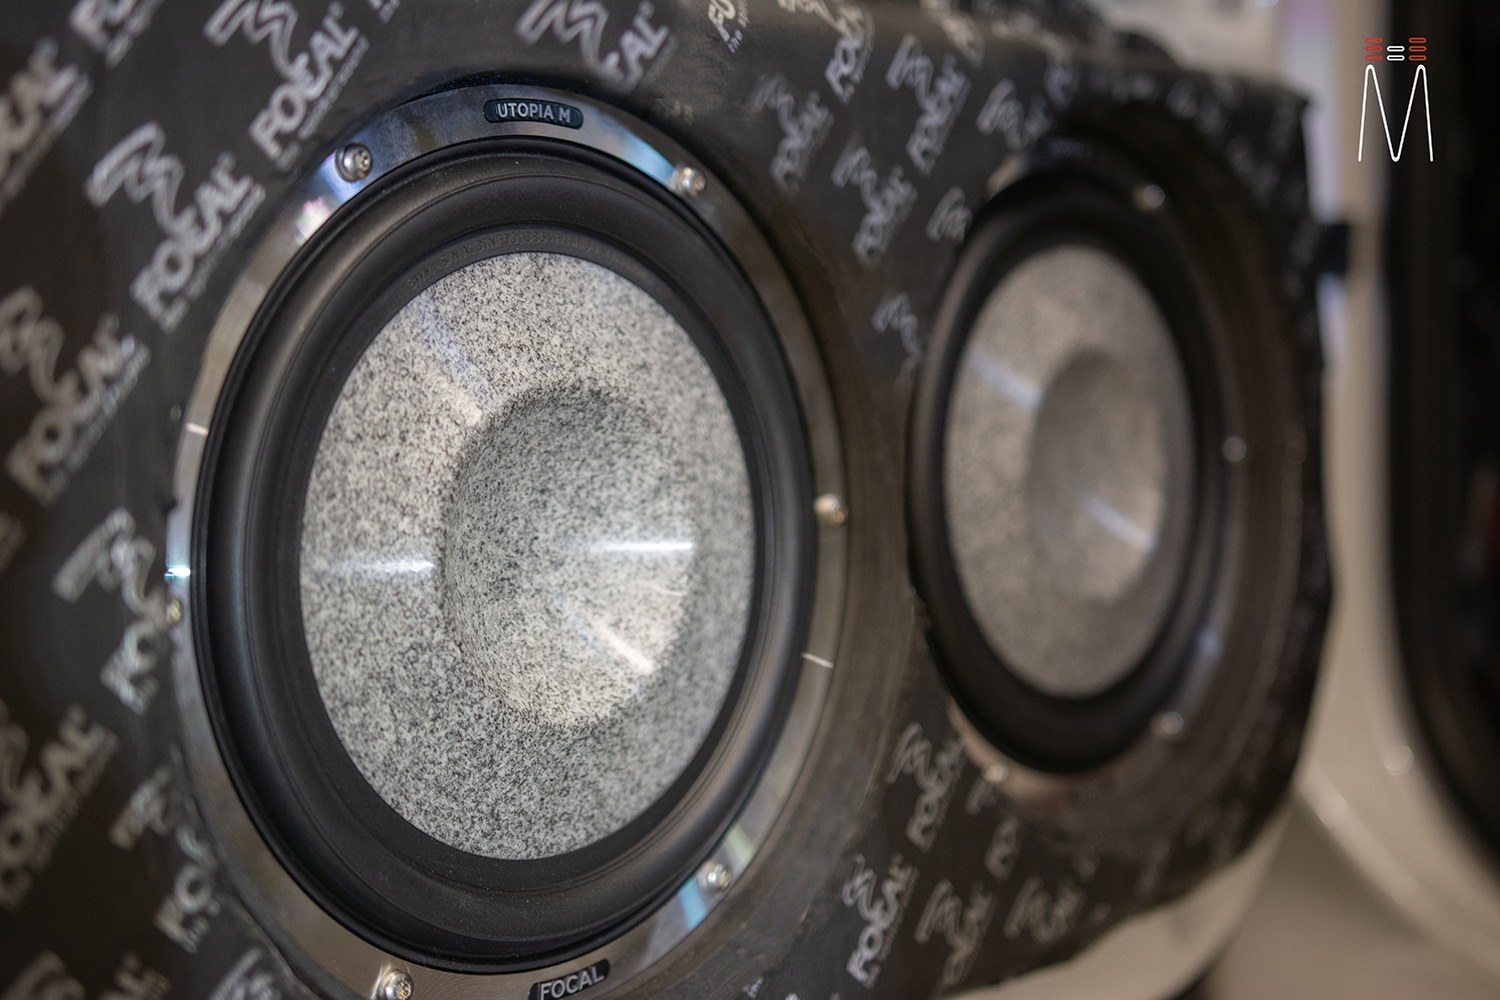
“This job was one for the ages. The goals for this particular job revolved around creativity, OEM integration, sound quality, serviceability and functionality. This 2019 Cadillac Escalade Platinum will be this users daily driver. We chose a unique direction with the audio system. This would include a double mid-bass approach up front housing two 8” Focal Utopia M drivers per door and a total of over 540 individual pieces of trim for this build.
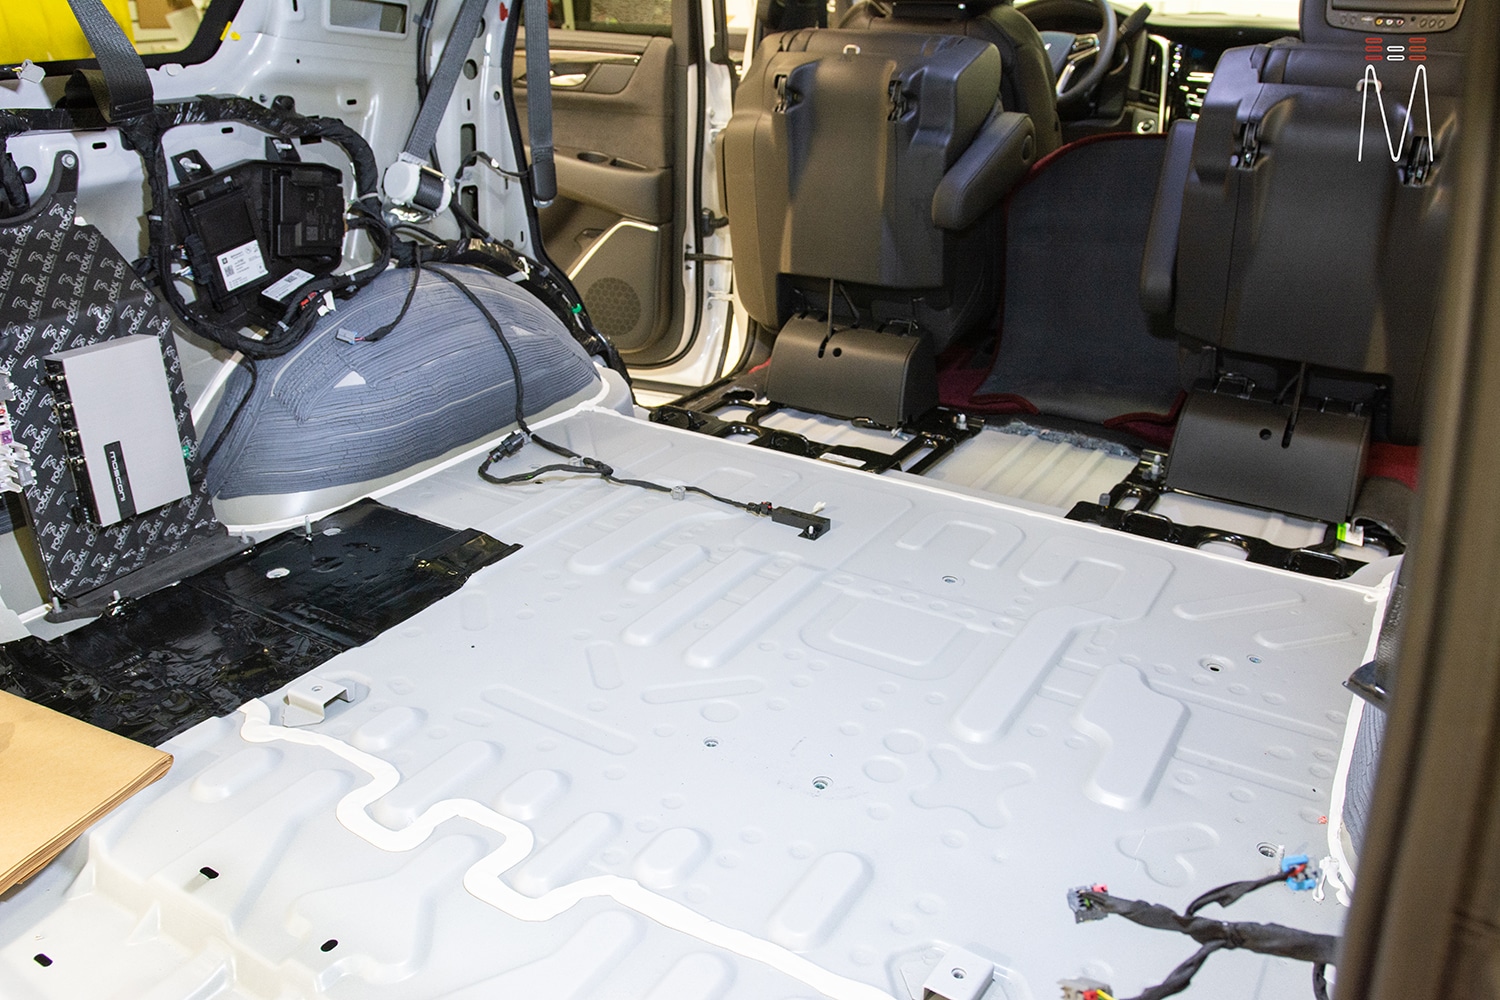
Talking with Nick Wingate months ago, he had suggested that if we ever had the opportunity to power each speaker in the car with a Mosconi Pro 1/10, that we should do it. Talking with this client and his expectations and goals for this build, this seemed to be the answer. He wanted to something that pushed the boundaries of sound quality and design integration. He was willing to remove the third row seat to implement our equipment. When asked about this being functional cargo space, he stated he wanted the trunk to be more of a show piece. So we quickly got to work on figuring how we would get all of this equipment to fit in a sense that everything could be serviced fairly quickly if need be.
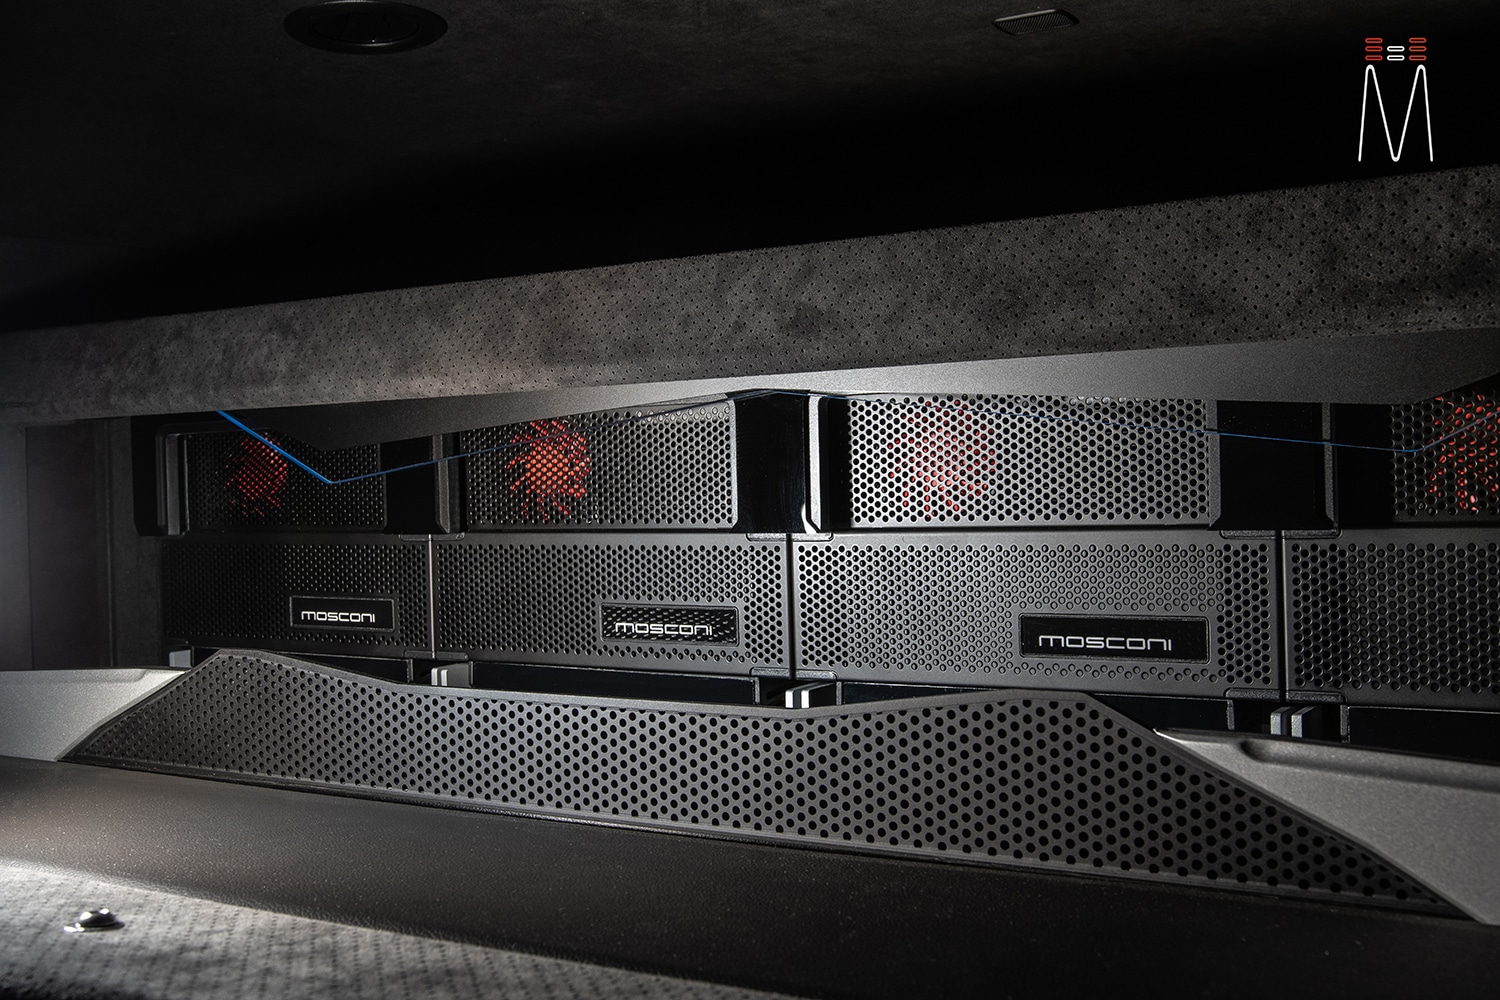
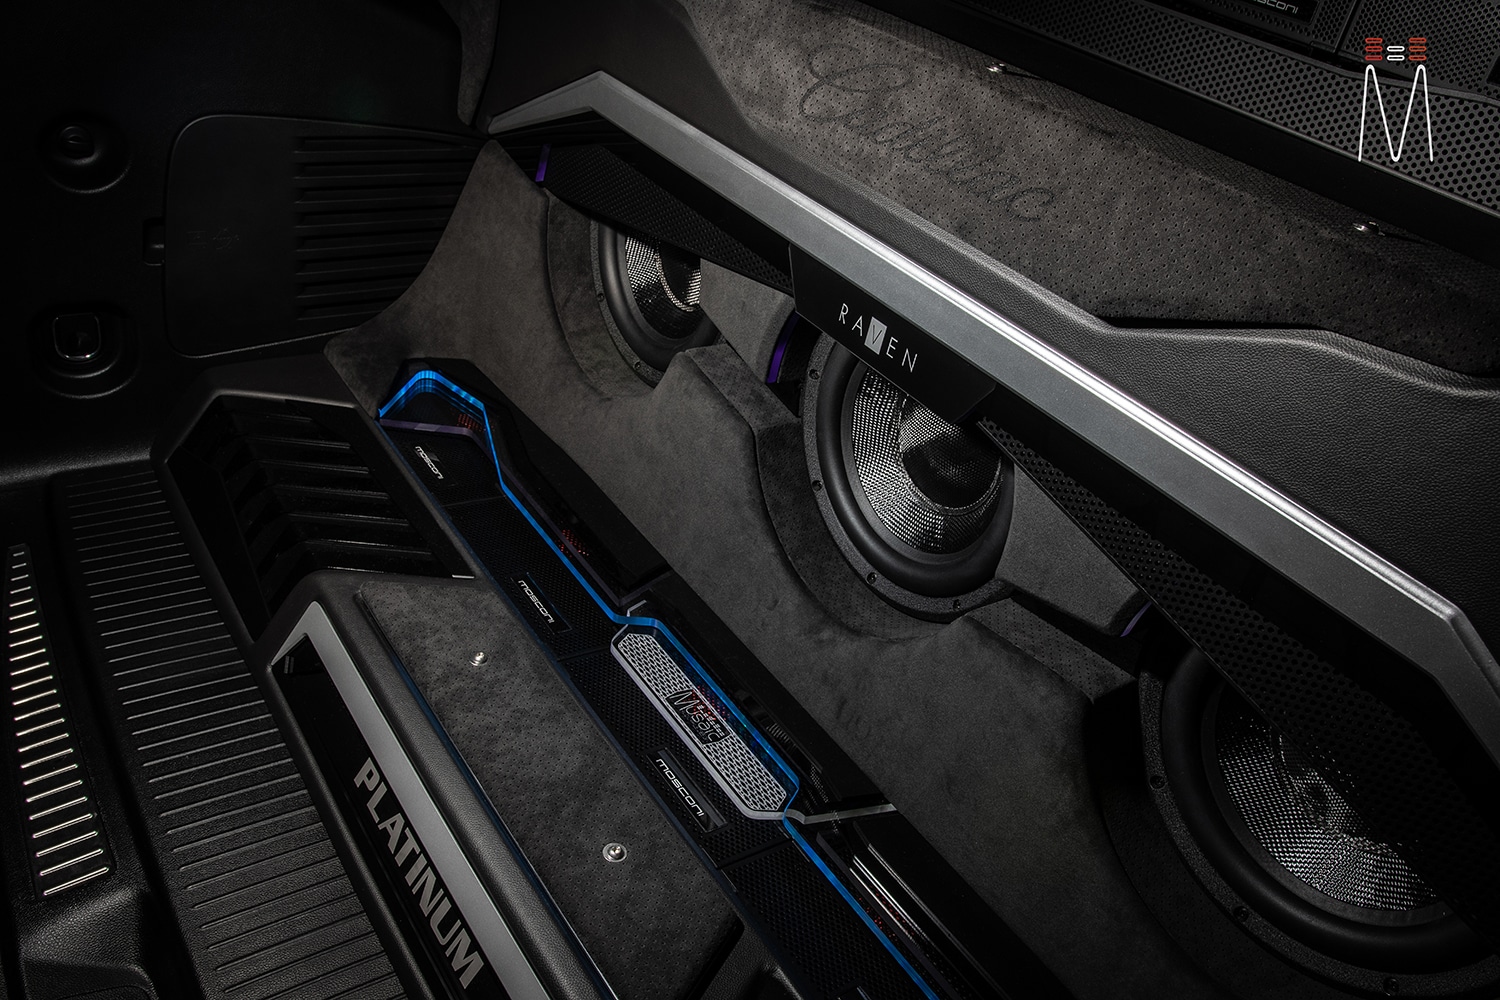
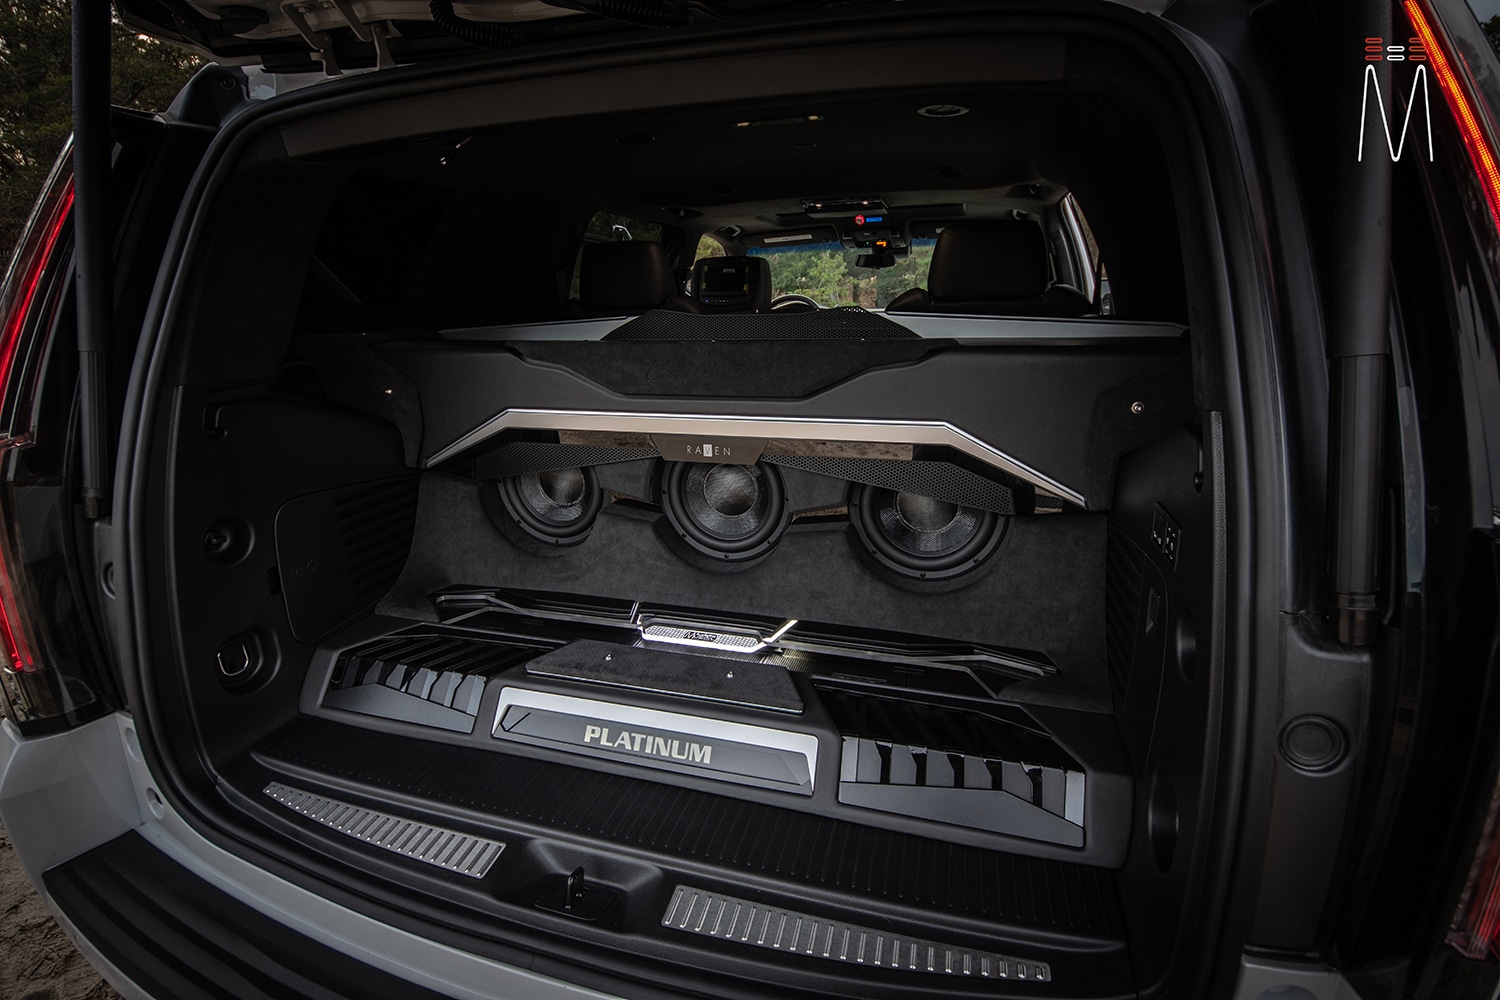
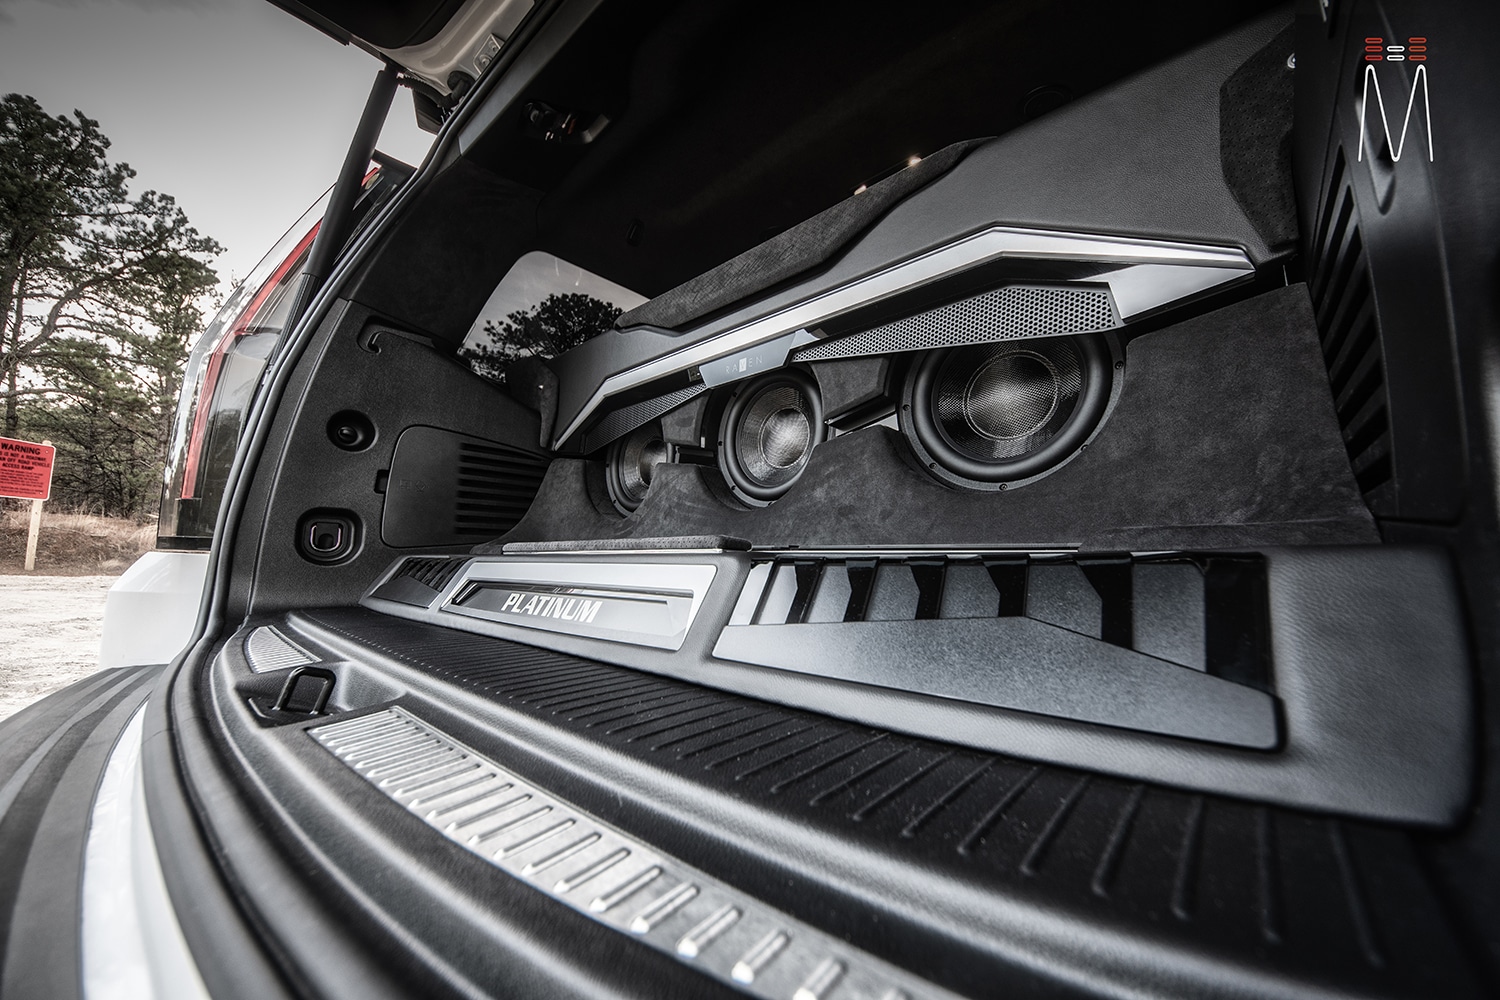
This audio system consists of nine Mosconi Pro Amplifiers. Each 8” mid-bass runs off their own Mosconi Pro 1/10 (A Class mode). Each Raven 10” subwoofer runs off its own Mosconi Pro 1/10 (D Class mode). A Mosconi Pro 4/10 was used to power the front Focal Utopia M midrange and tweeters. The final amplifier, also a Mosconi Pro 4/10, powers the rear Focal Utopia M 6-1/2” component set. A total of 13 speakers creates the ultimate sound quality experience.
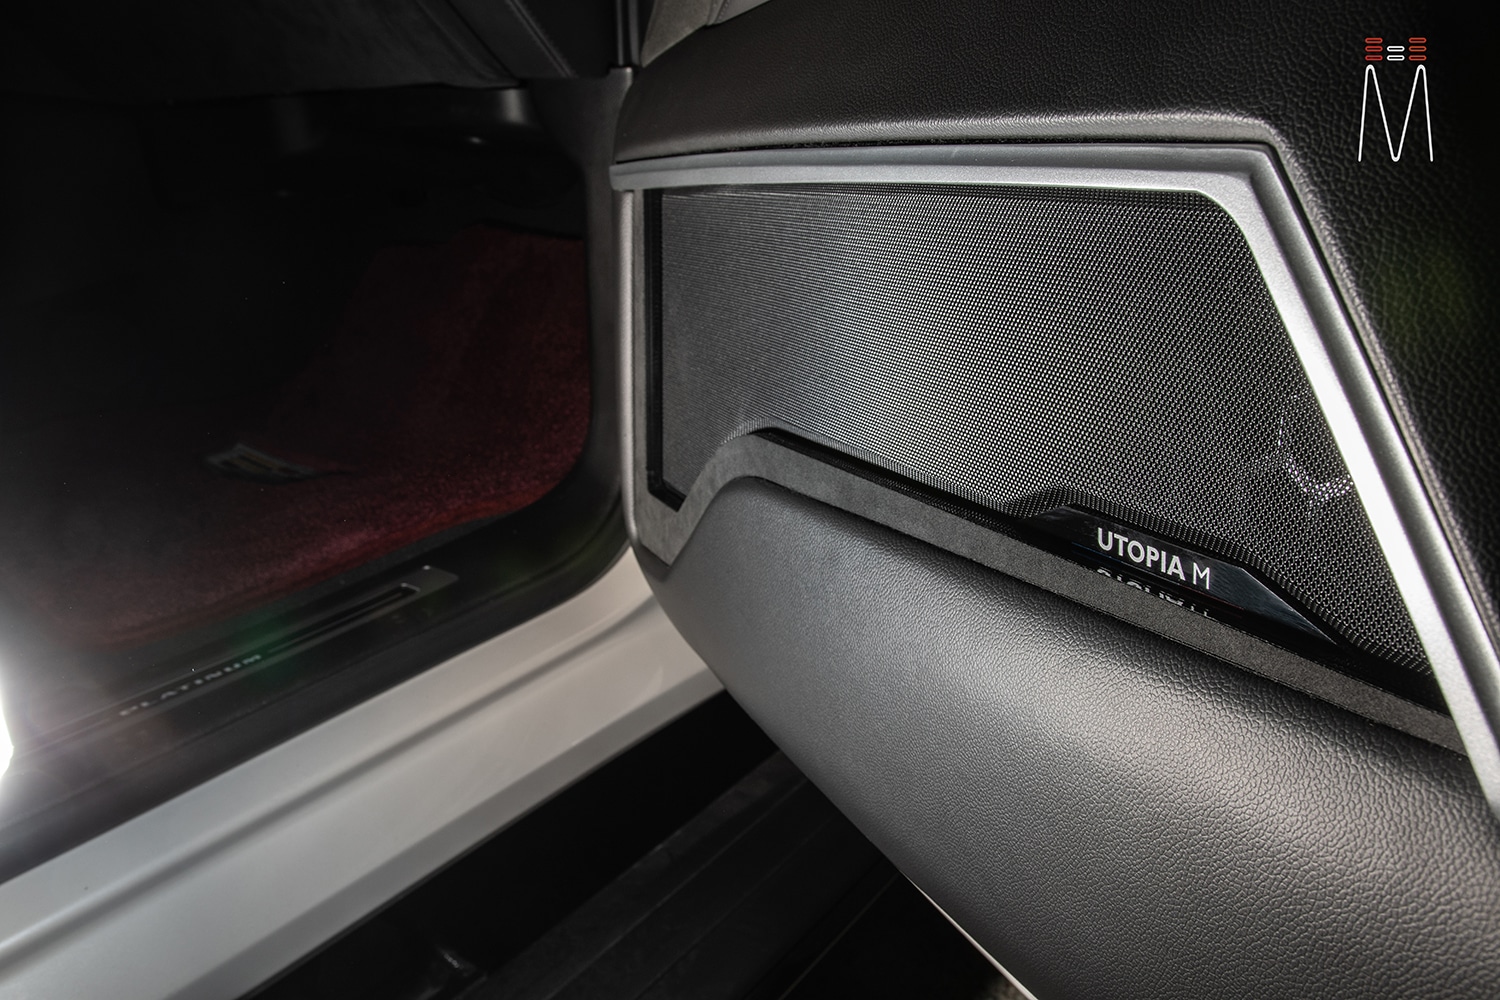
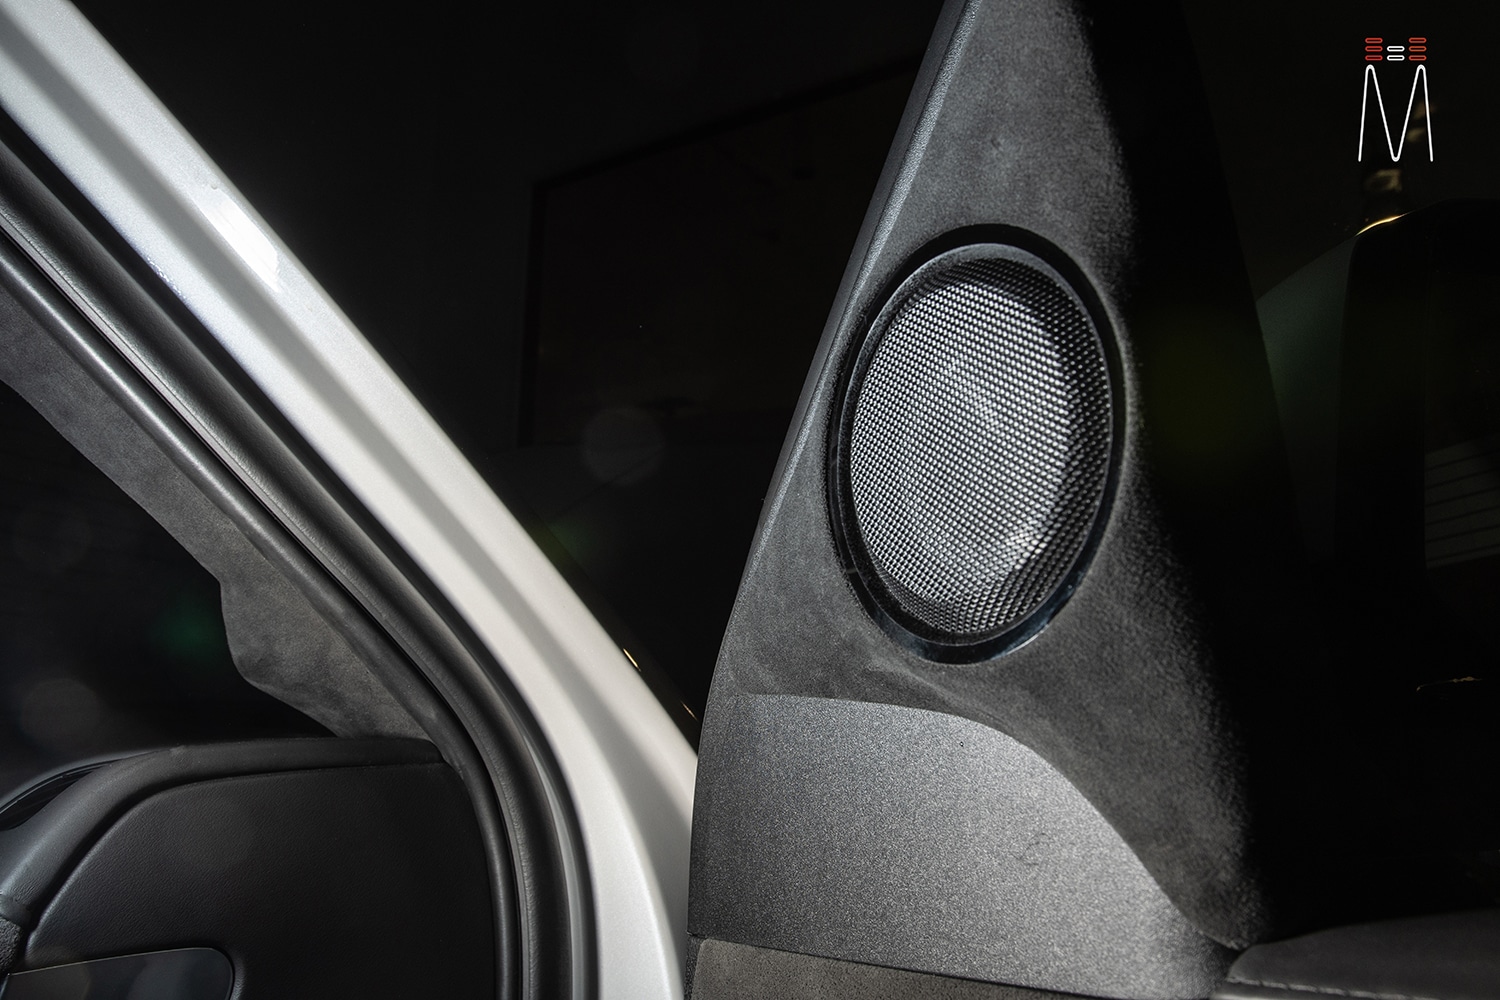
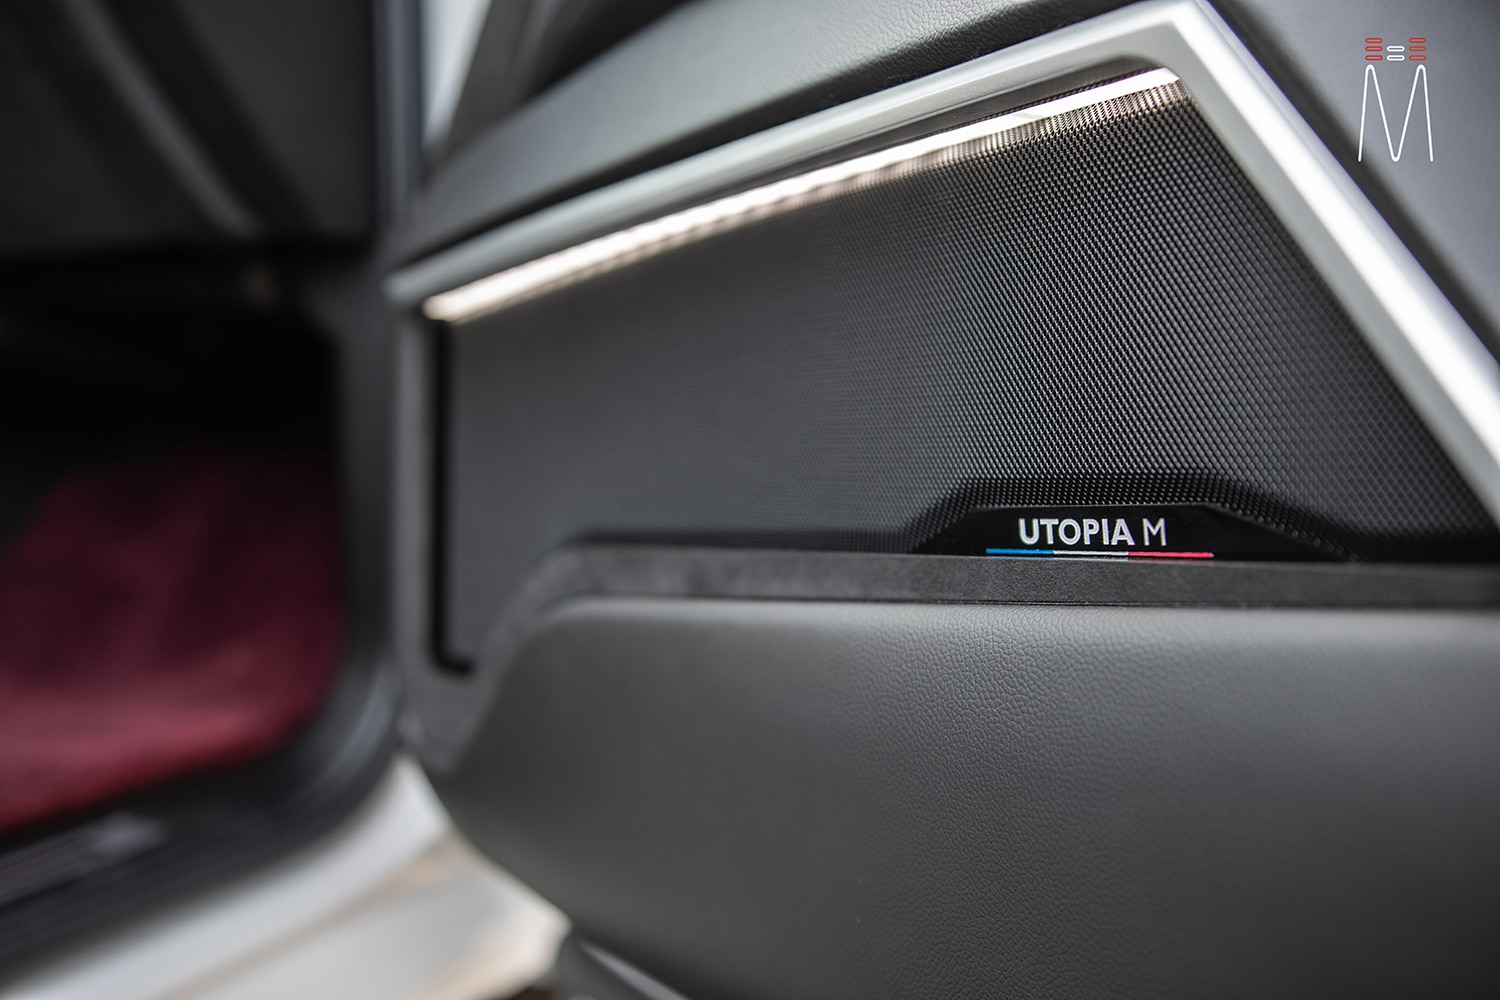
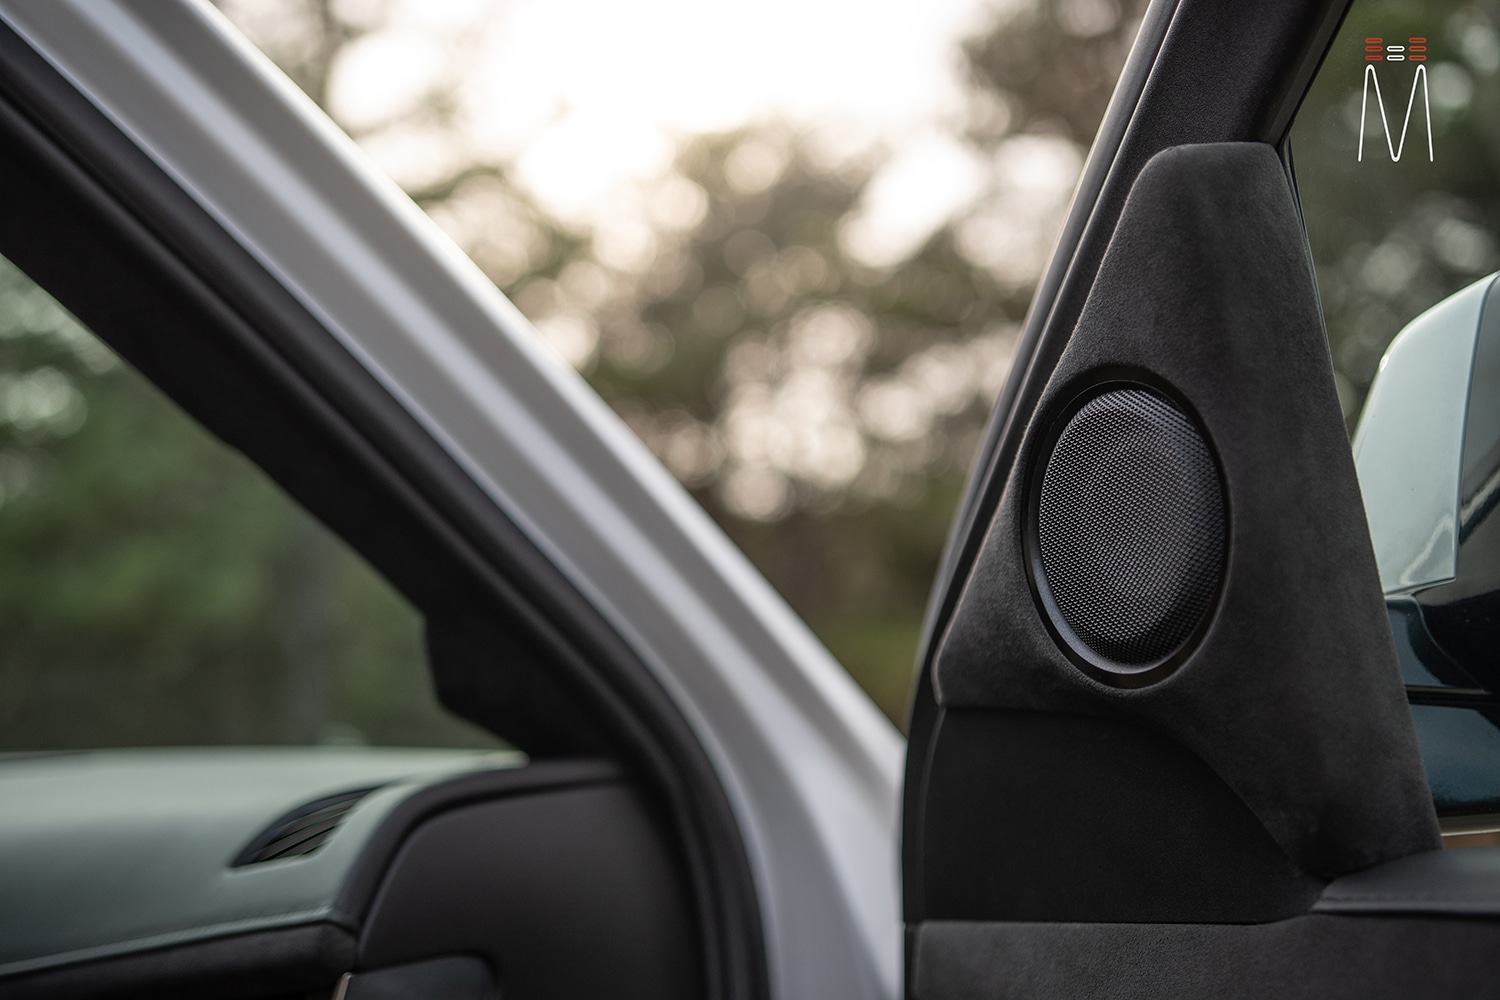
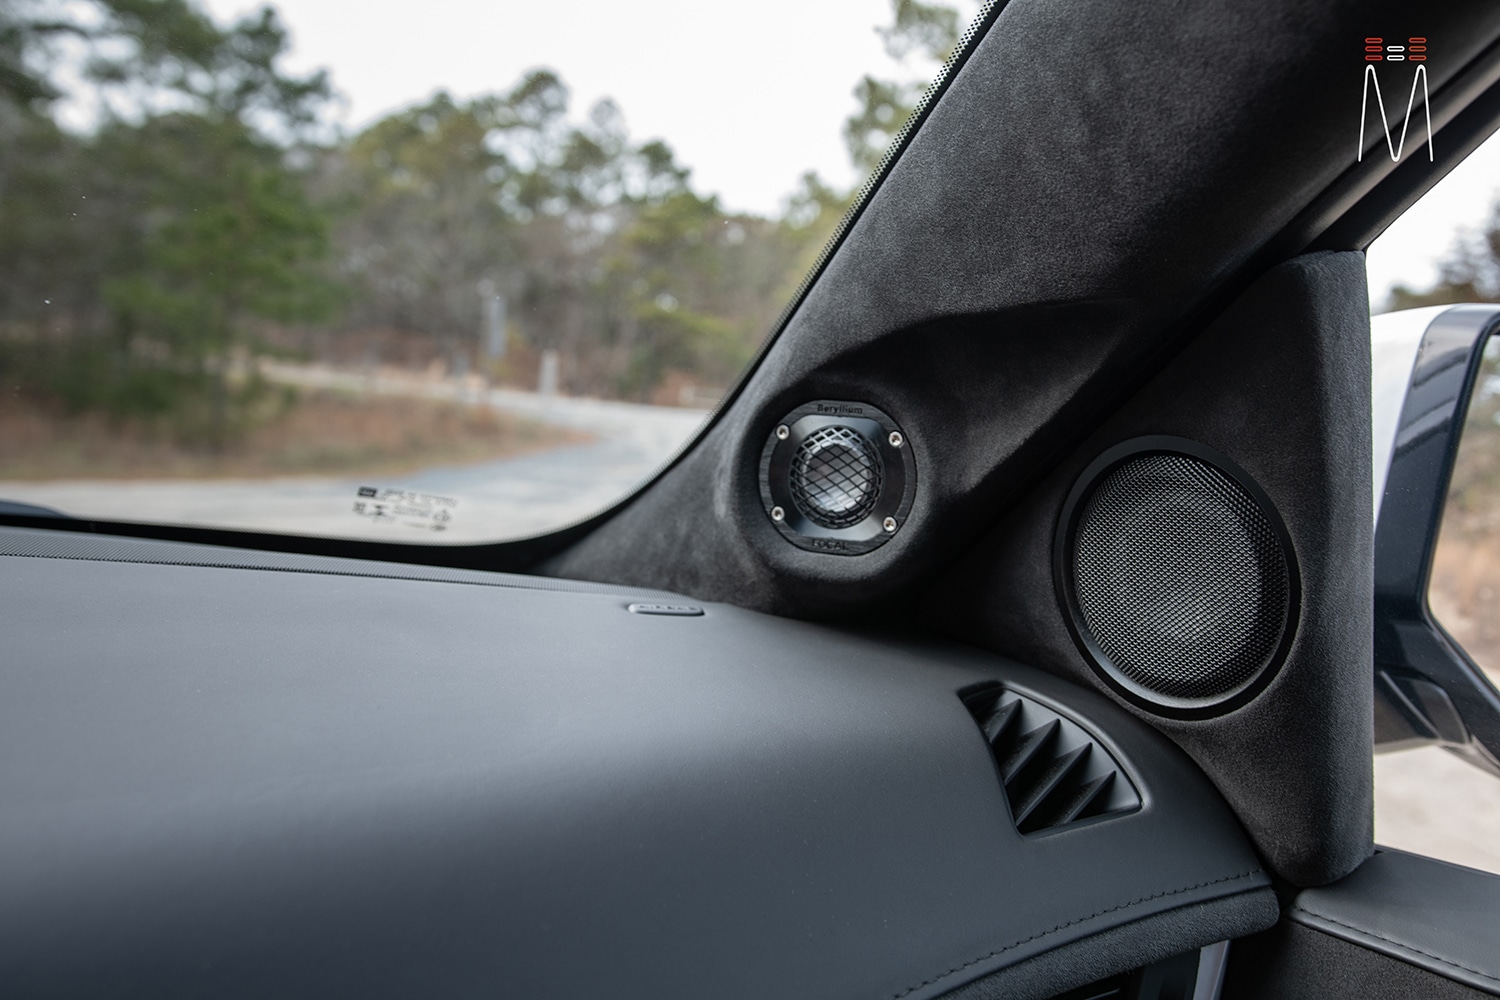
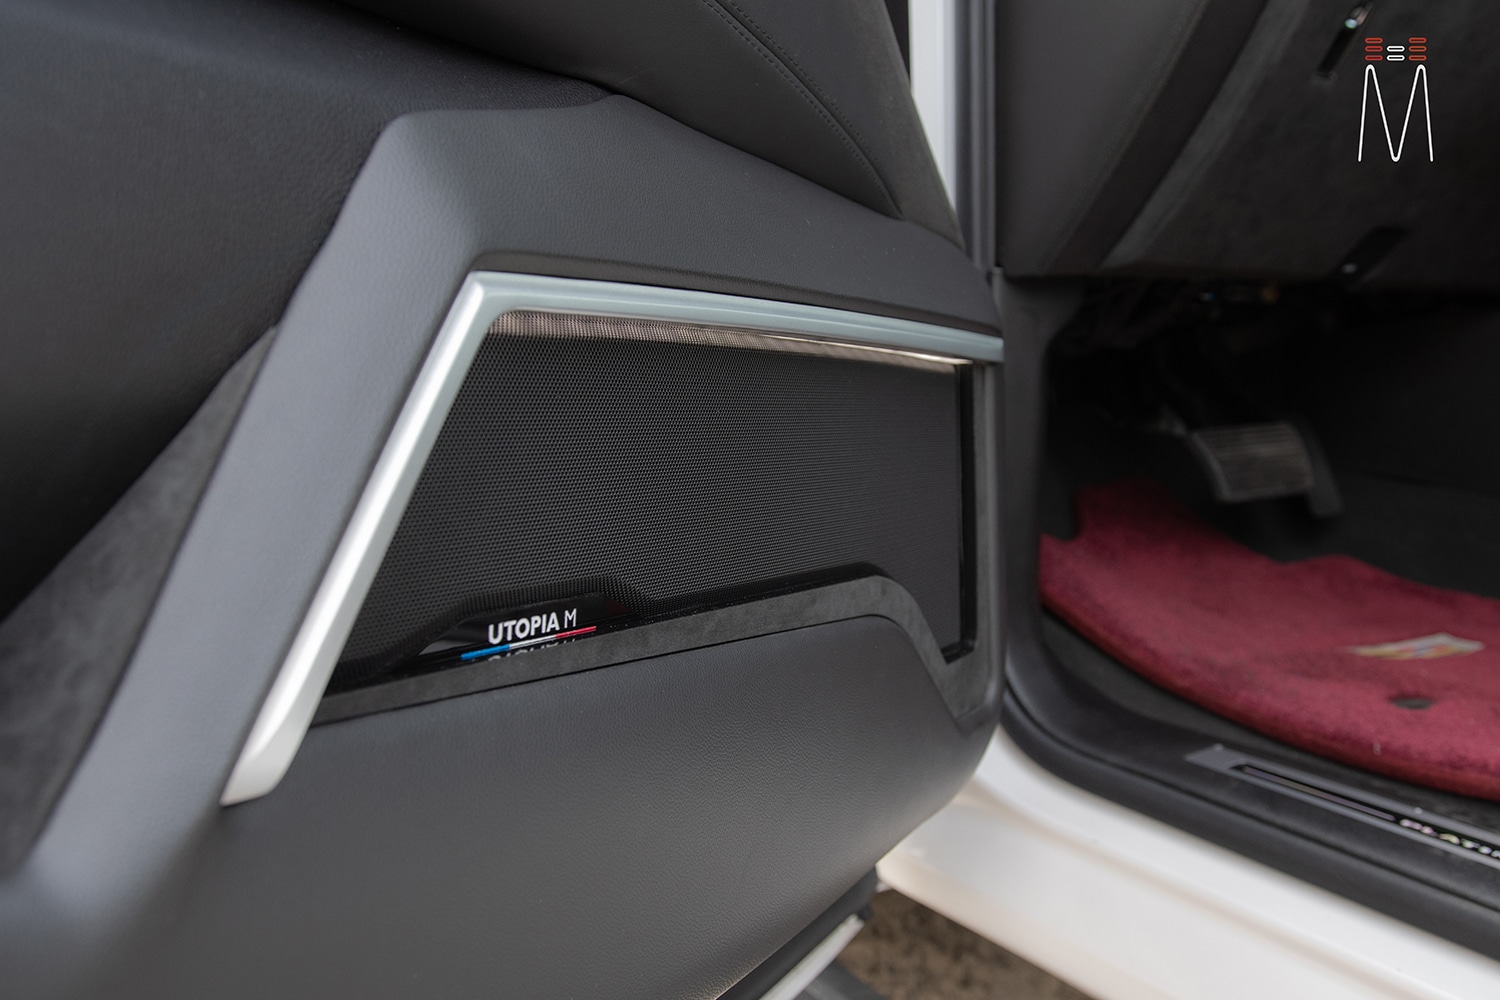
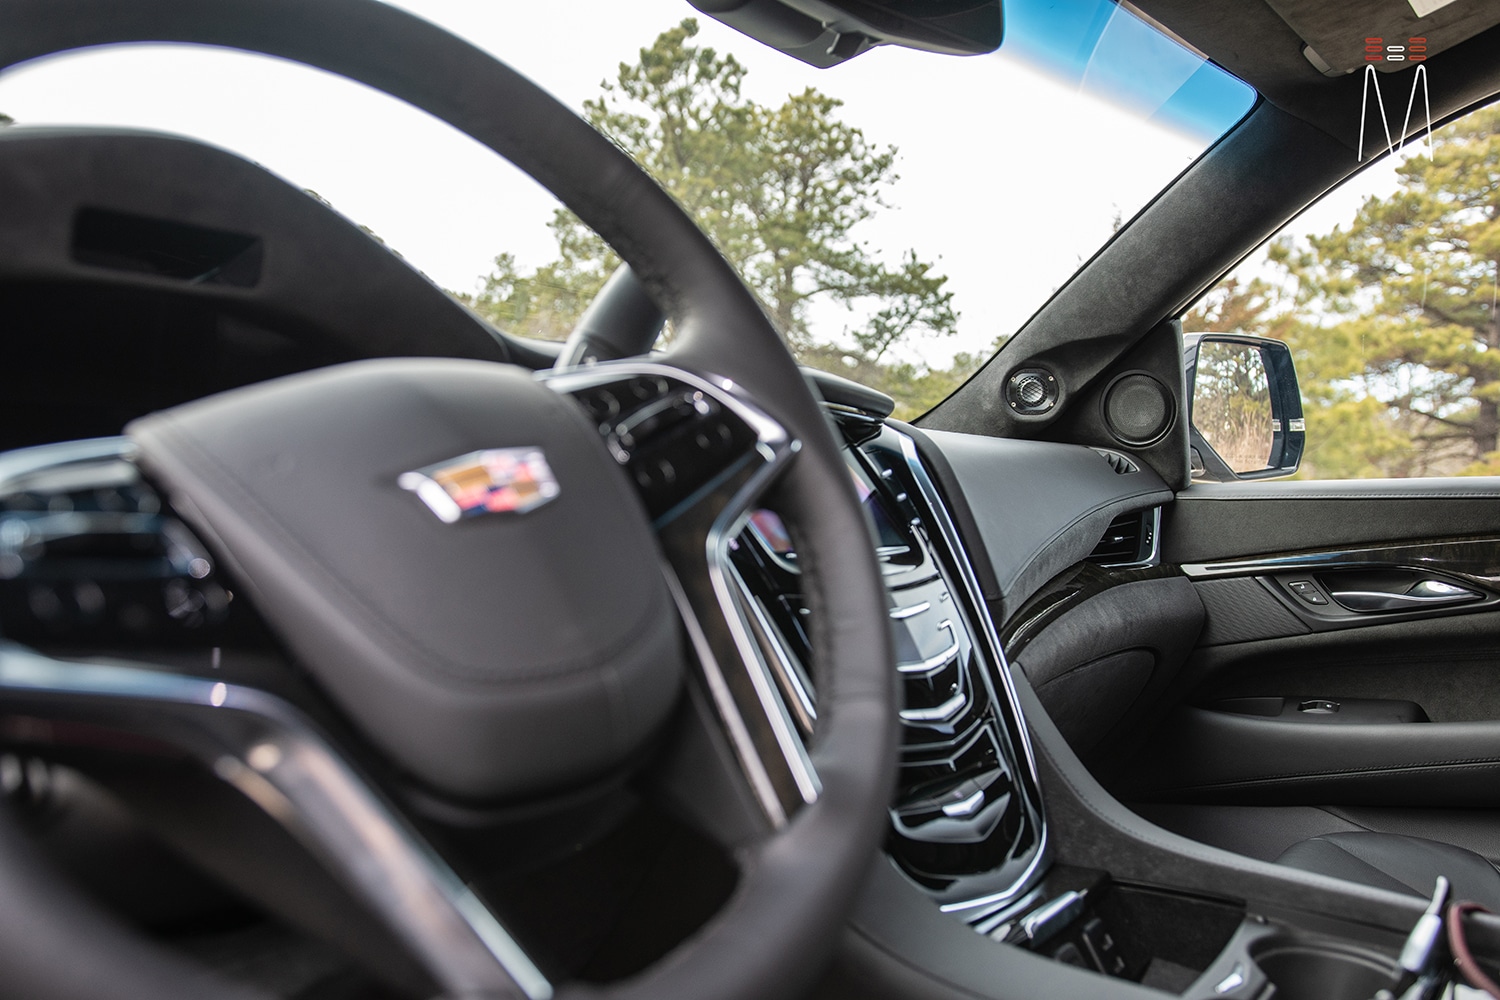
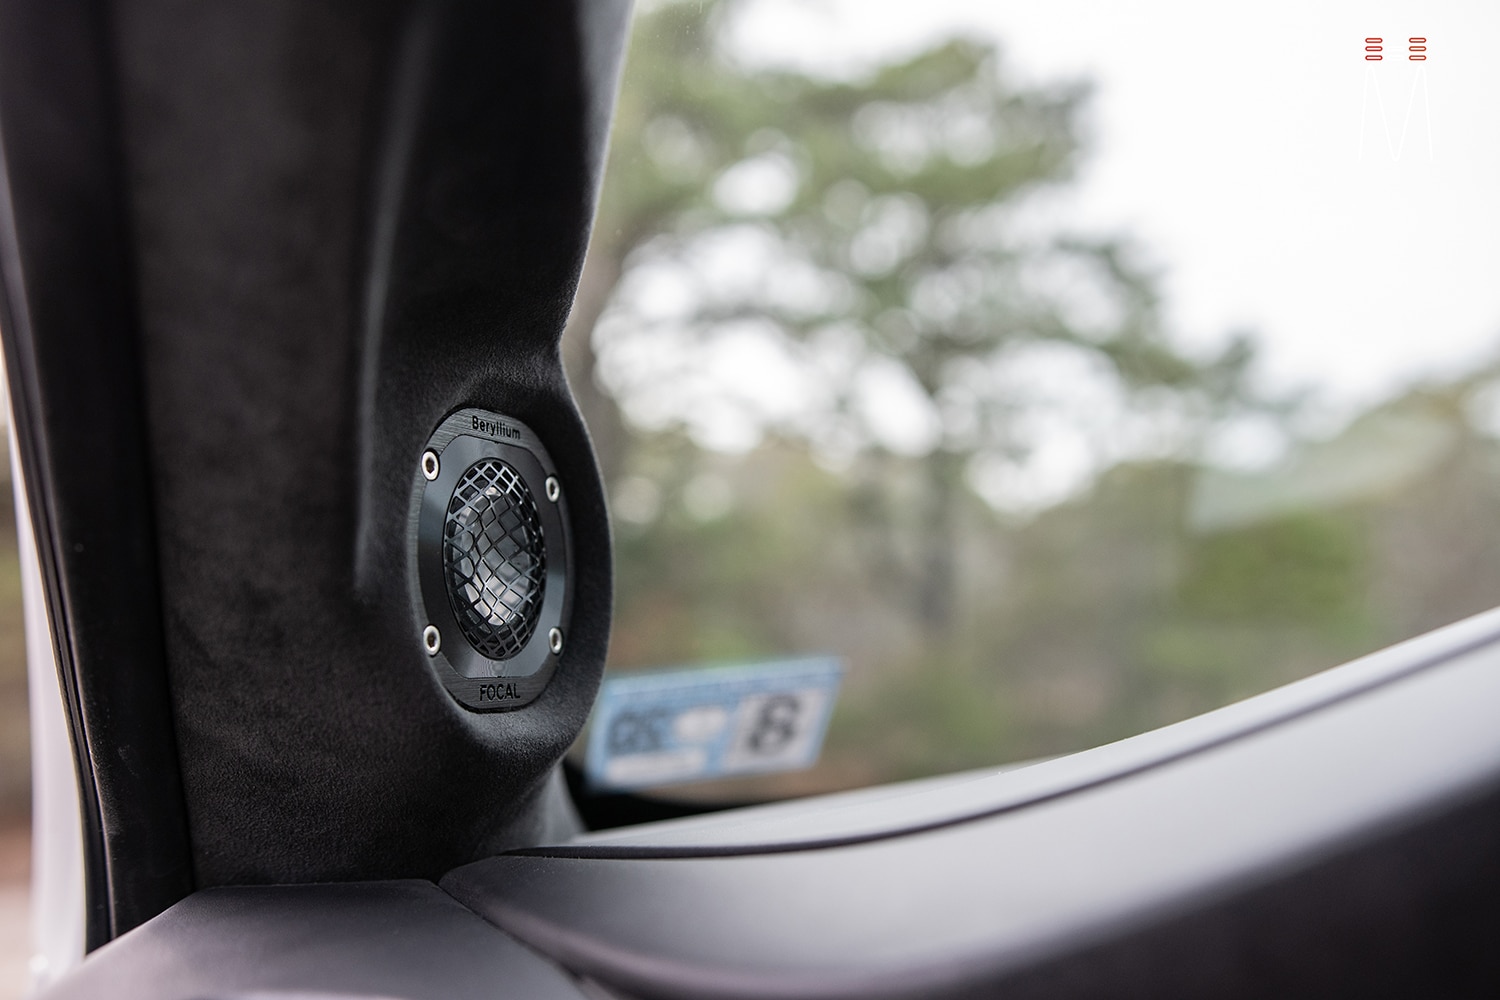
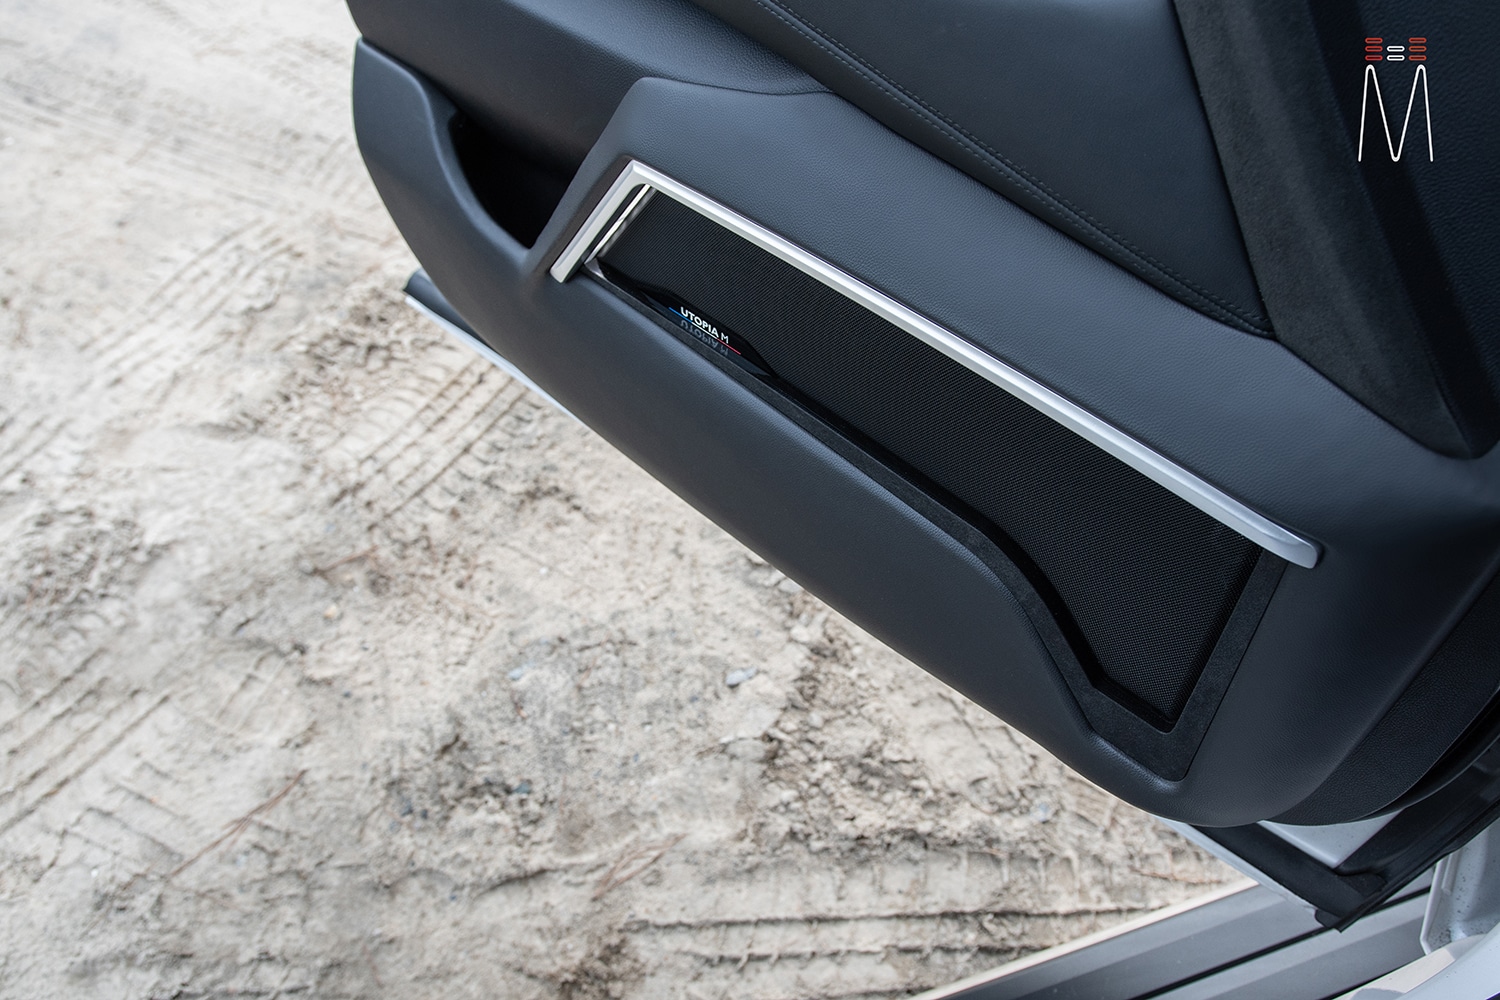
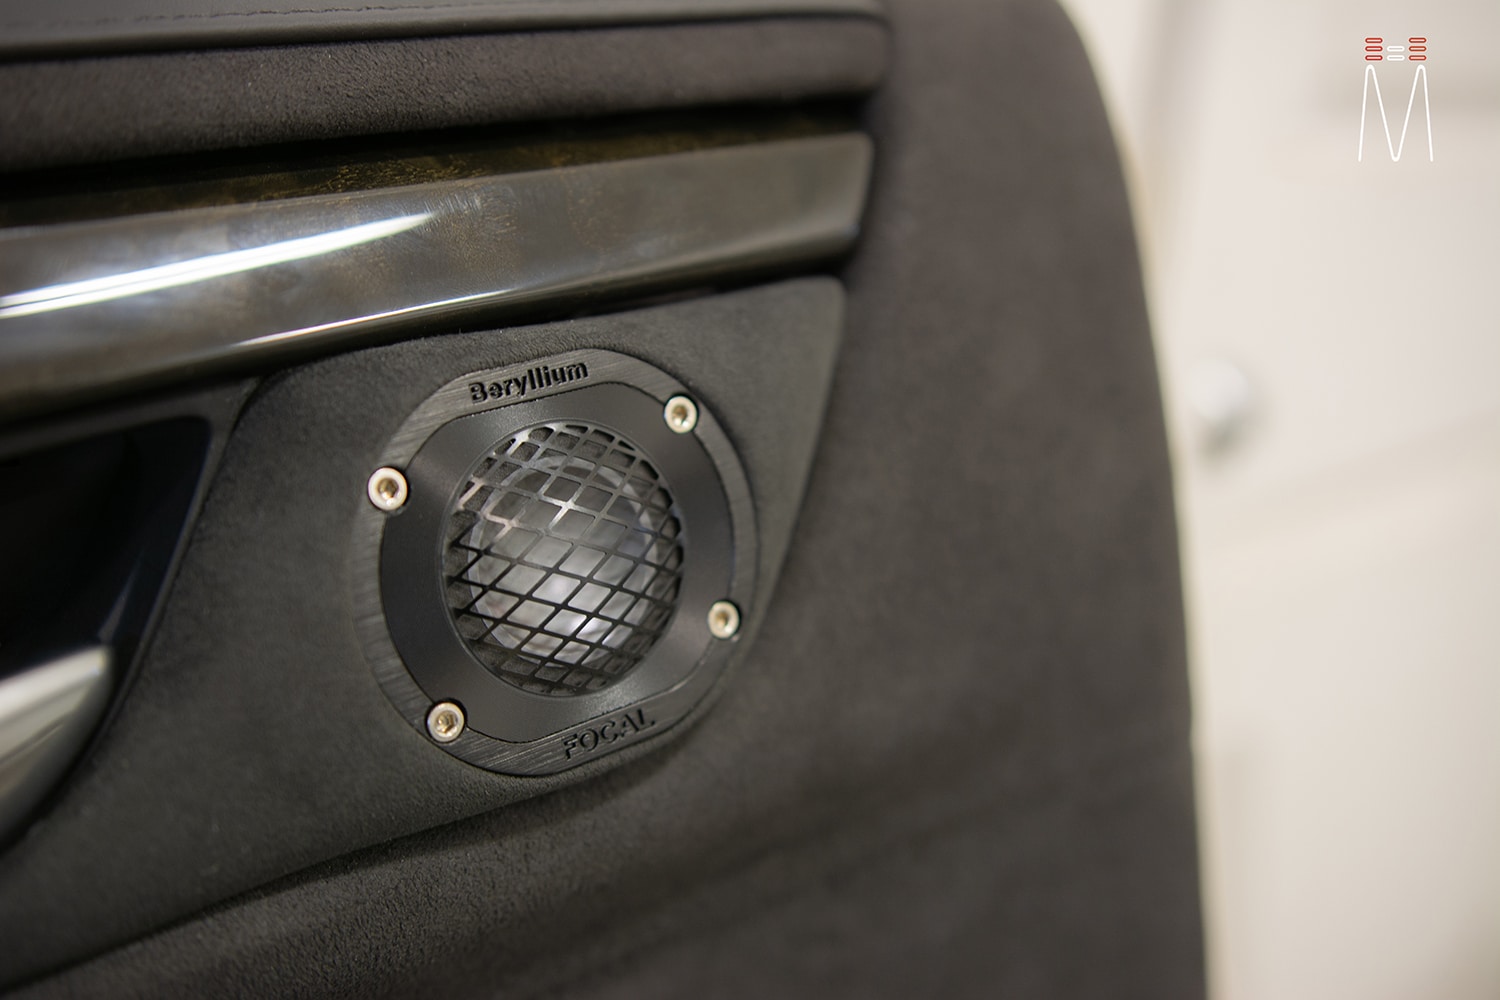
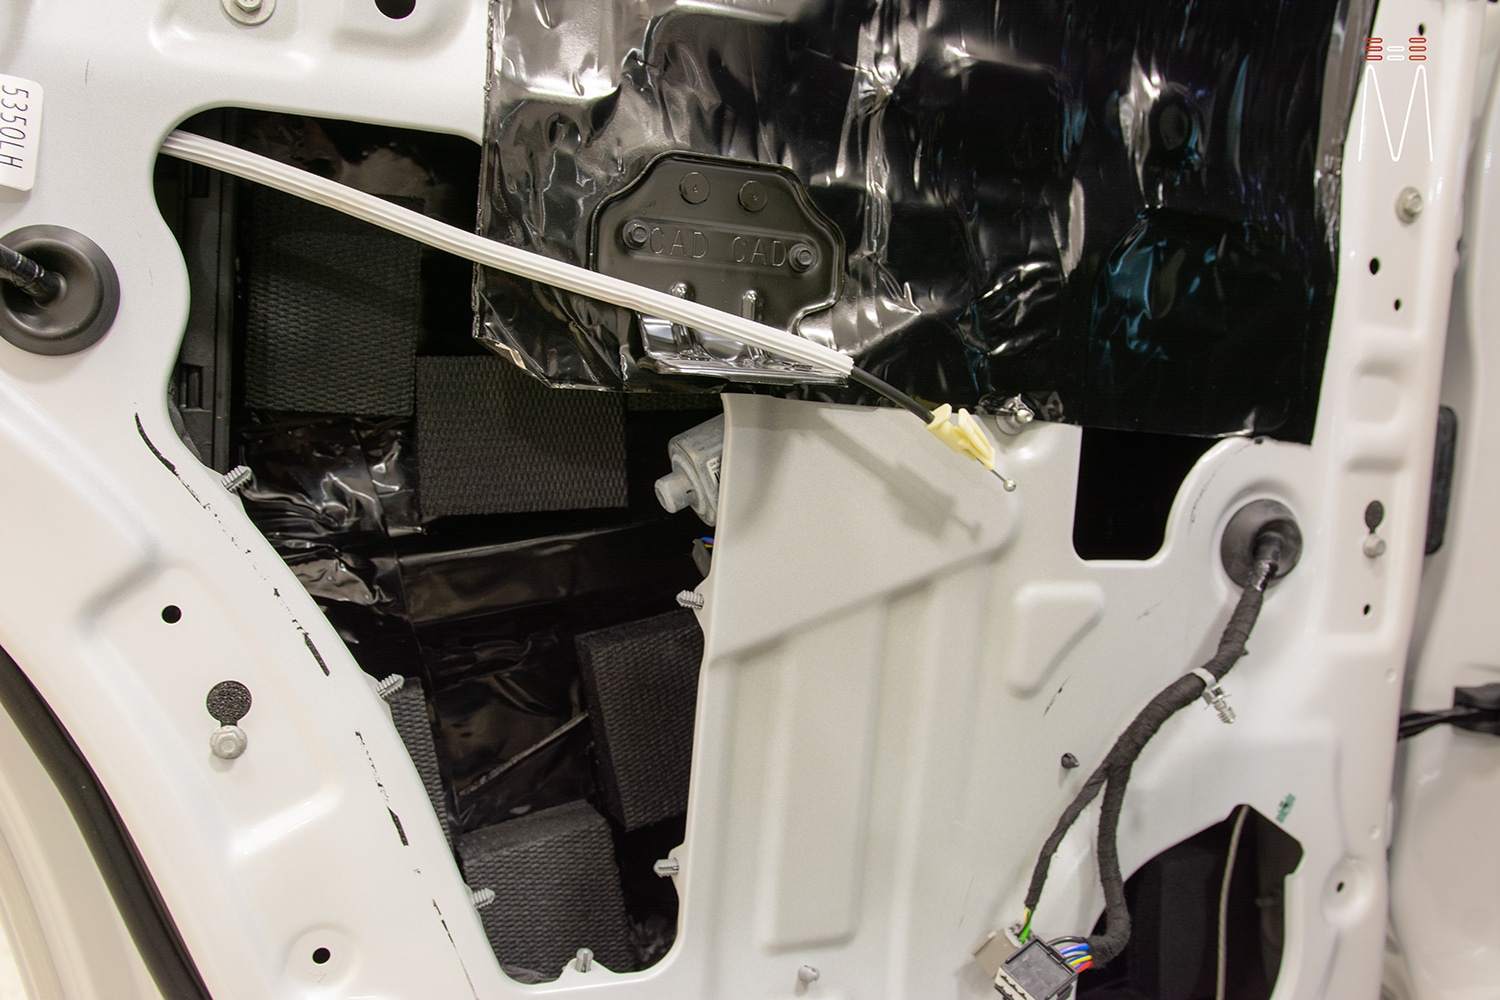
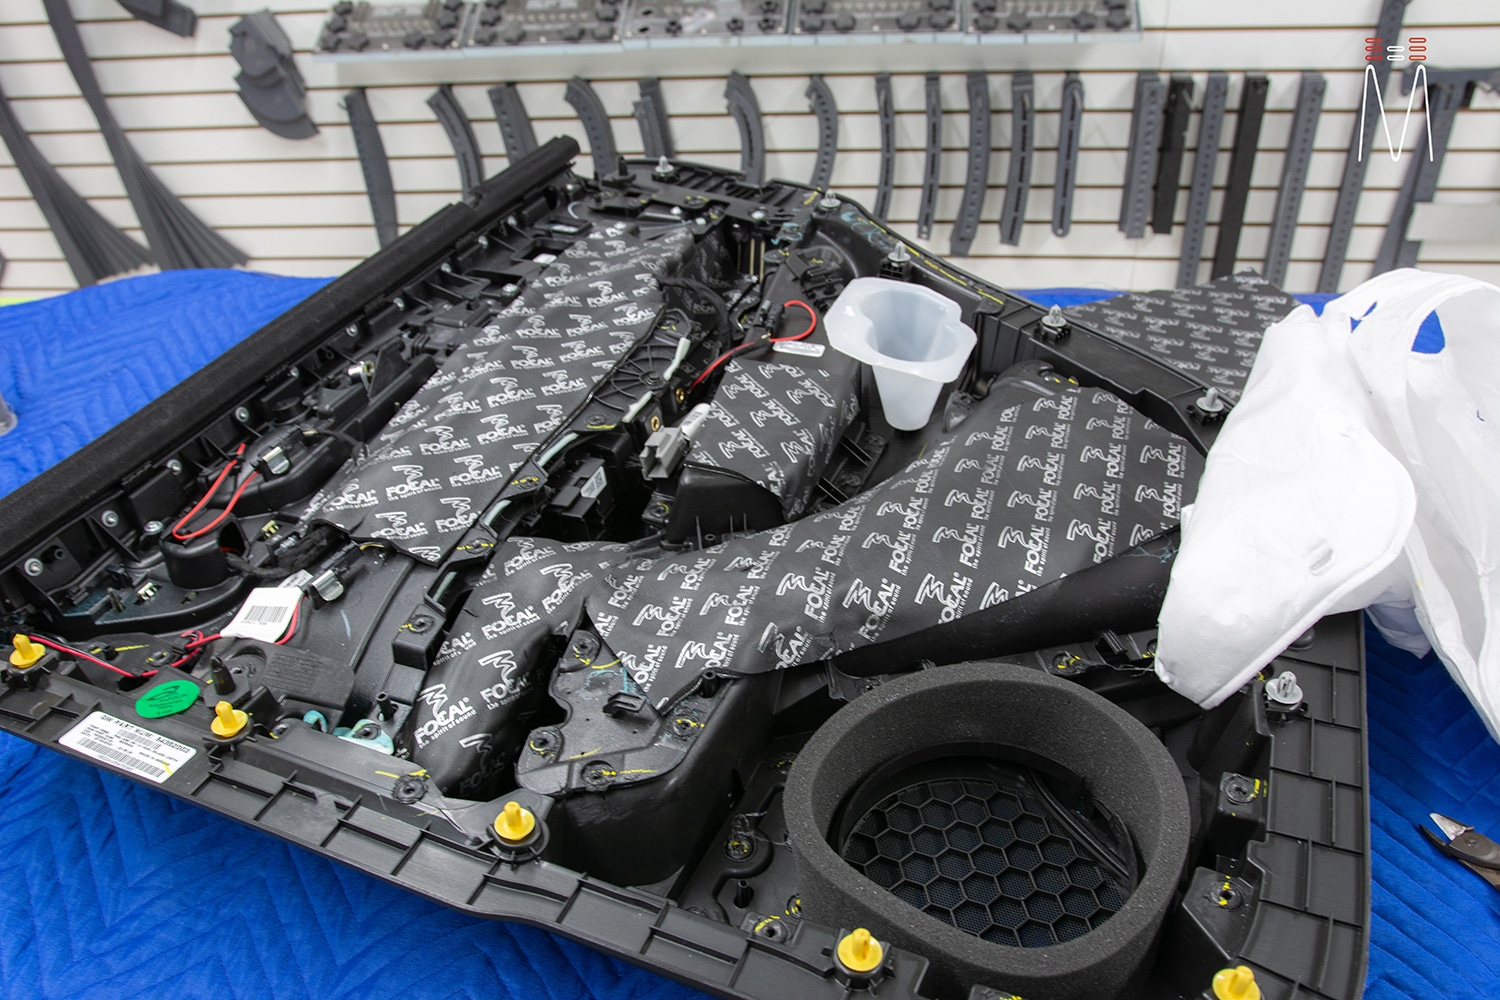
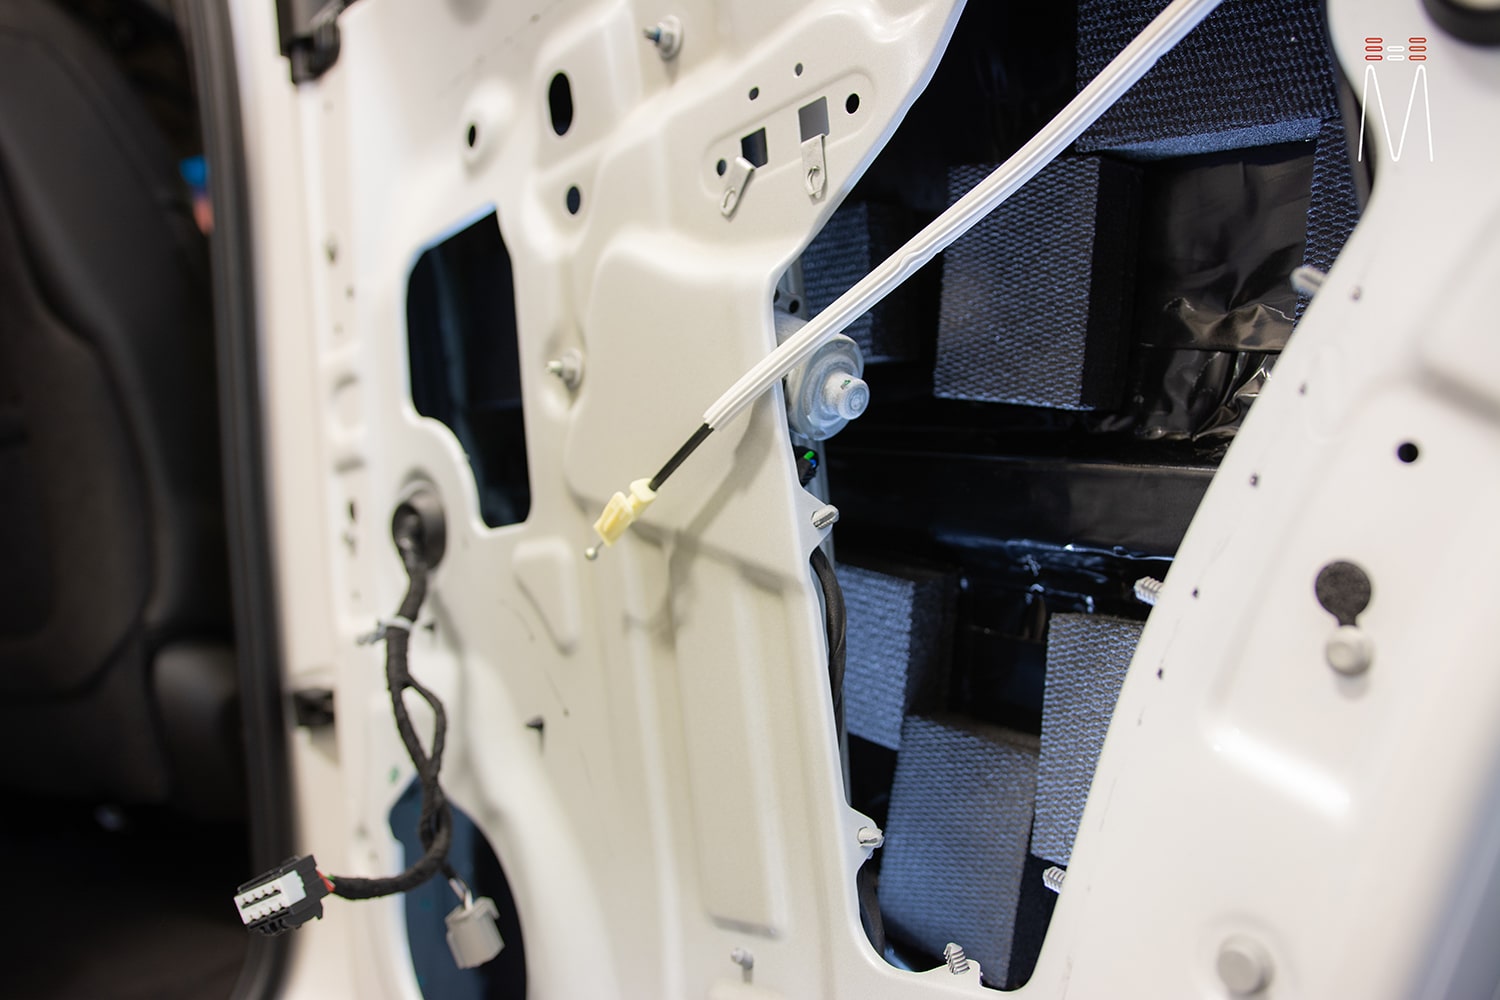
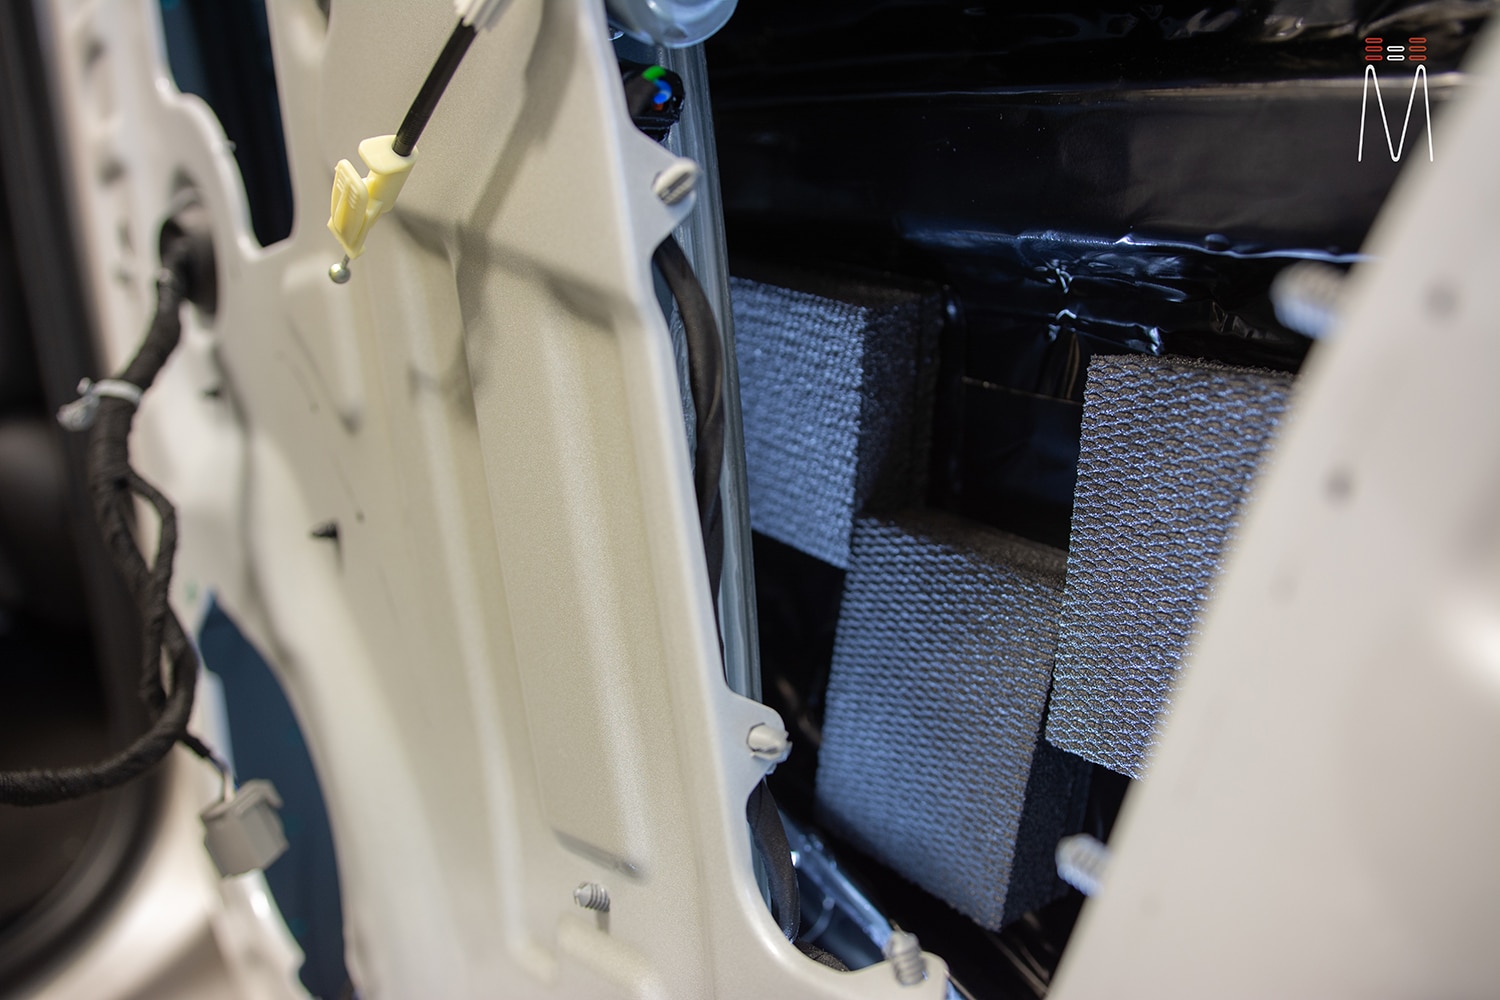
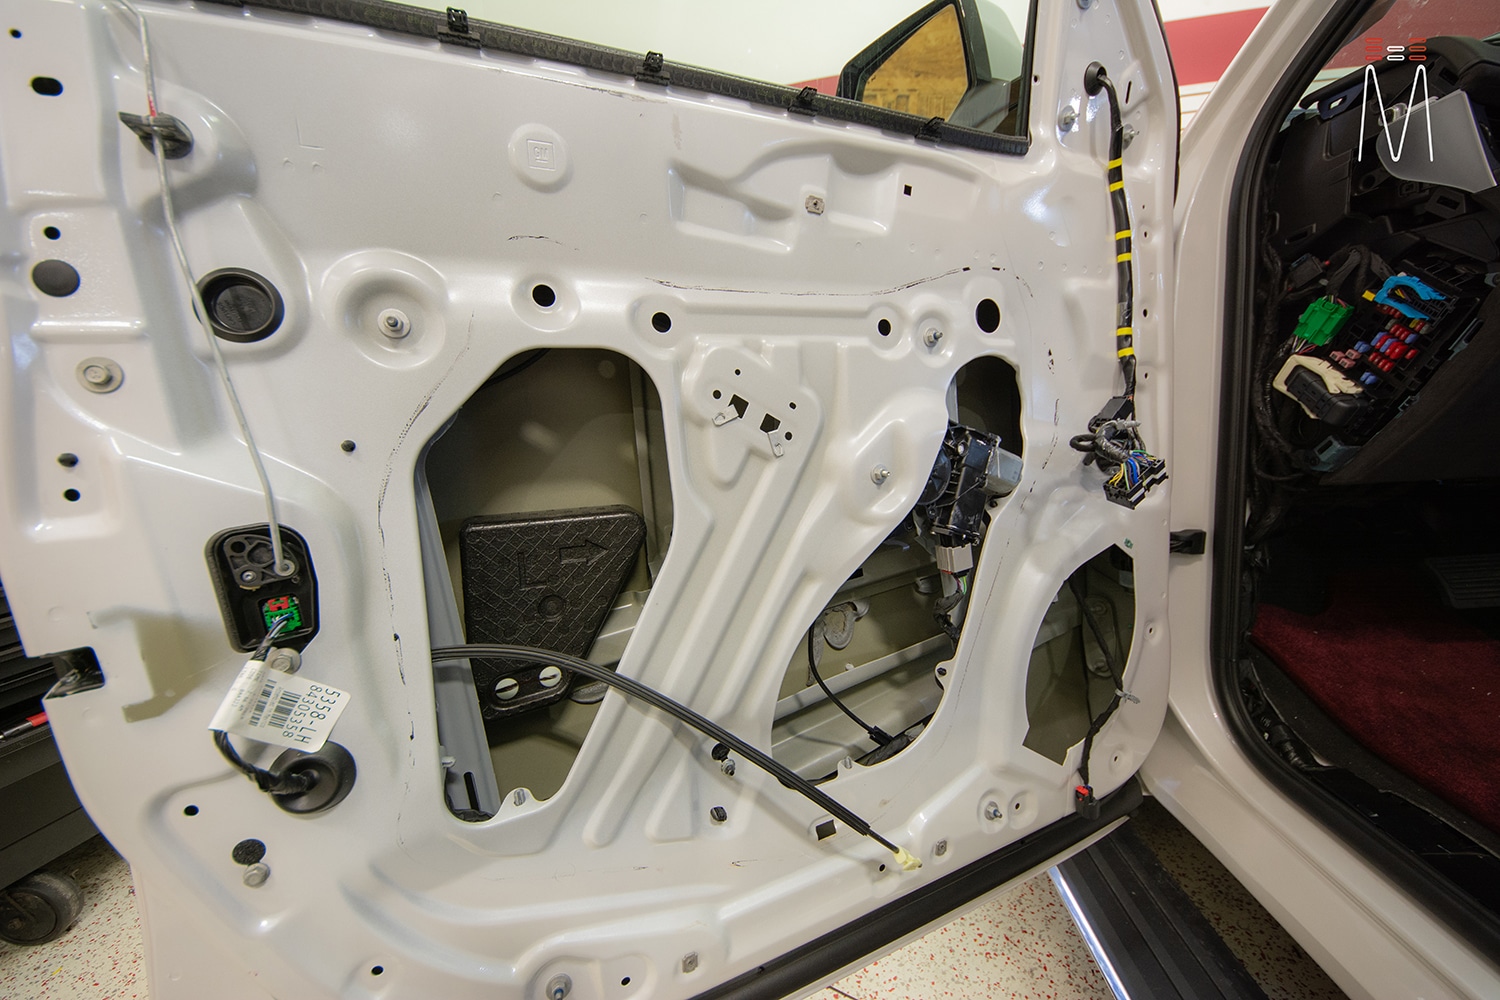
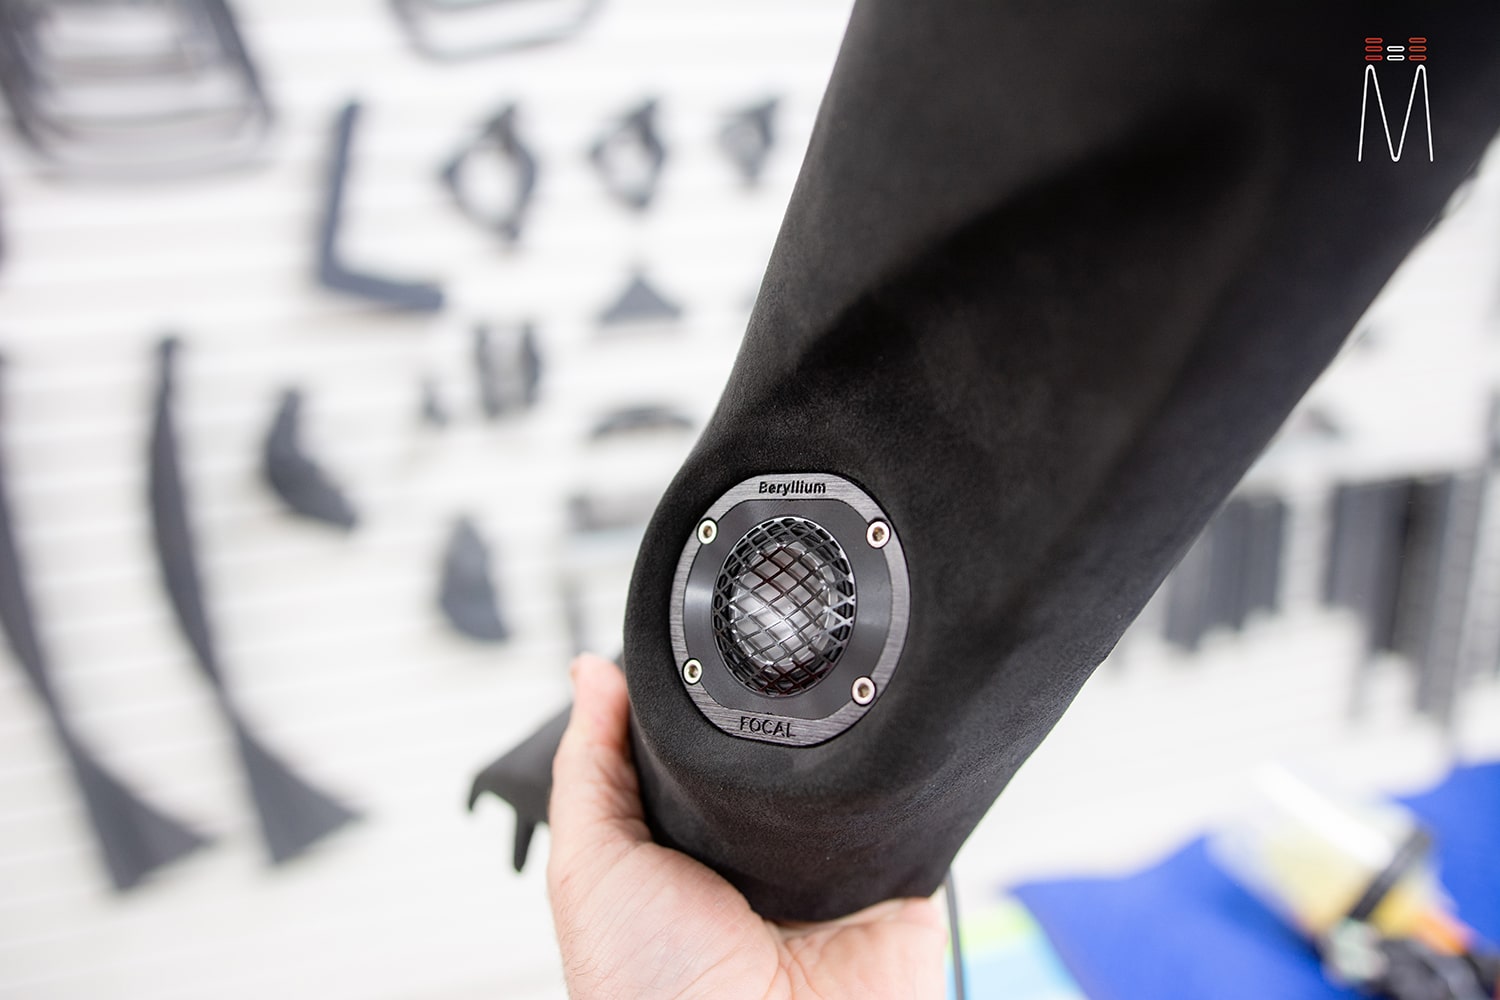
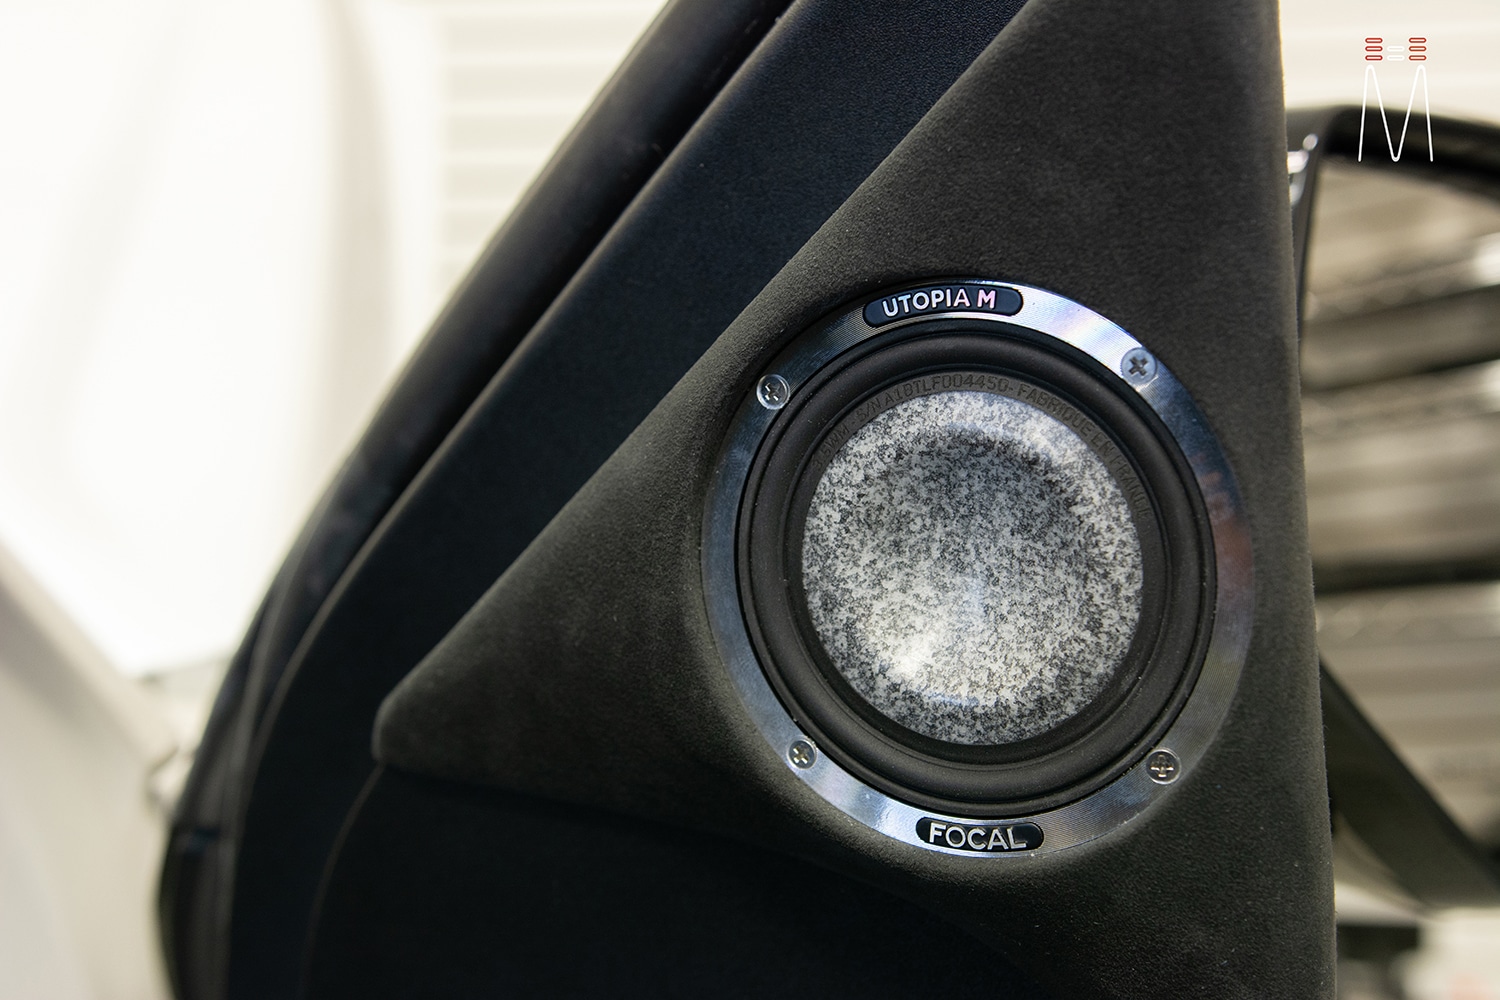
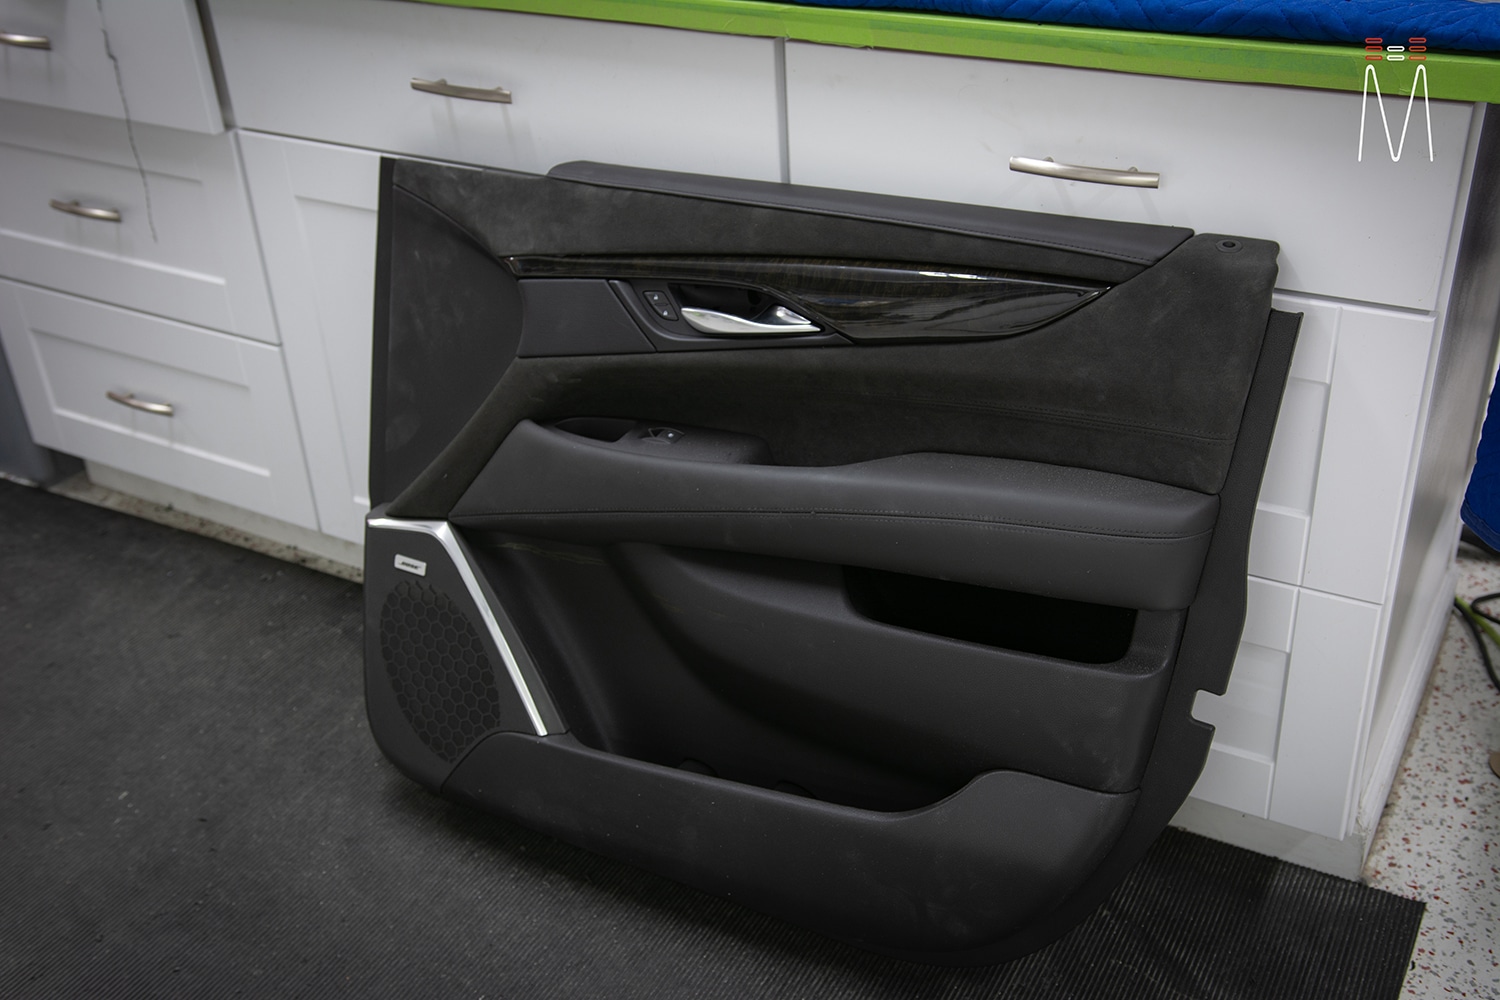
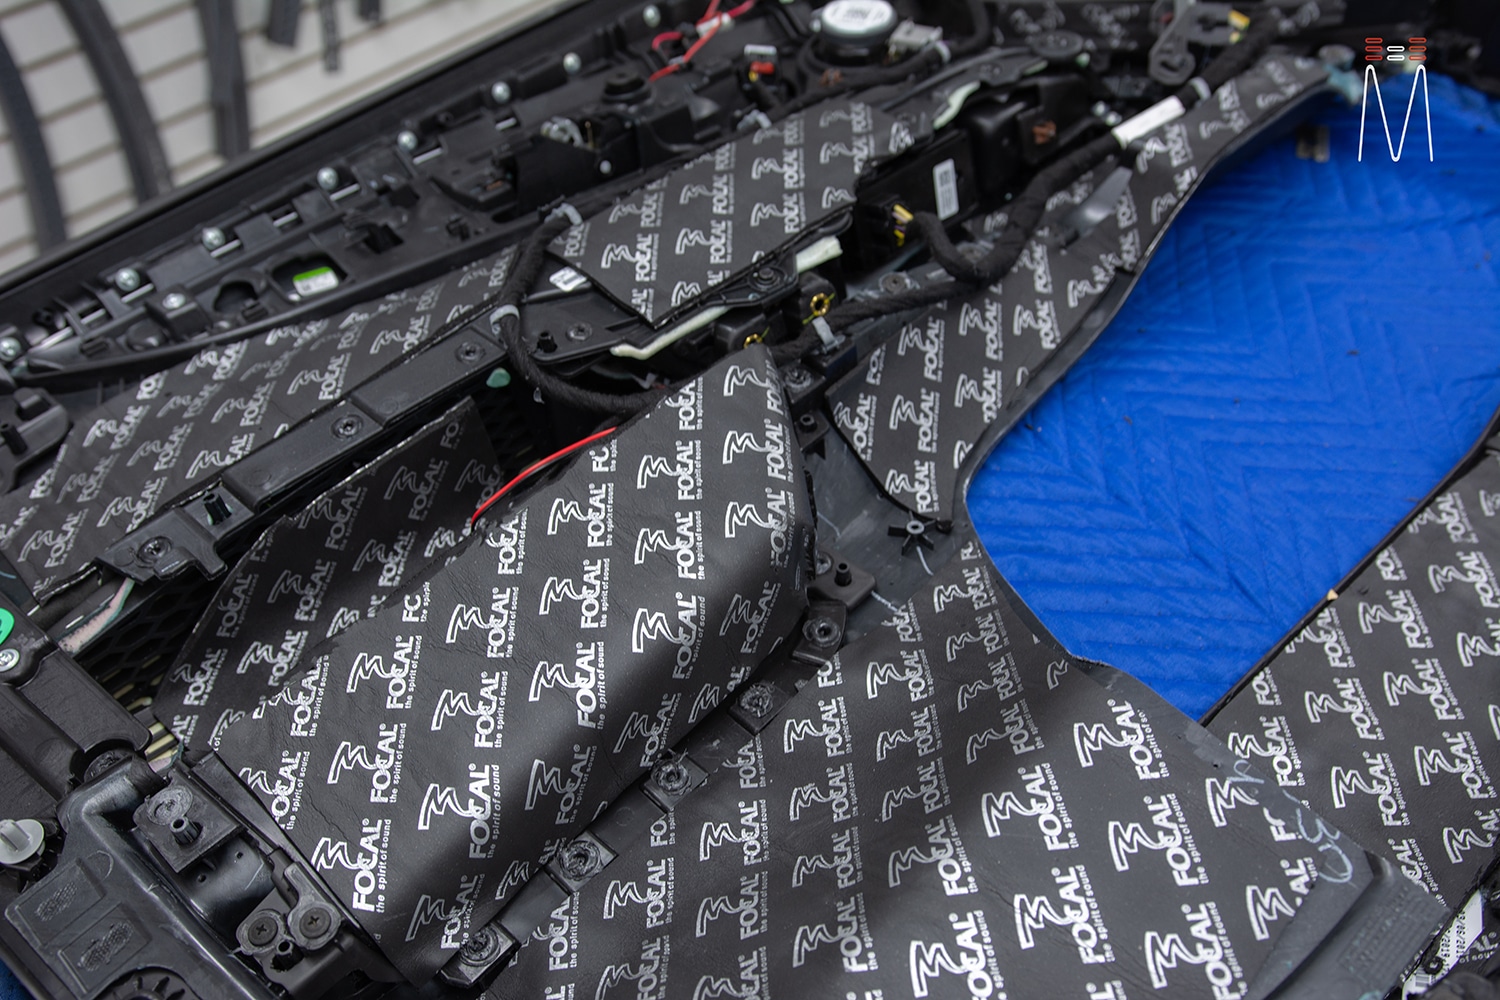
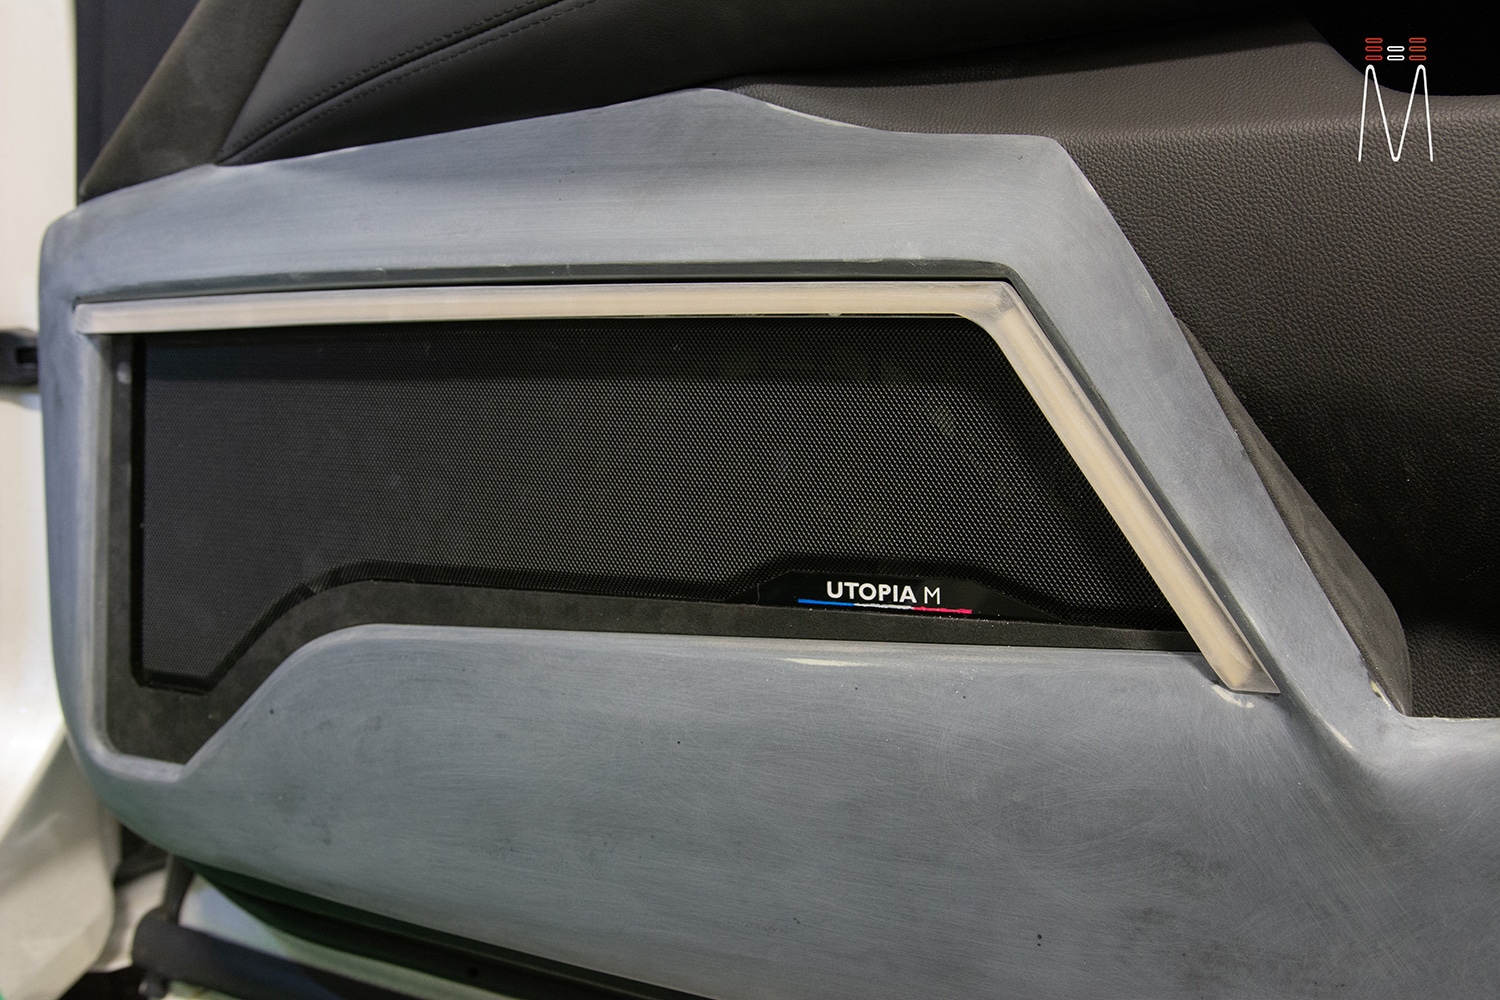
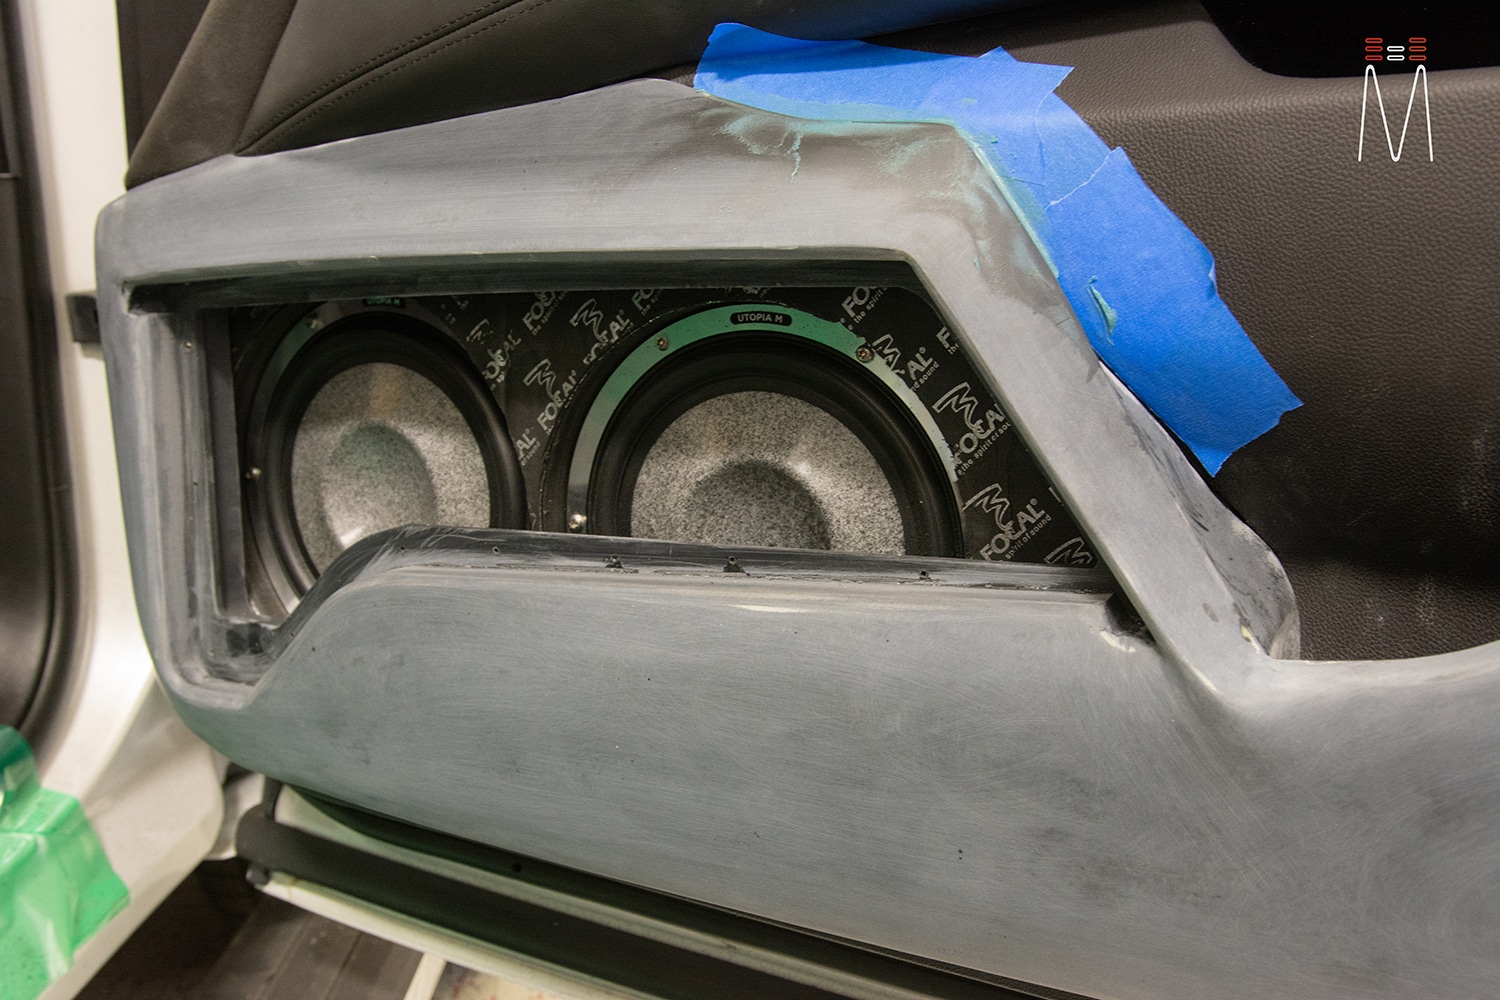
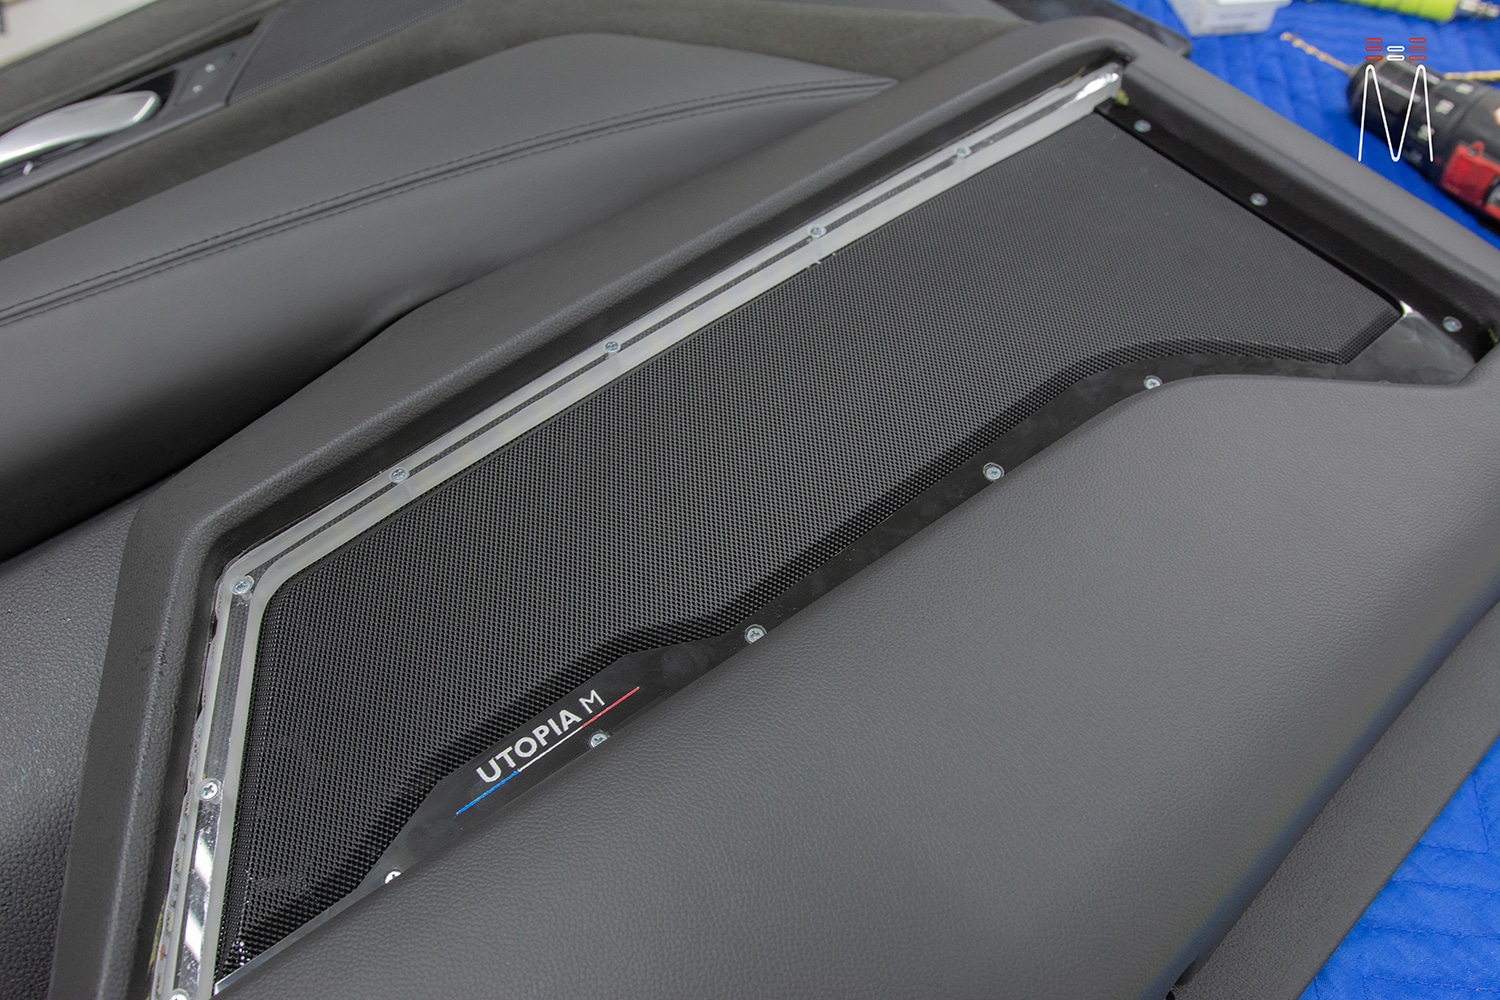
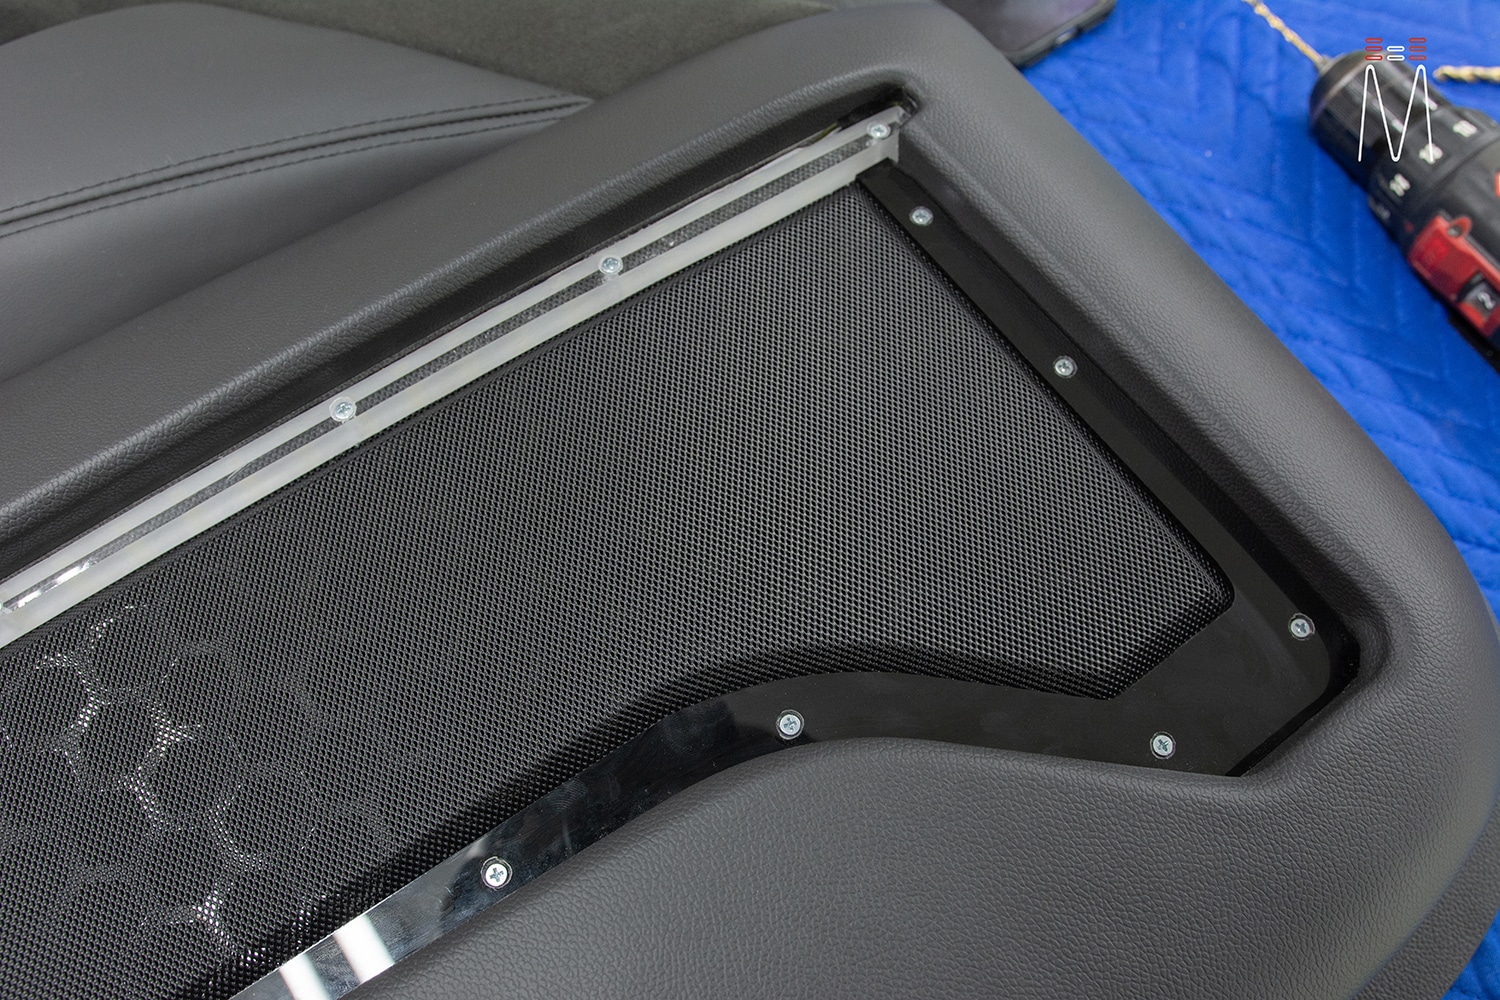
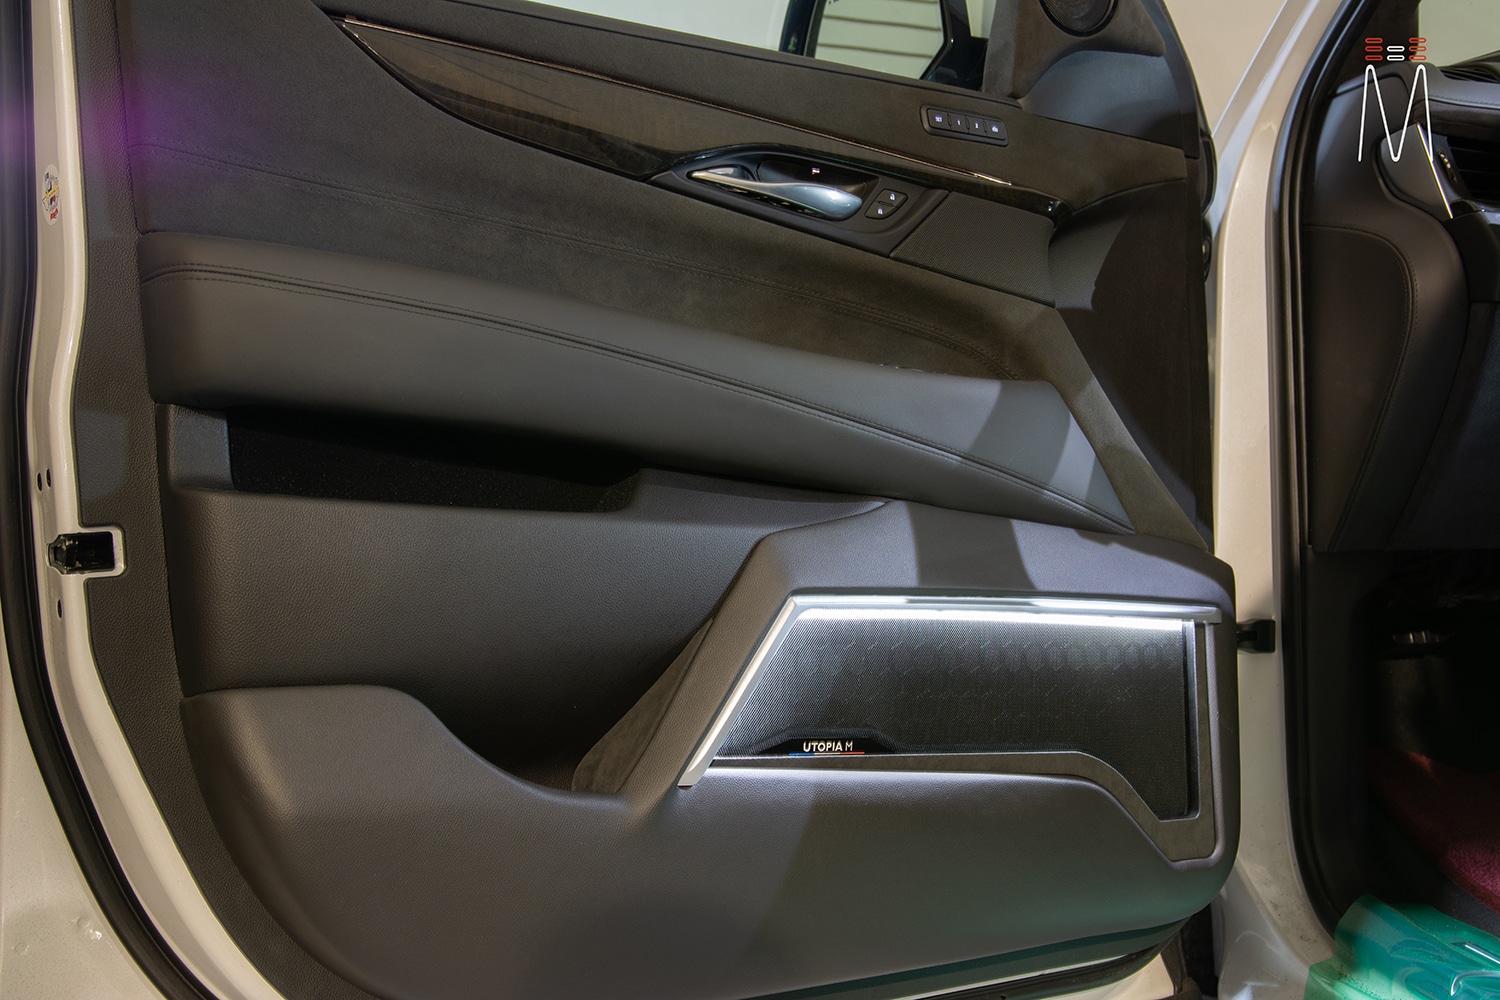
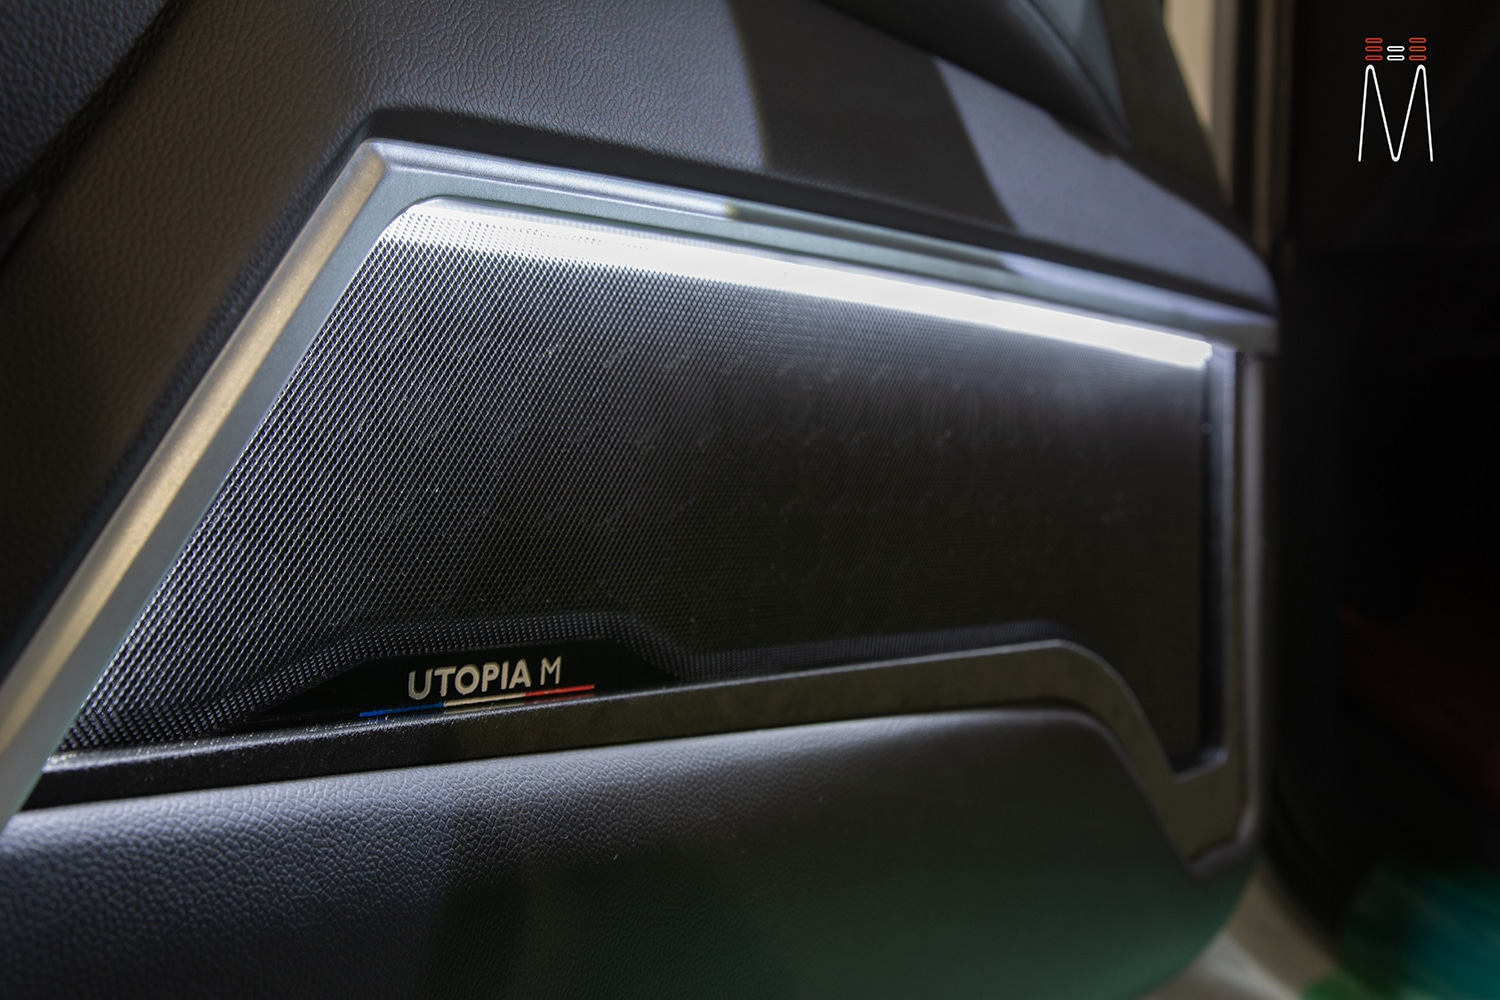
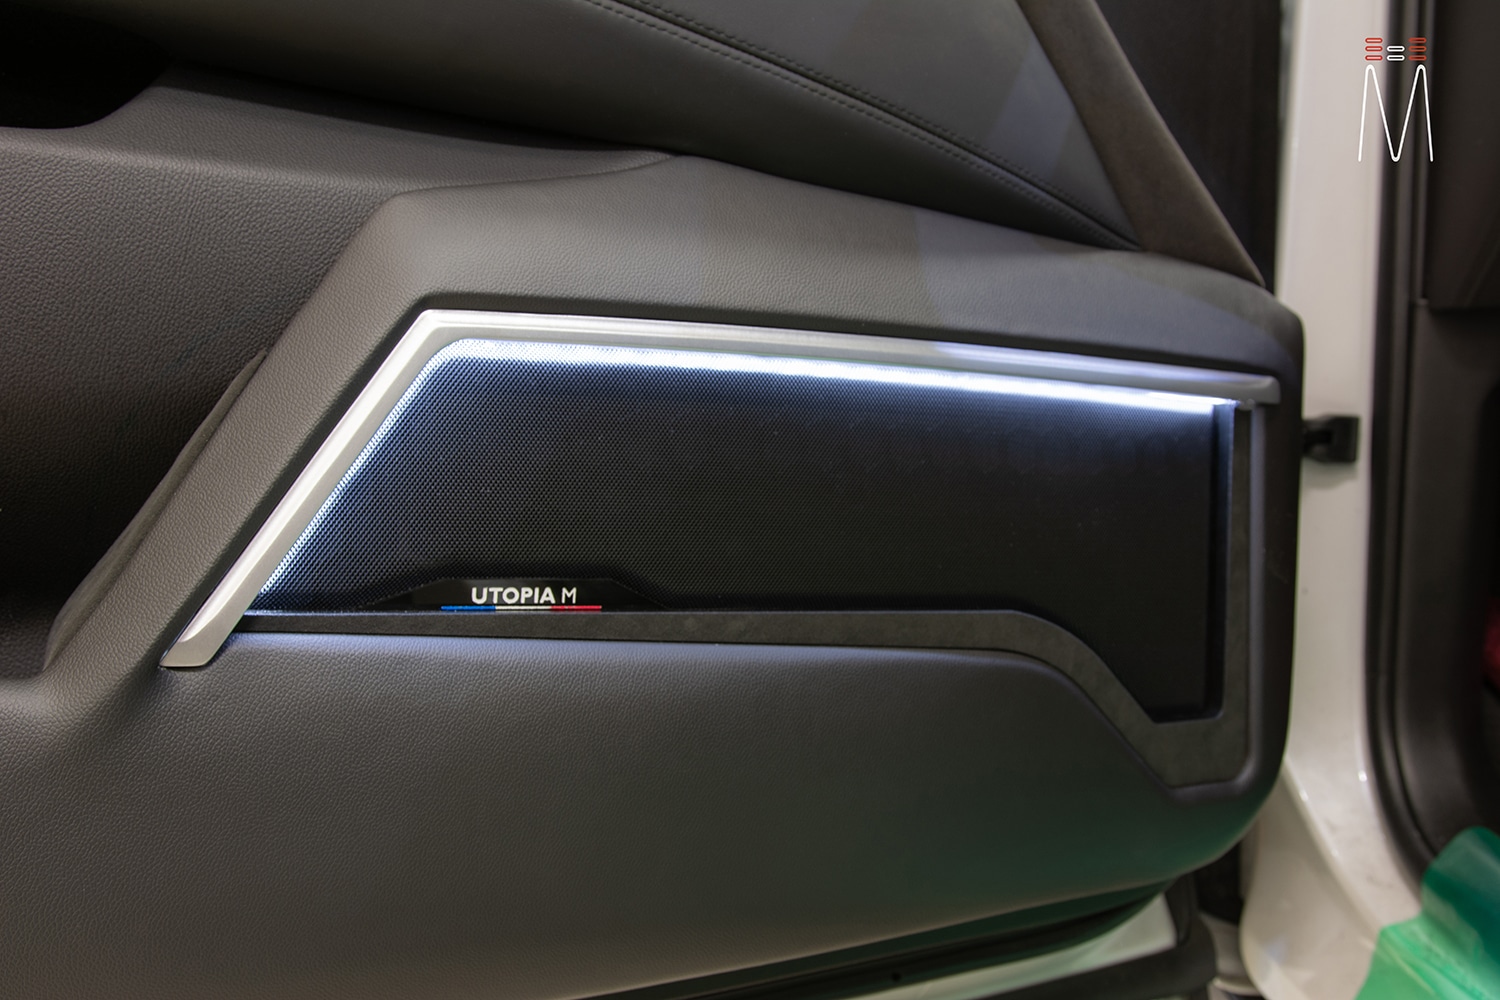
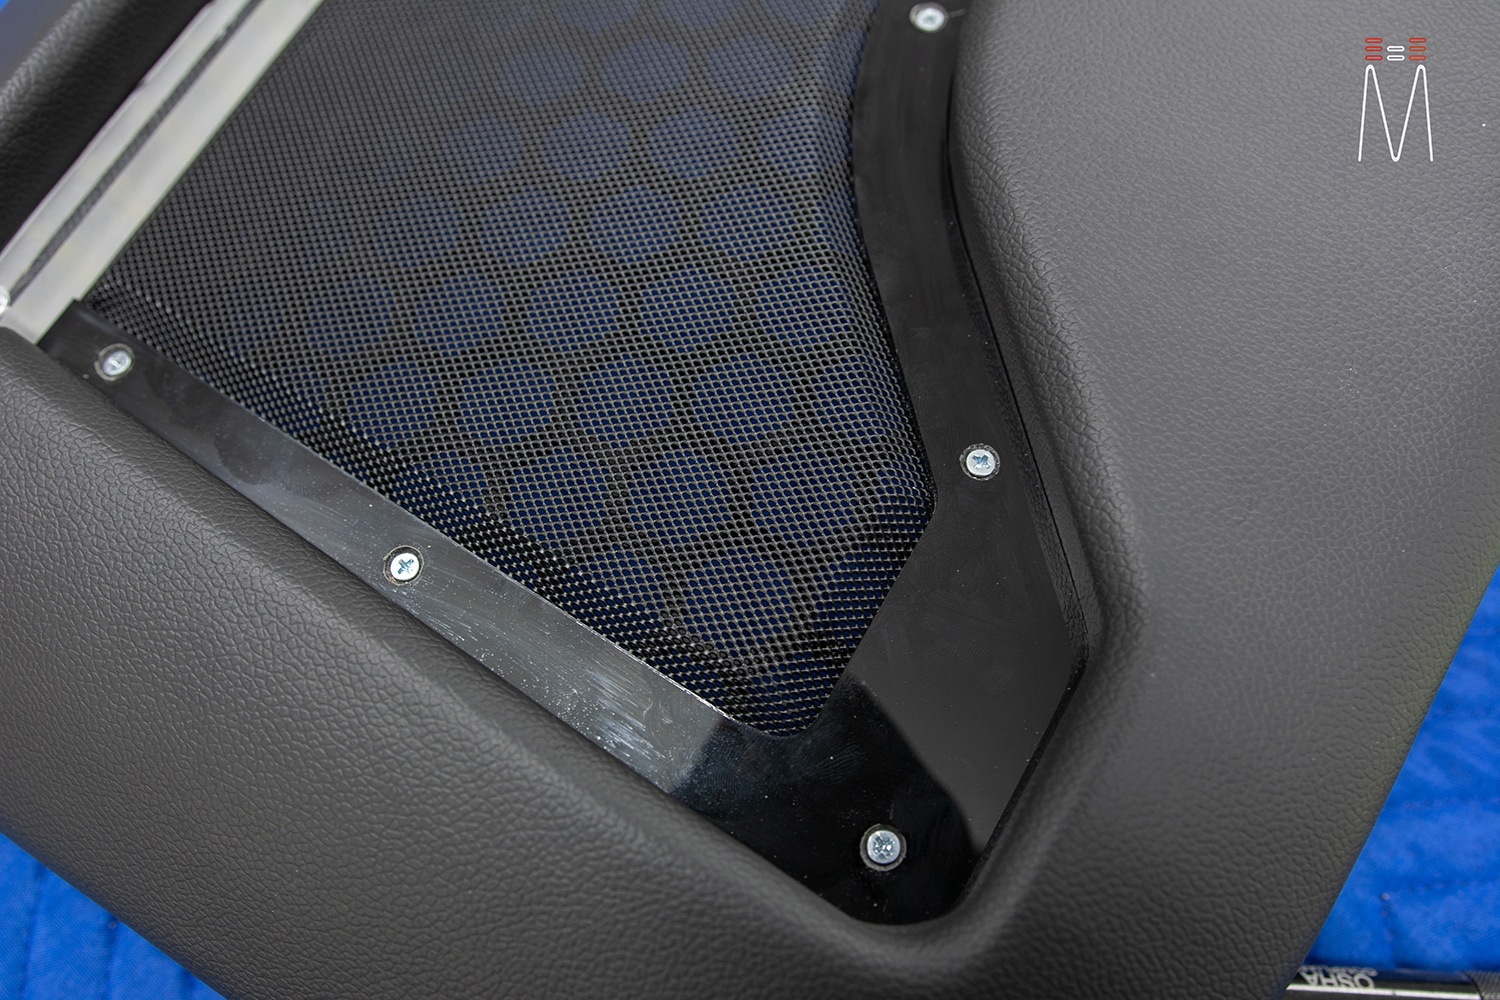
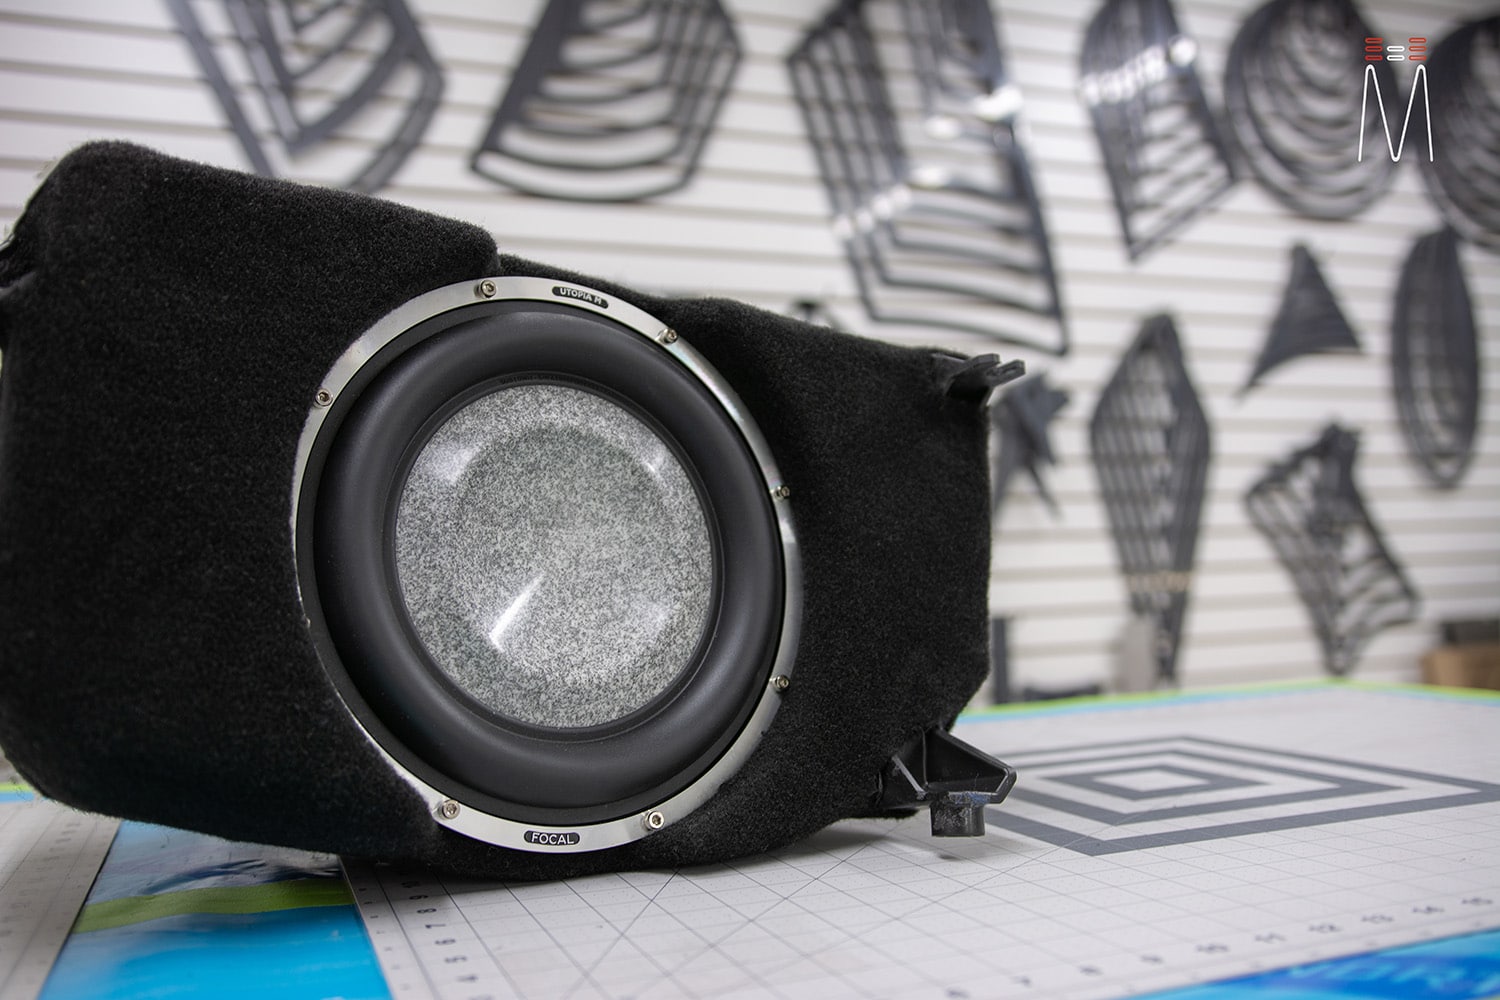
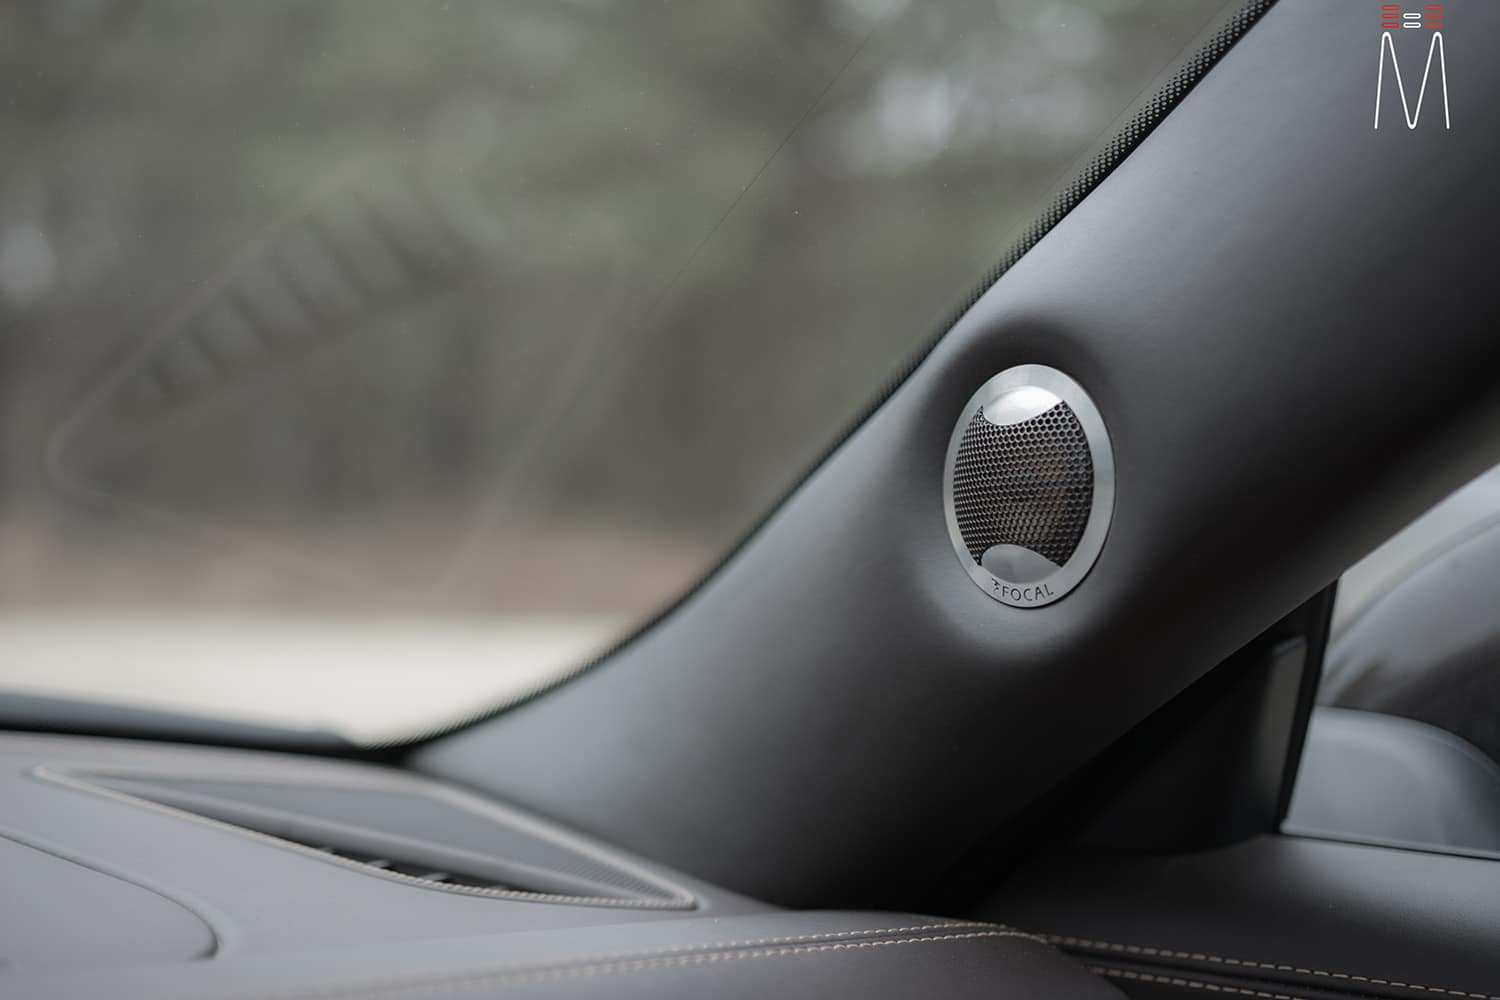
The factory a-pillars were modified to house the Focal TBM tweeters. Separate pods were fabricated to go in place of the factory tweeter location to house the Midrange drivers. The pillars and pods were wrapped in matching black Alcantara suede. The lower doors is where the challenge came in. Fitting two 8” Utopia M mid-bass while still retaining an OEM appearance was a huge undertaking. We fabricated a plate to bolt to the factory door as well as bolting plates to the other openings within the door metal. A combination of Hushmat, Focal BAMXXL, and Blackhole Tile was used to sound treat the entire door skin / panel. By doing this, we essentially turned the front doors into solid enclosures to maximize our front mid-bass. The factory door panel was broken apart and the bottom skin was remolded to cover our double mid-bass. We took inspiration from the factory grille design and duplicated portions of its appearance. We utilized the silver trim that follows the speaker to the end of the panel, fidelity mesh, OEM matching vinyl, and Alcantara suede. We also used an octagon grill which hides behind the fidelity mesh to match that of the OEM design. A white LED light was used to accent the grille that taps right into the rest of the door mood lighting. We finished off the grille with the “Utopia M” badging to replace where we would have seen “Bose” from prior.
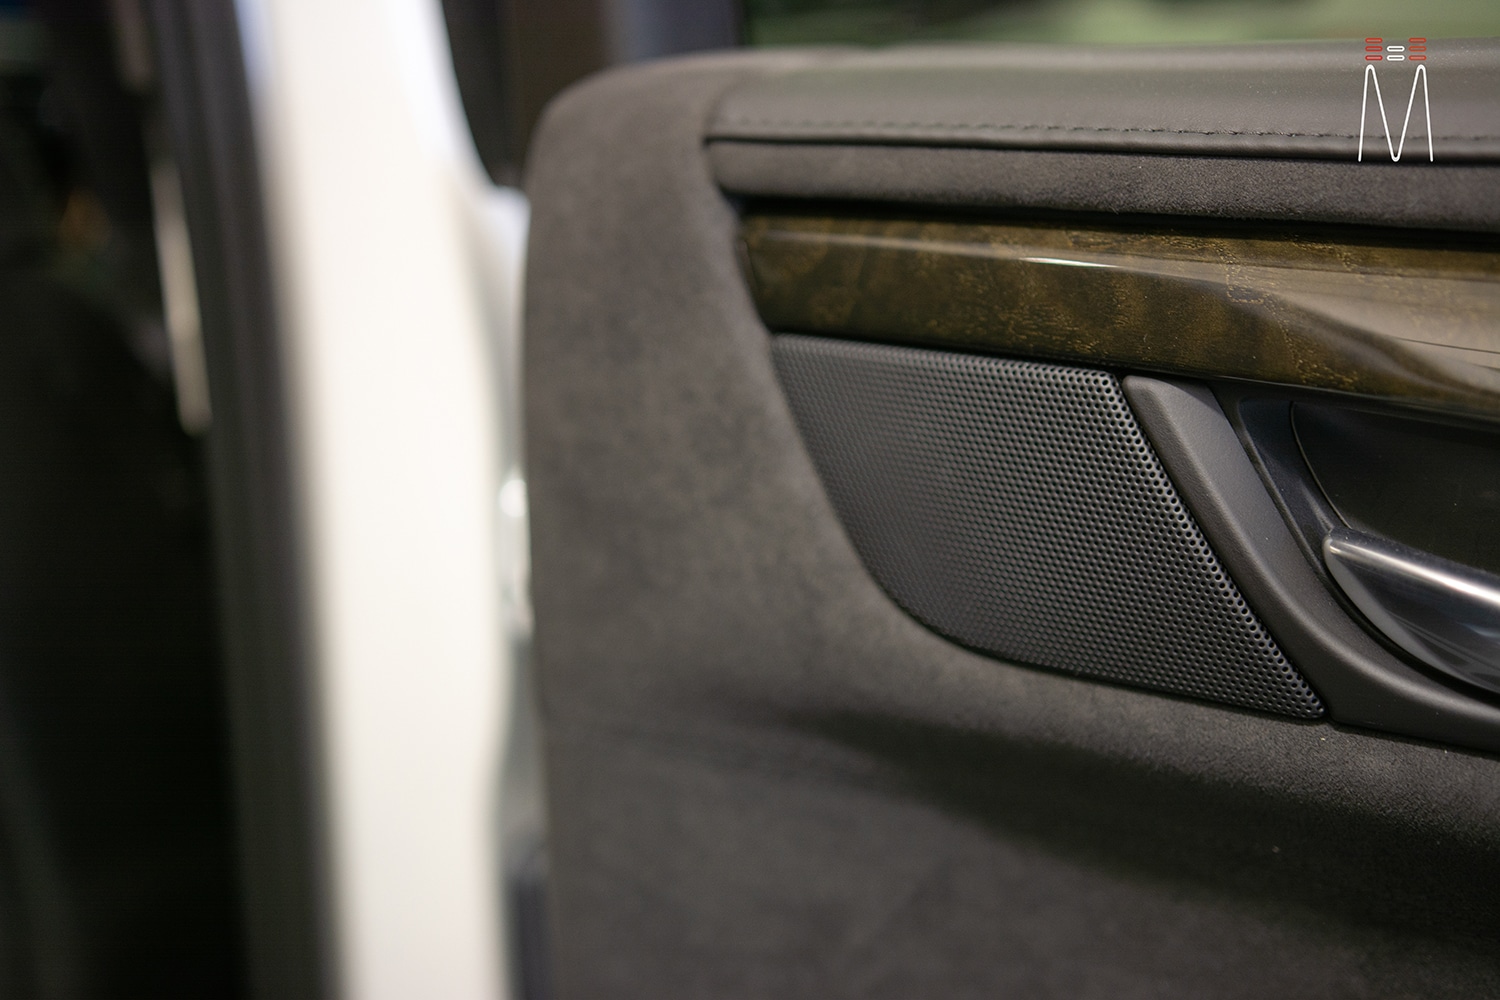
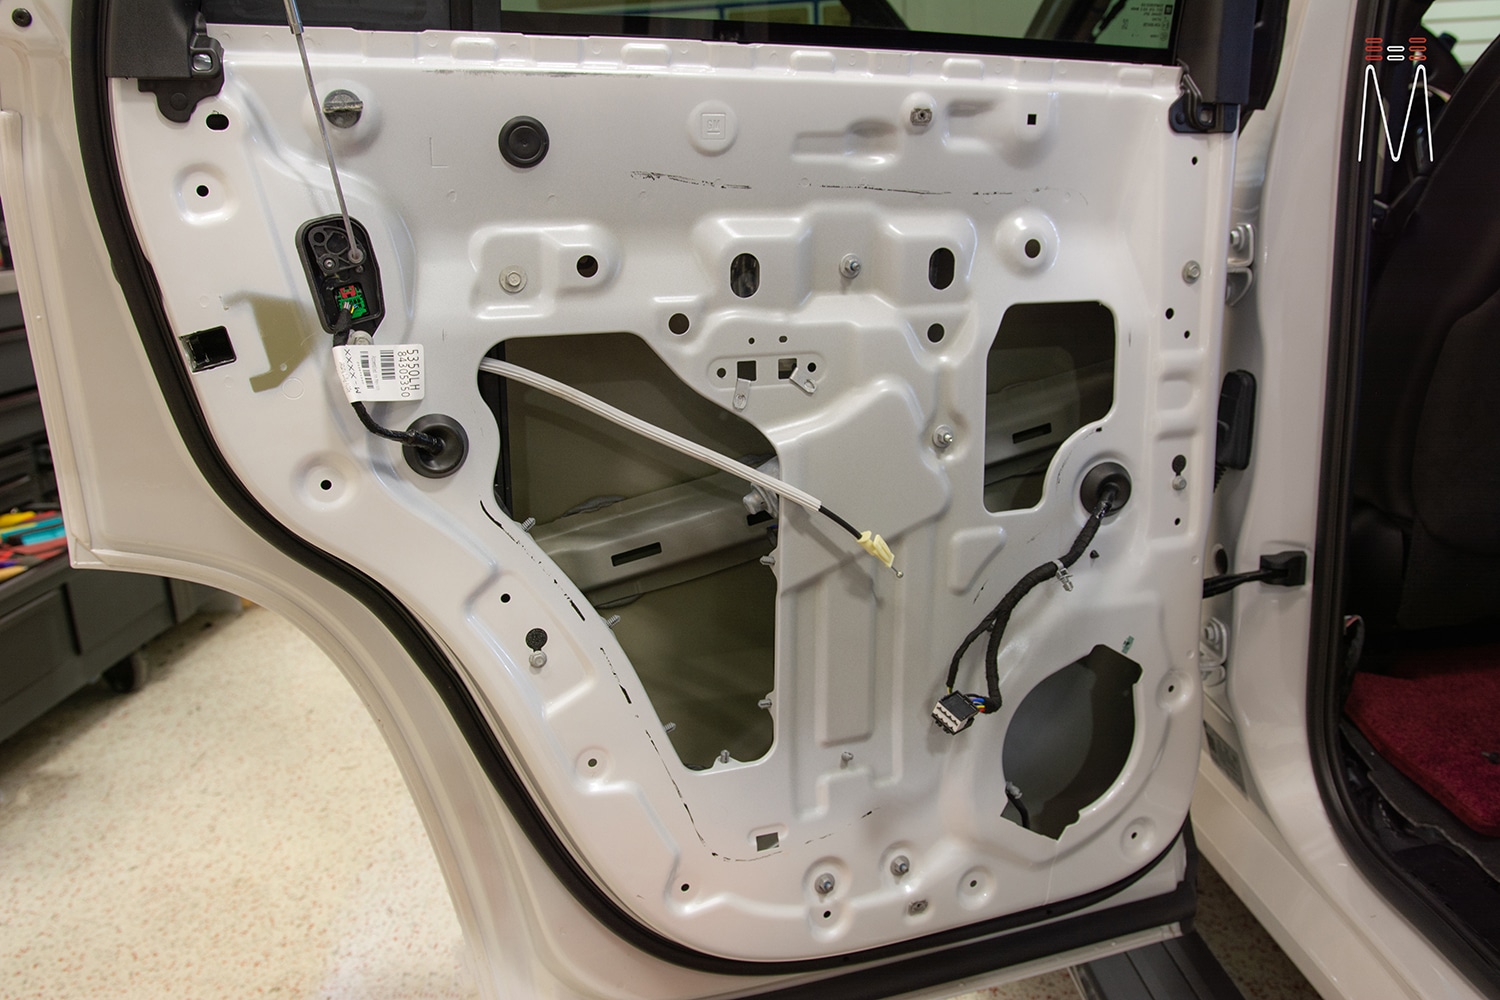
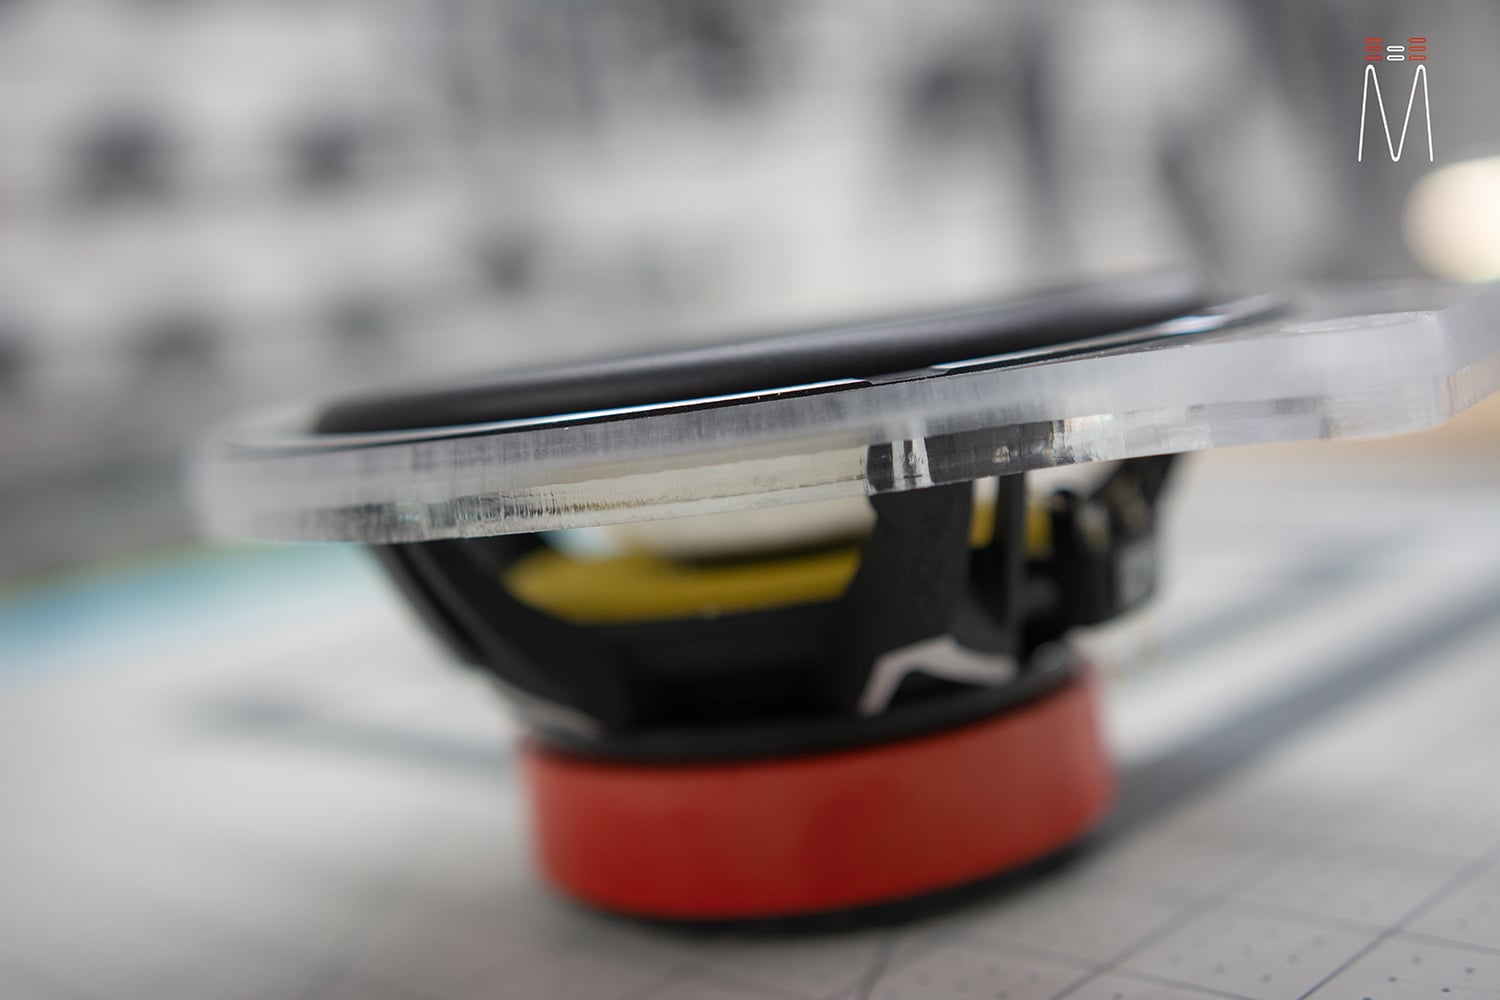
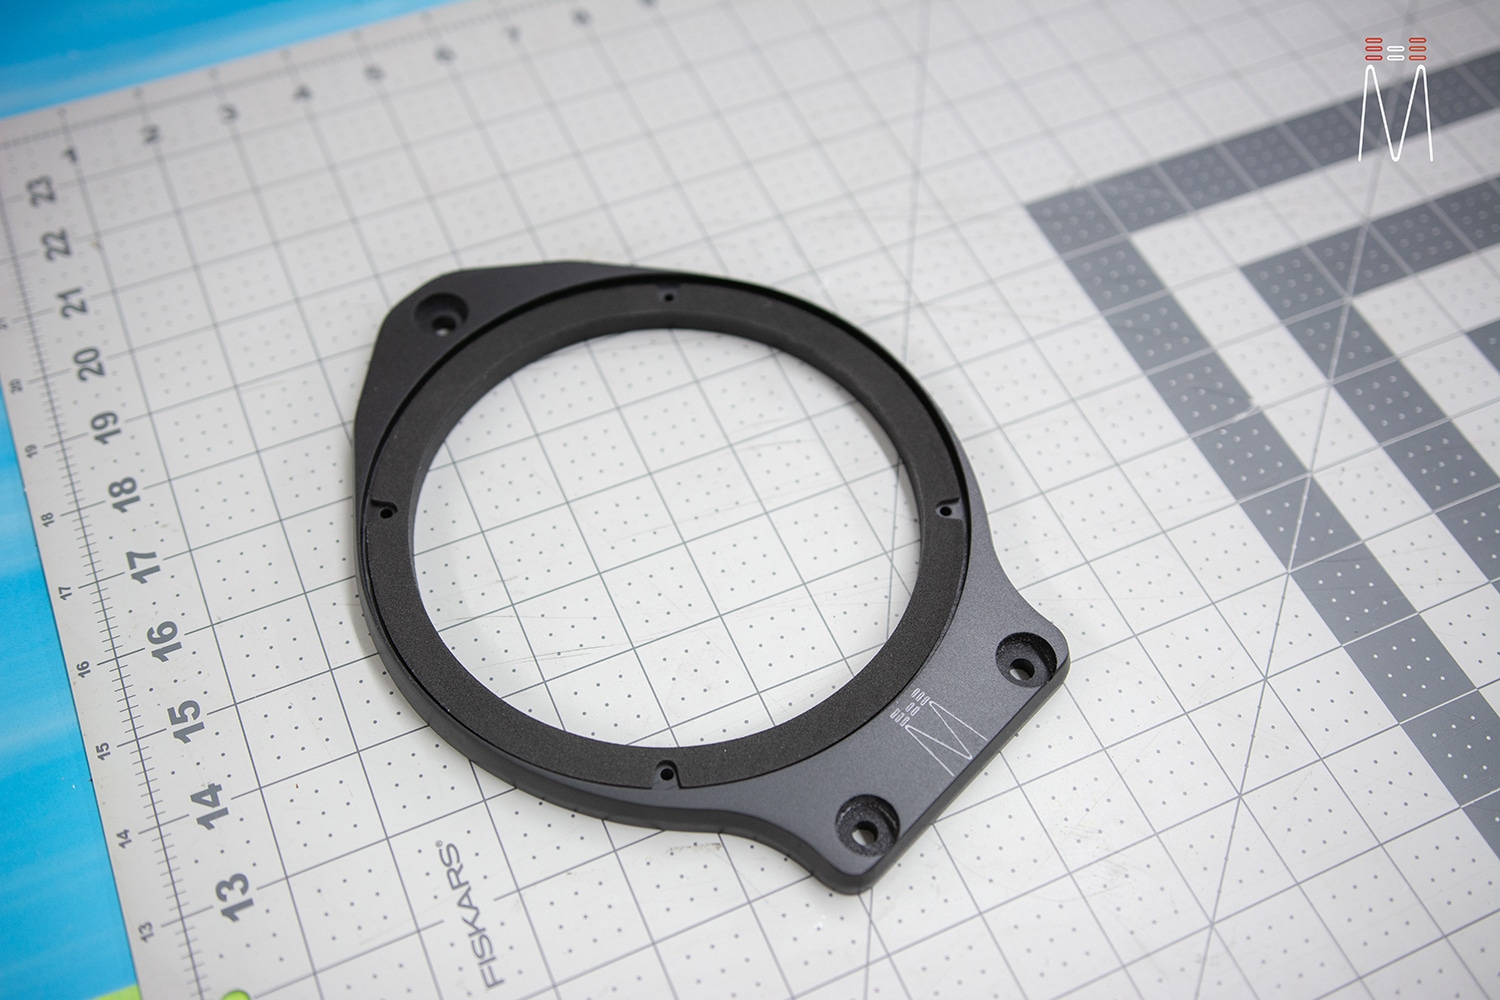
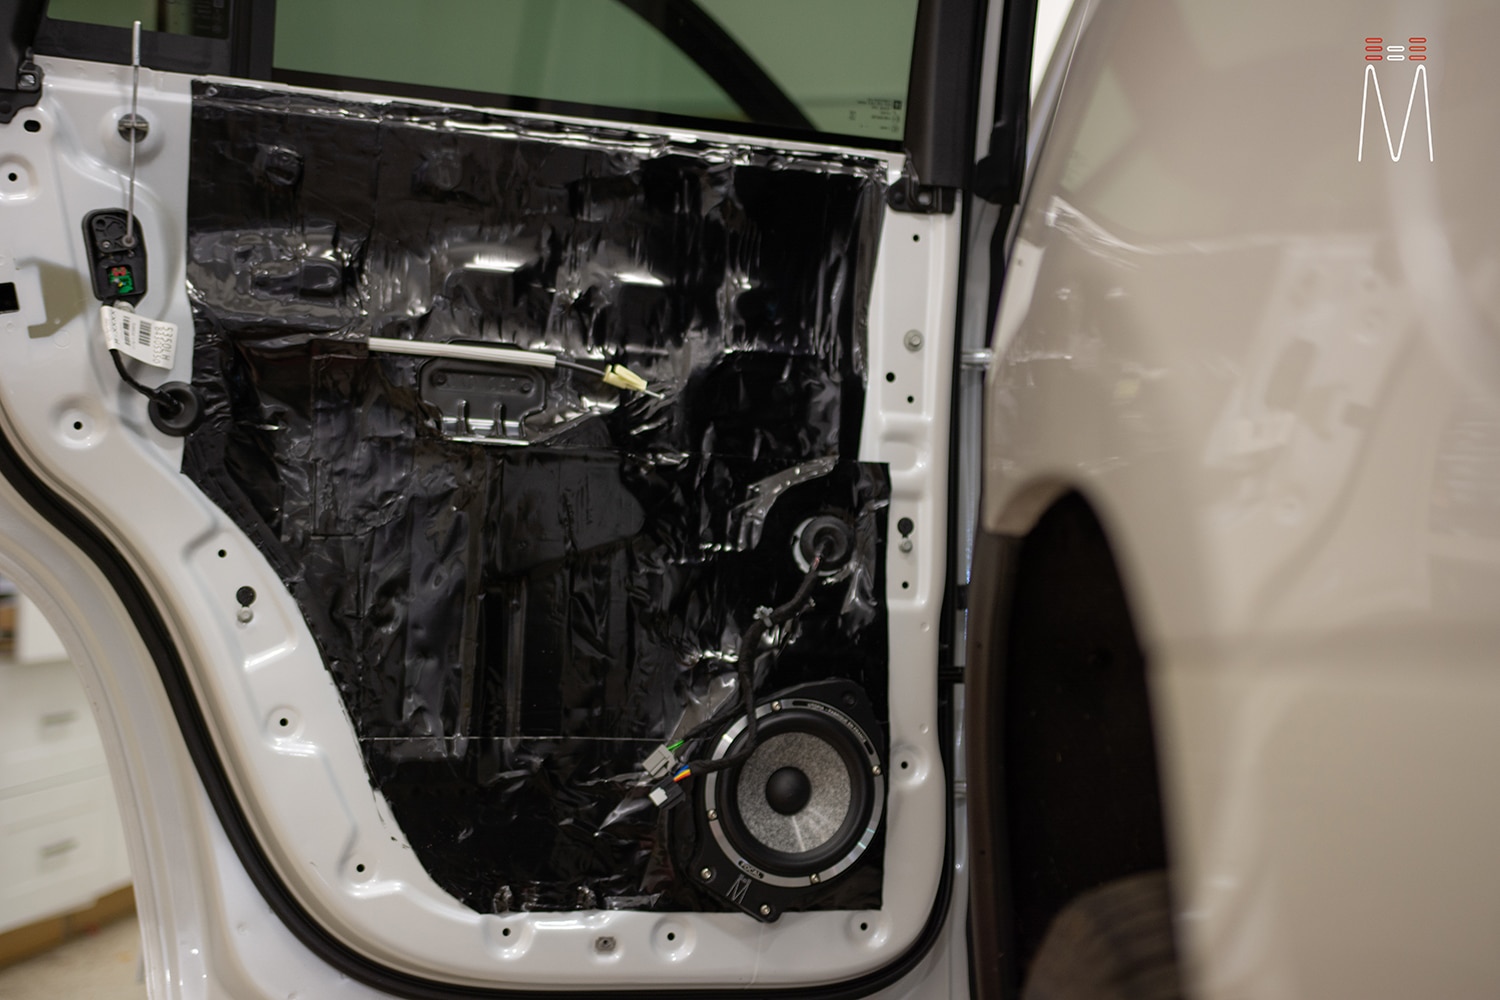
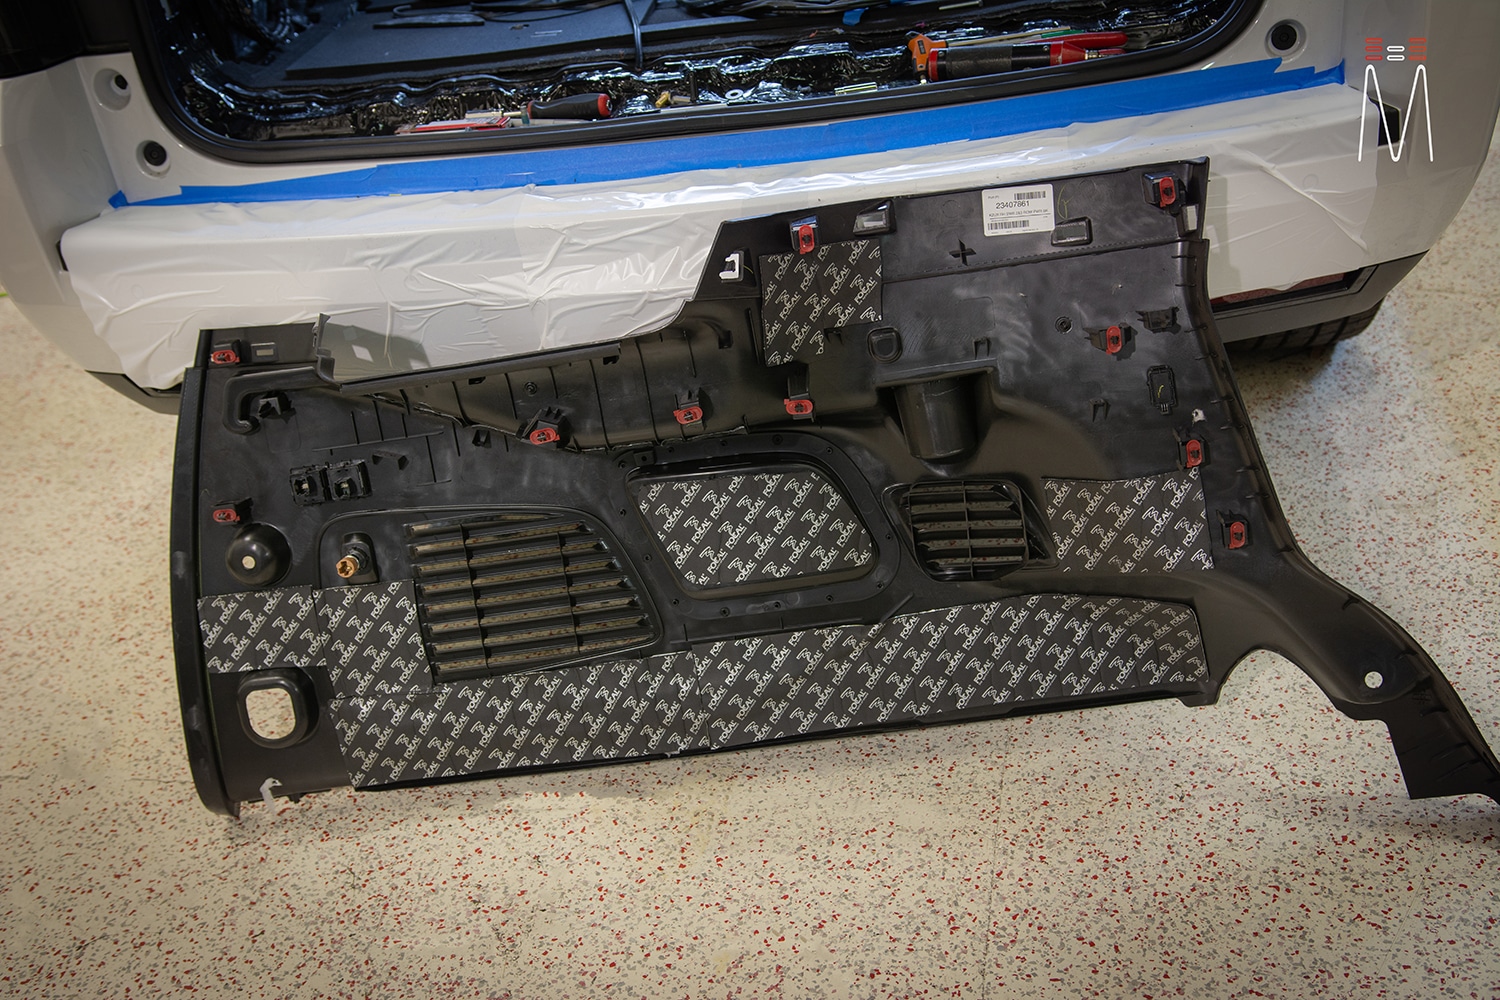
The rear doors were also sound treated with Hushmat, Focal BAMXXL and Blackhole Tile. Acrylic speaker adapters were fabricated to house our 6” Utopia driver in the lower OEM location. The tweeter could not fit in the OEM location, so that grille was remolded and rewrapped in matching black Alcantara suede to sit in flush.
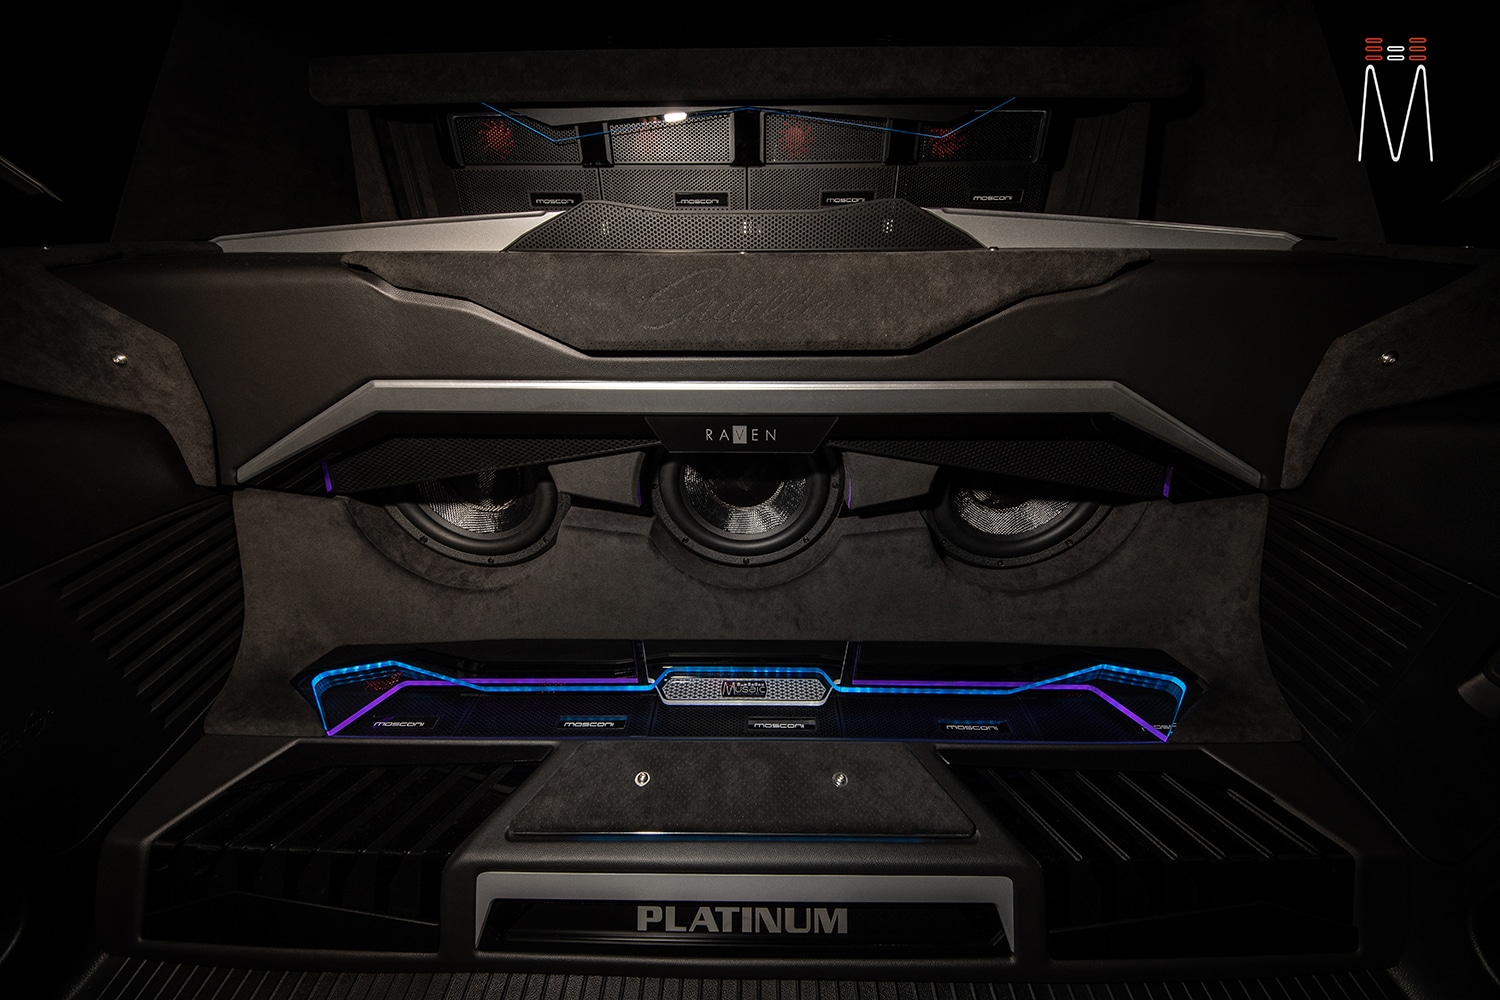
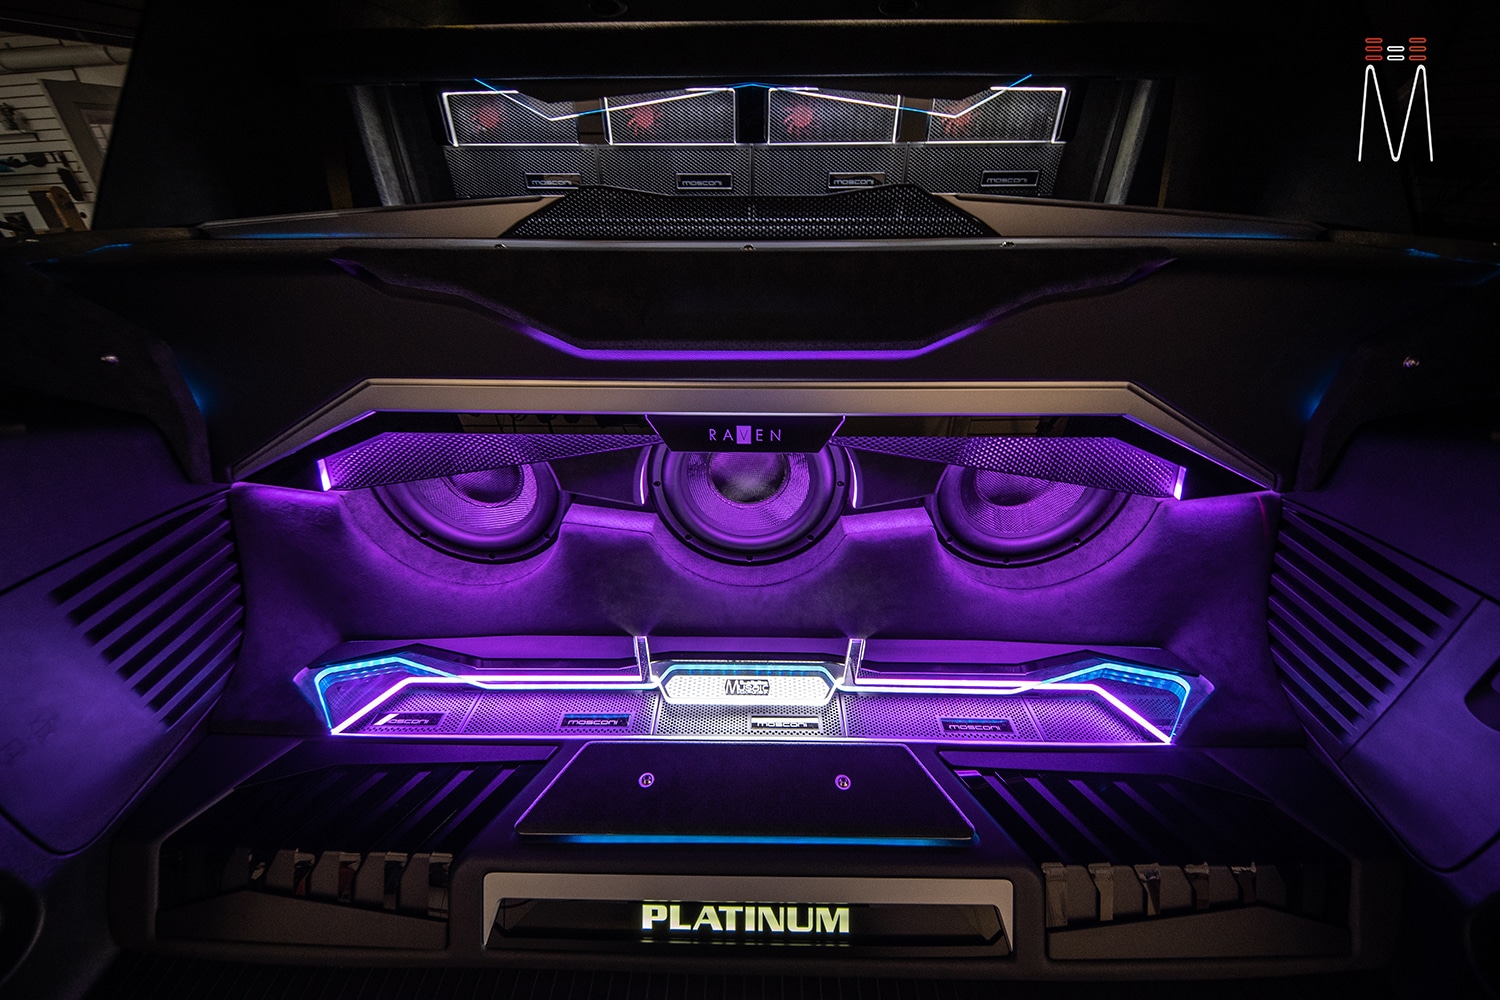
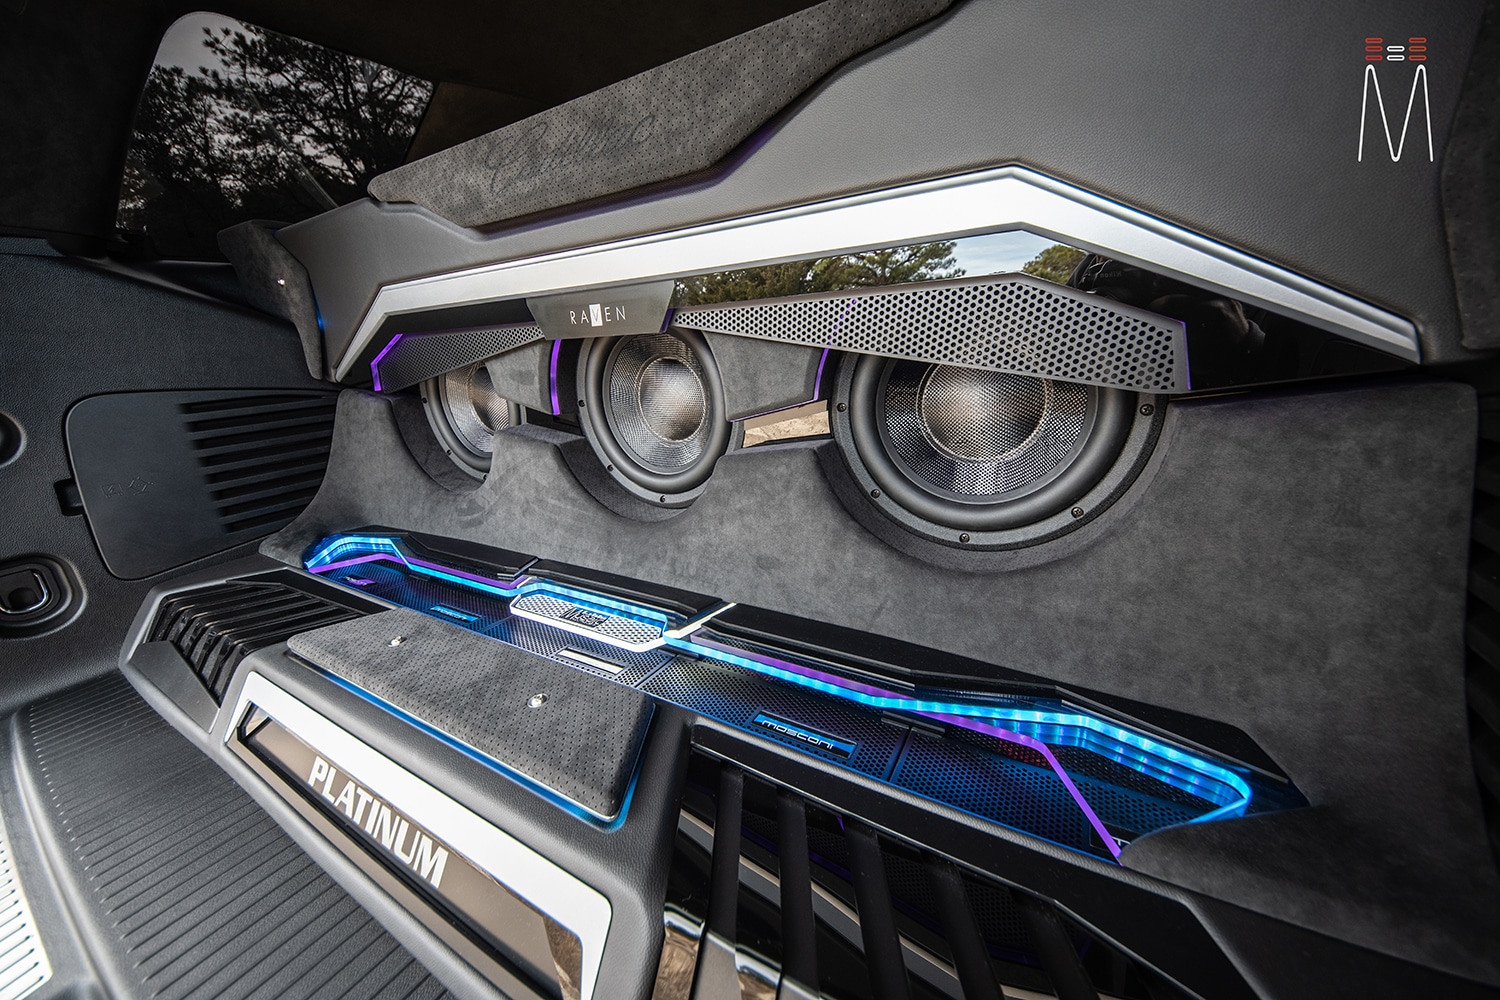
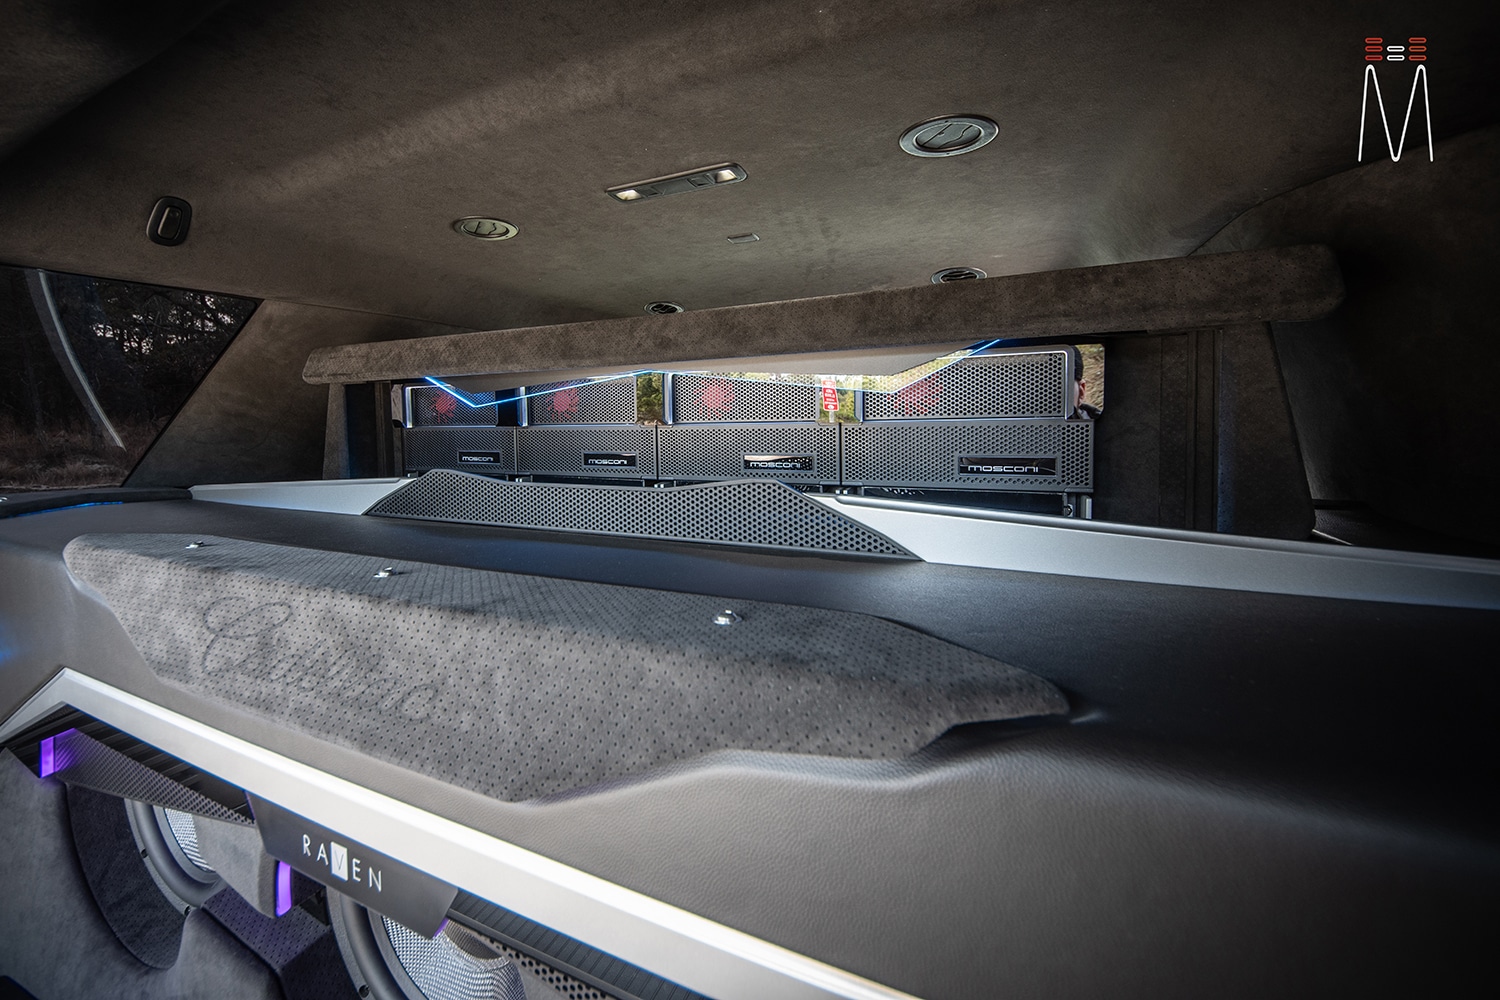
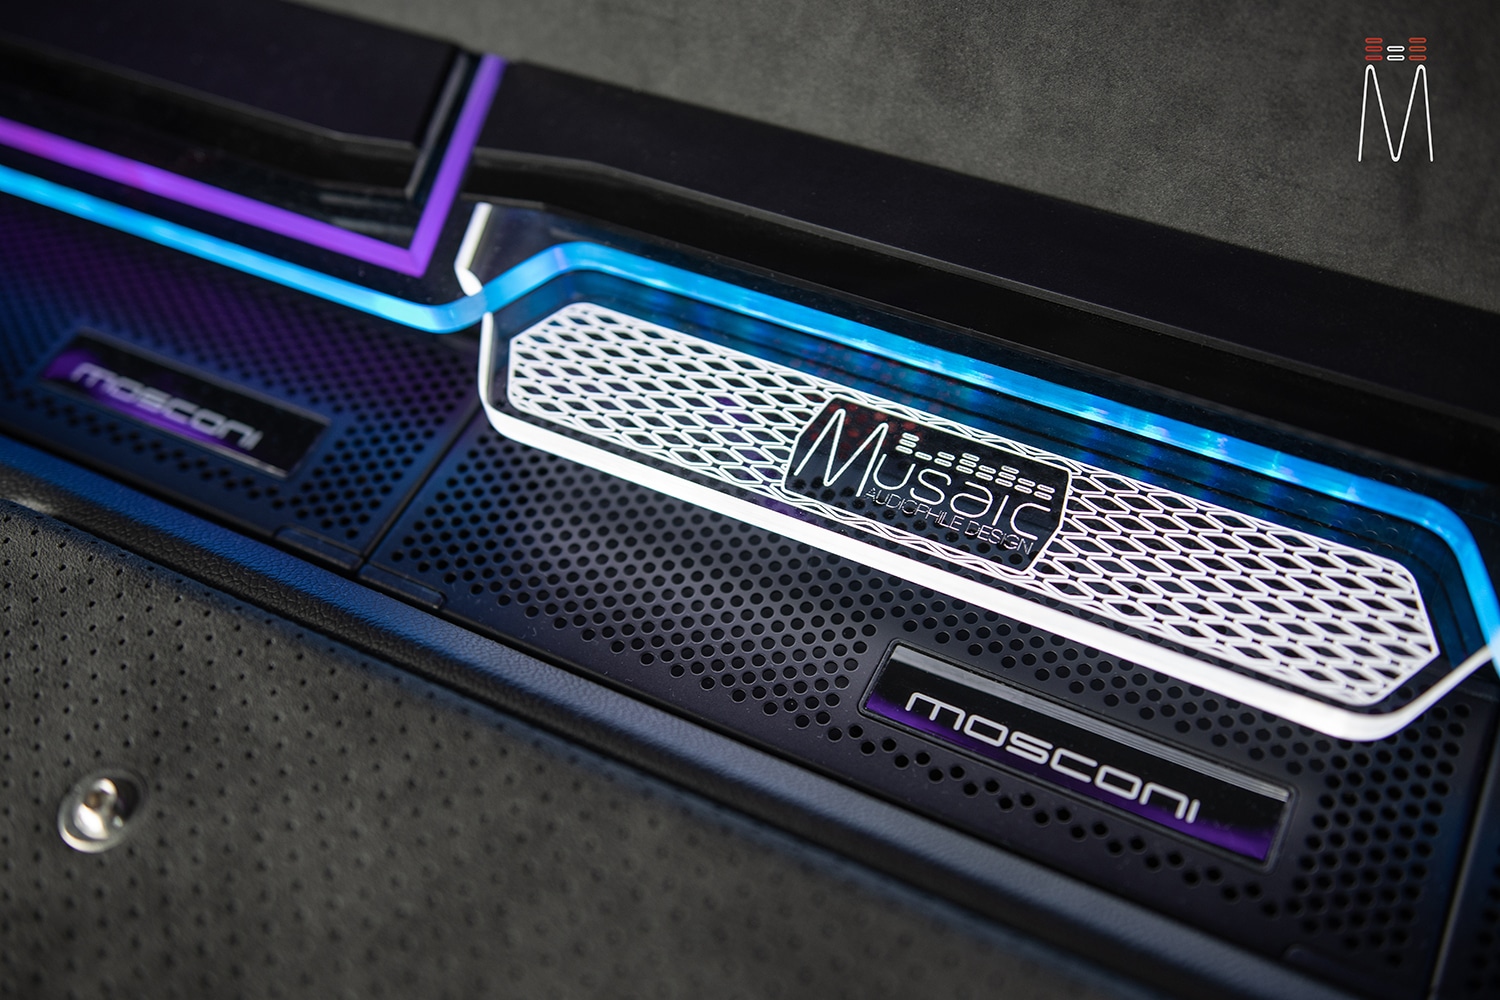
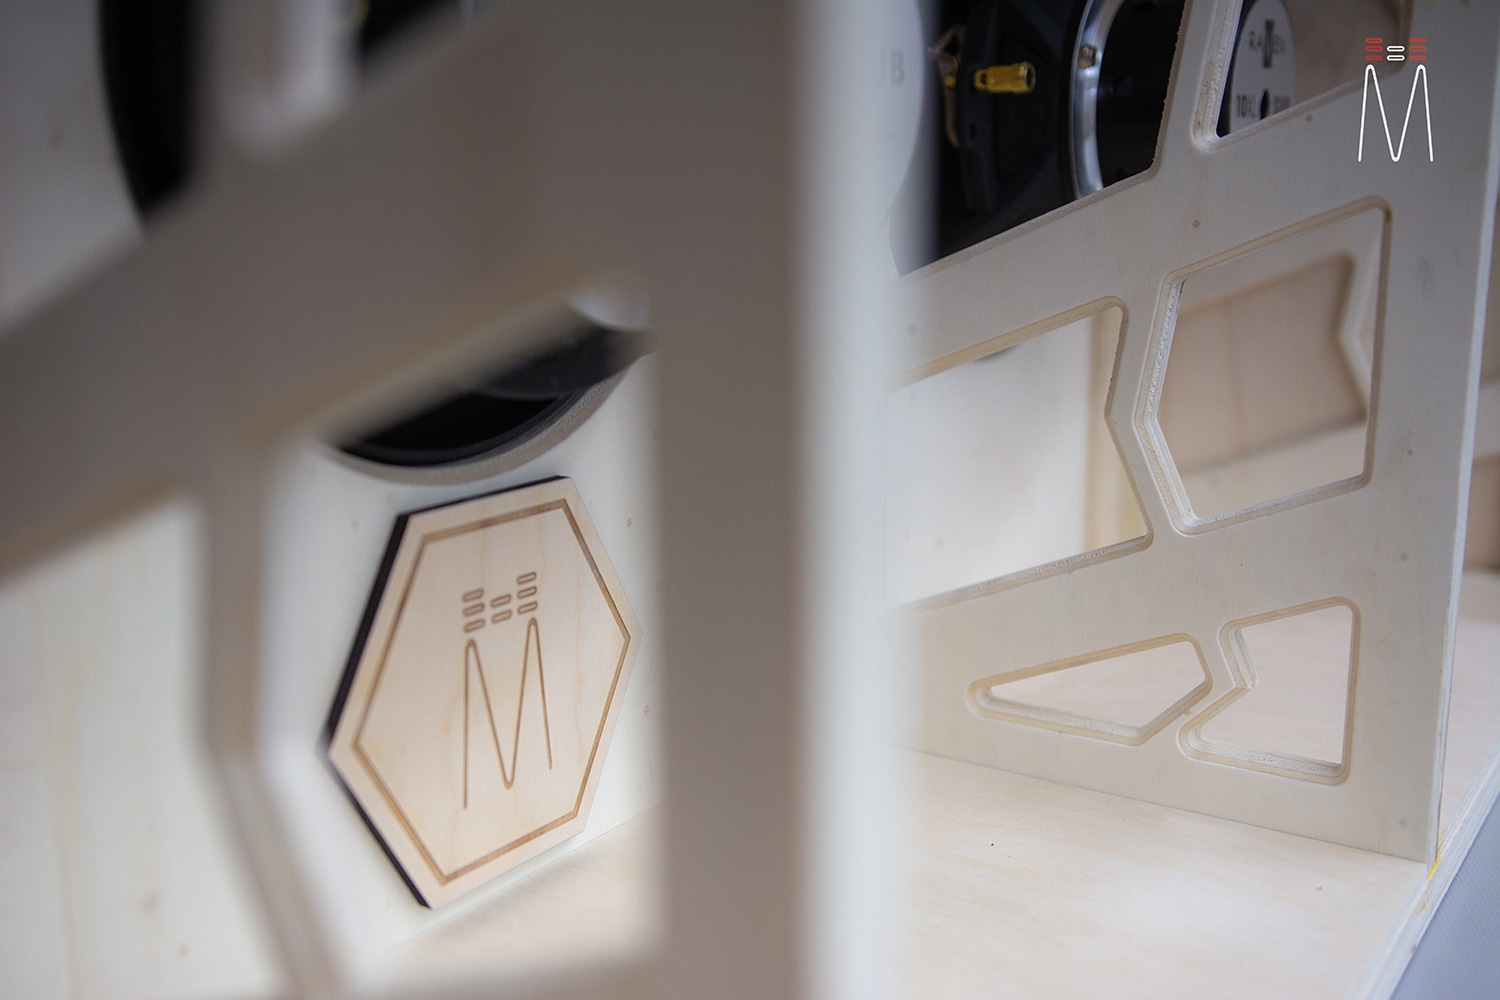
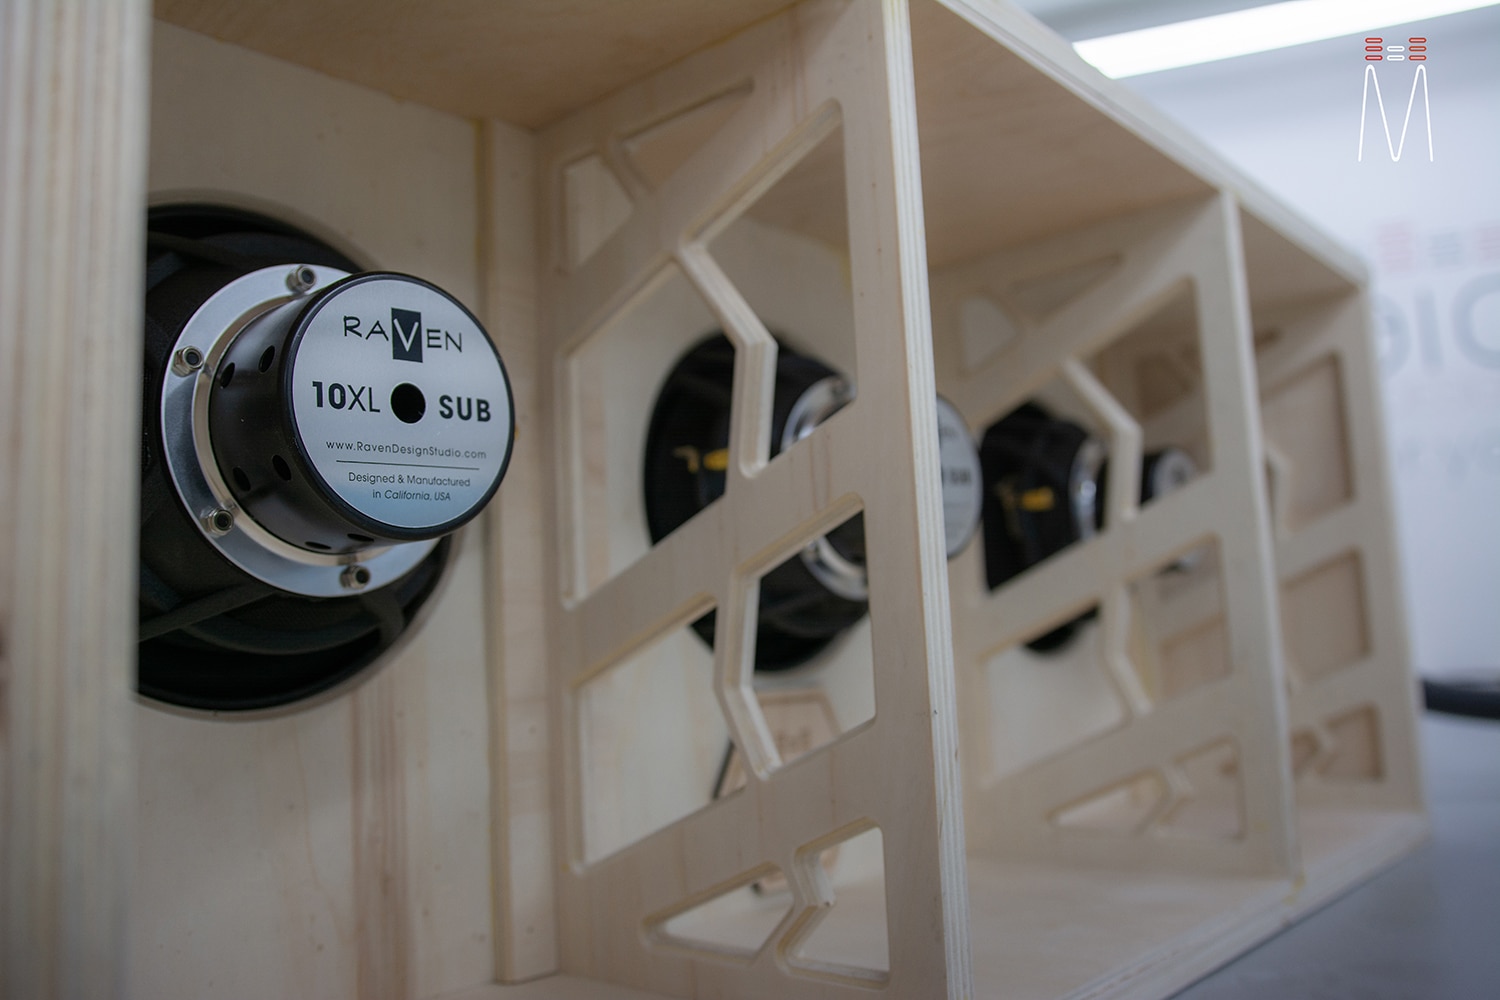
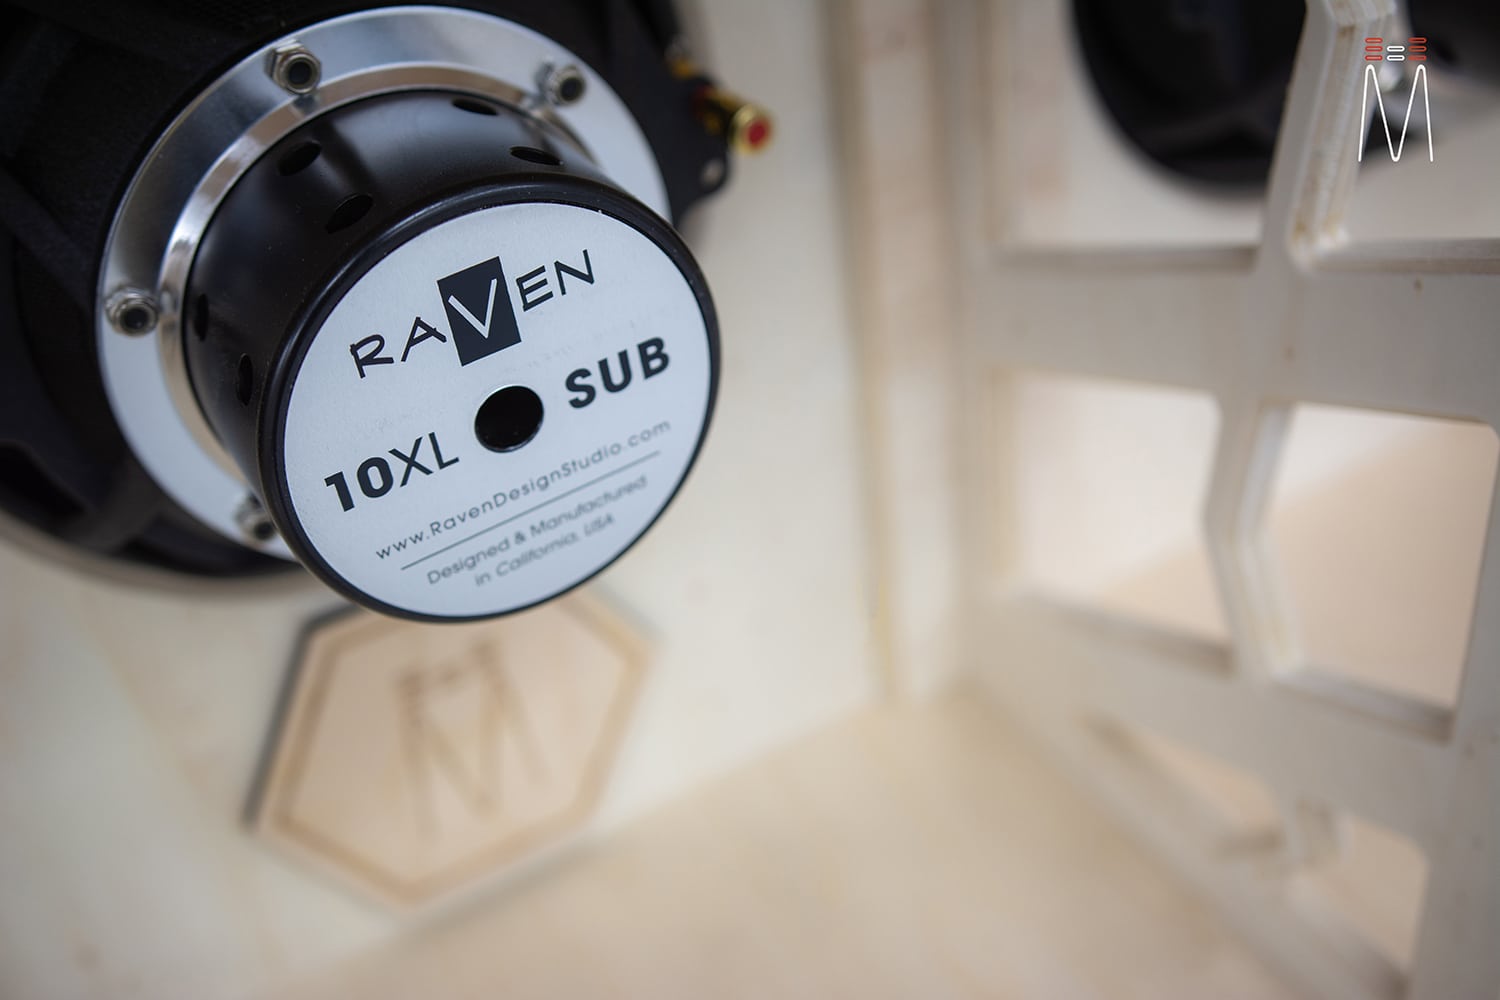
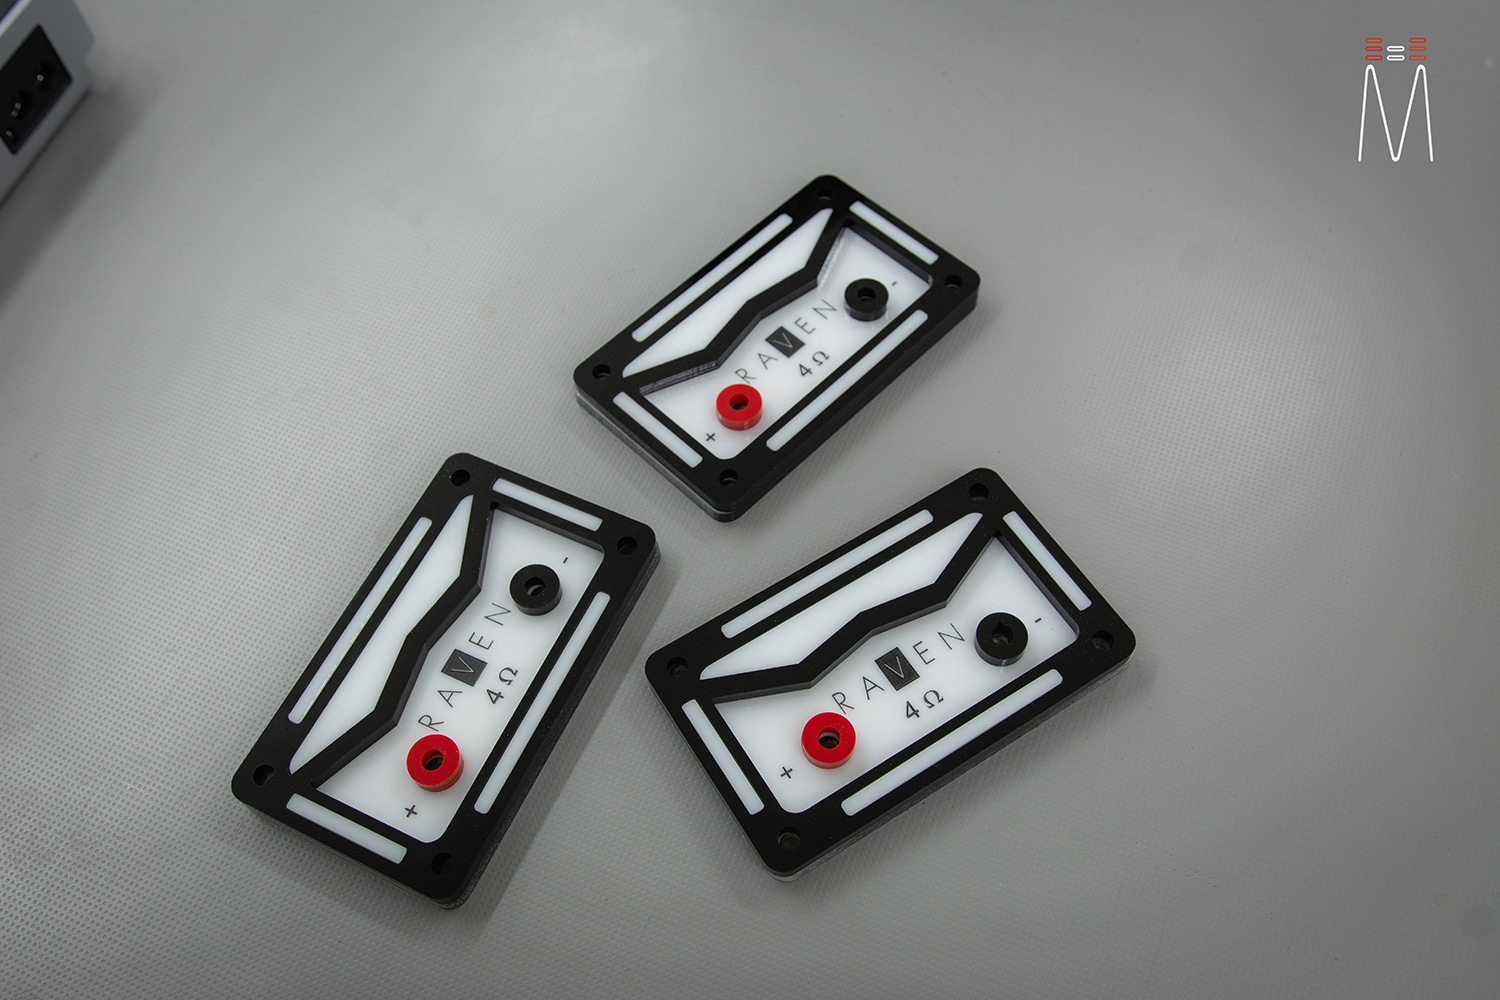
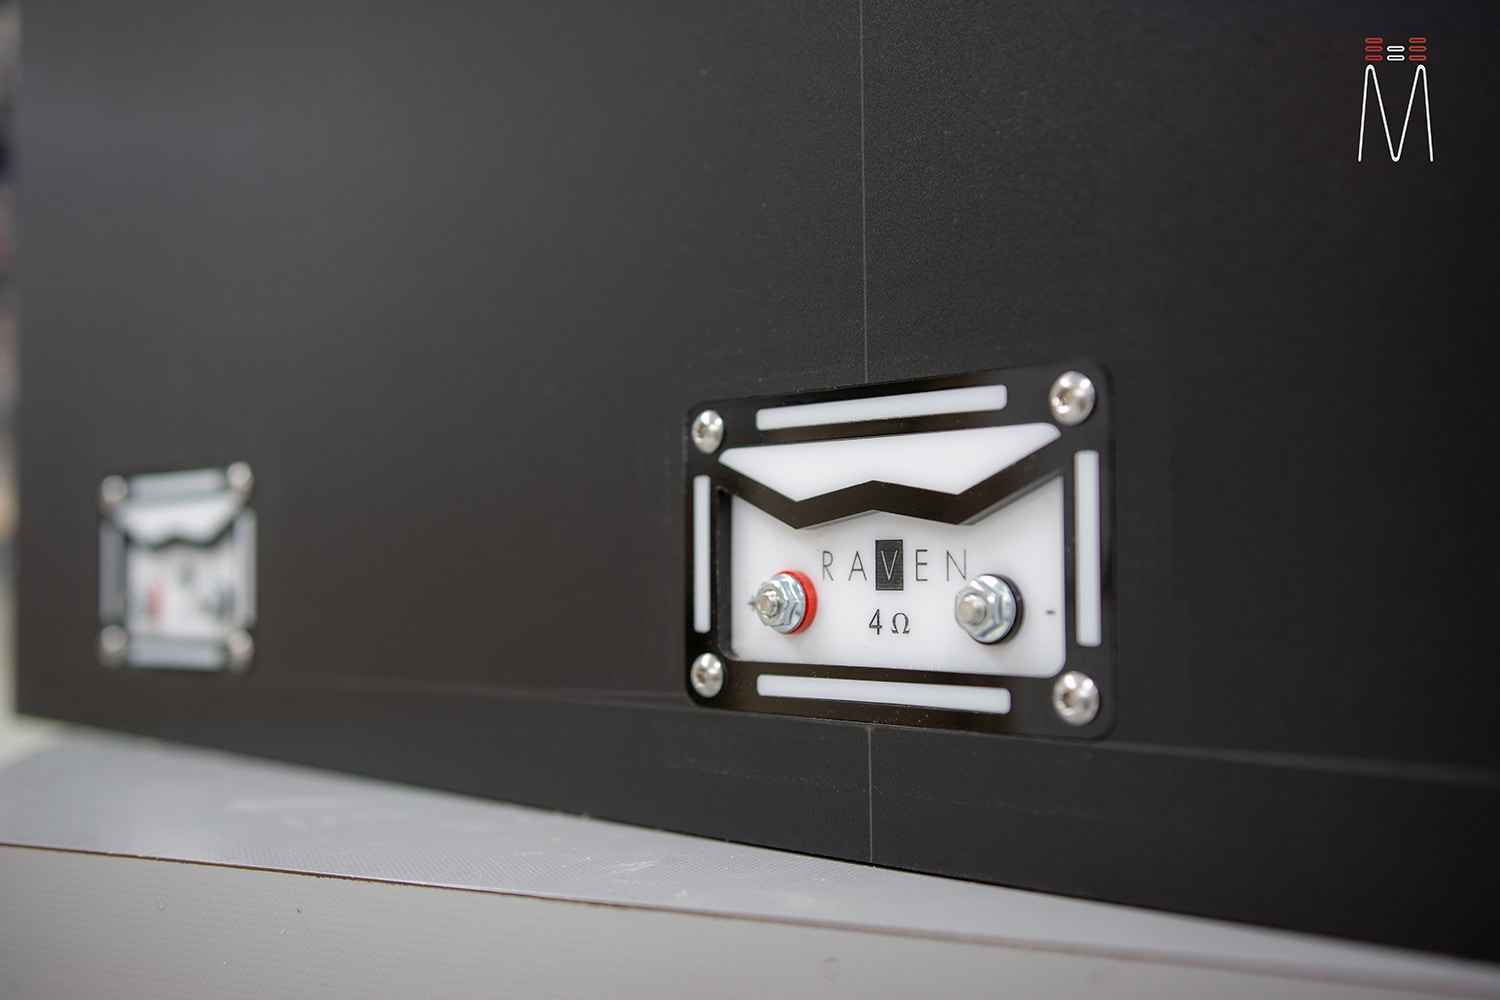
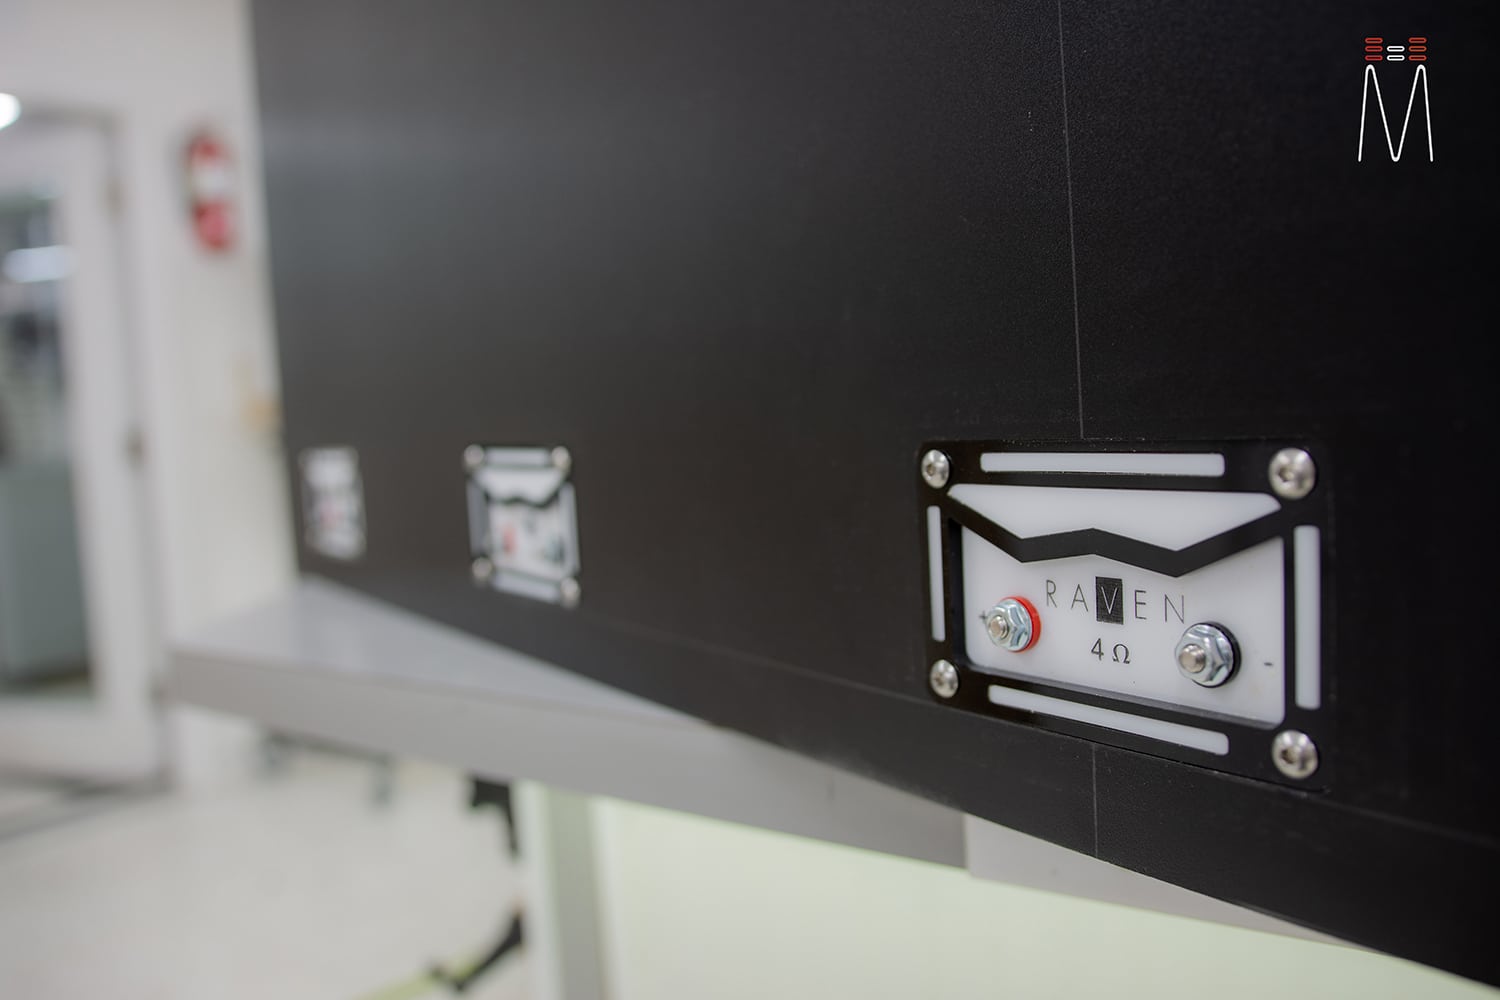
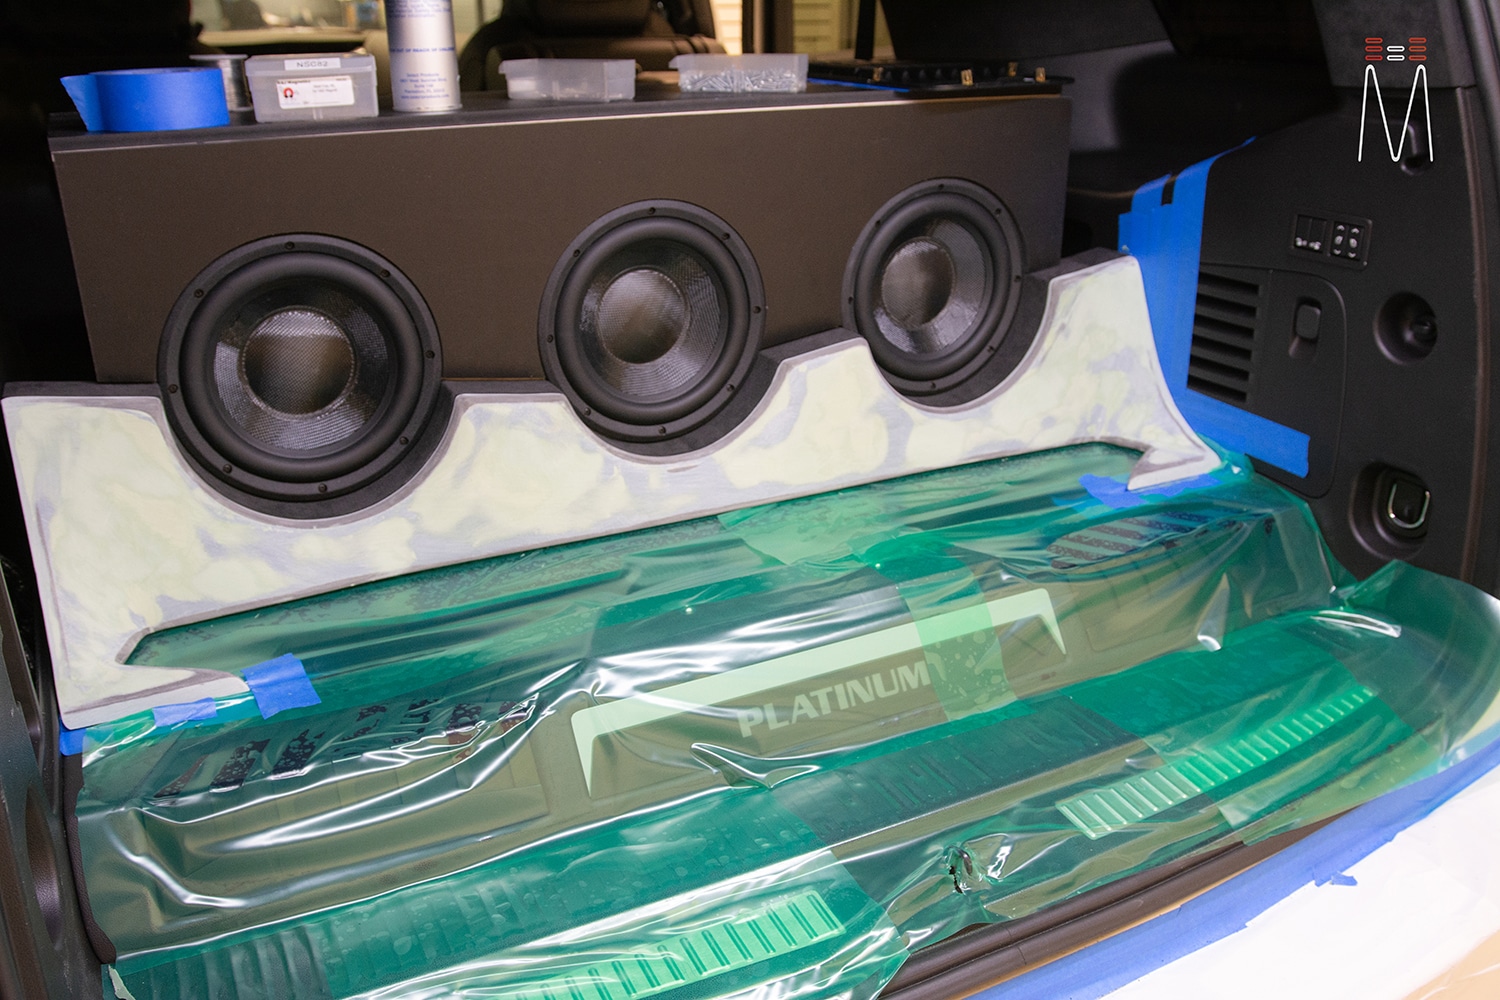
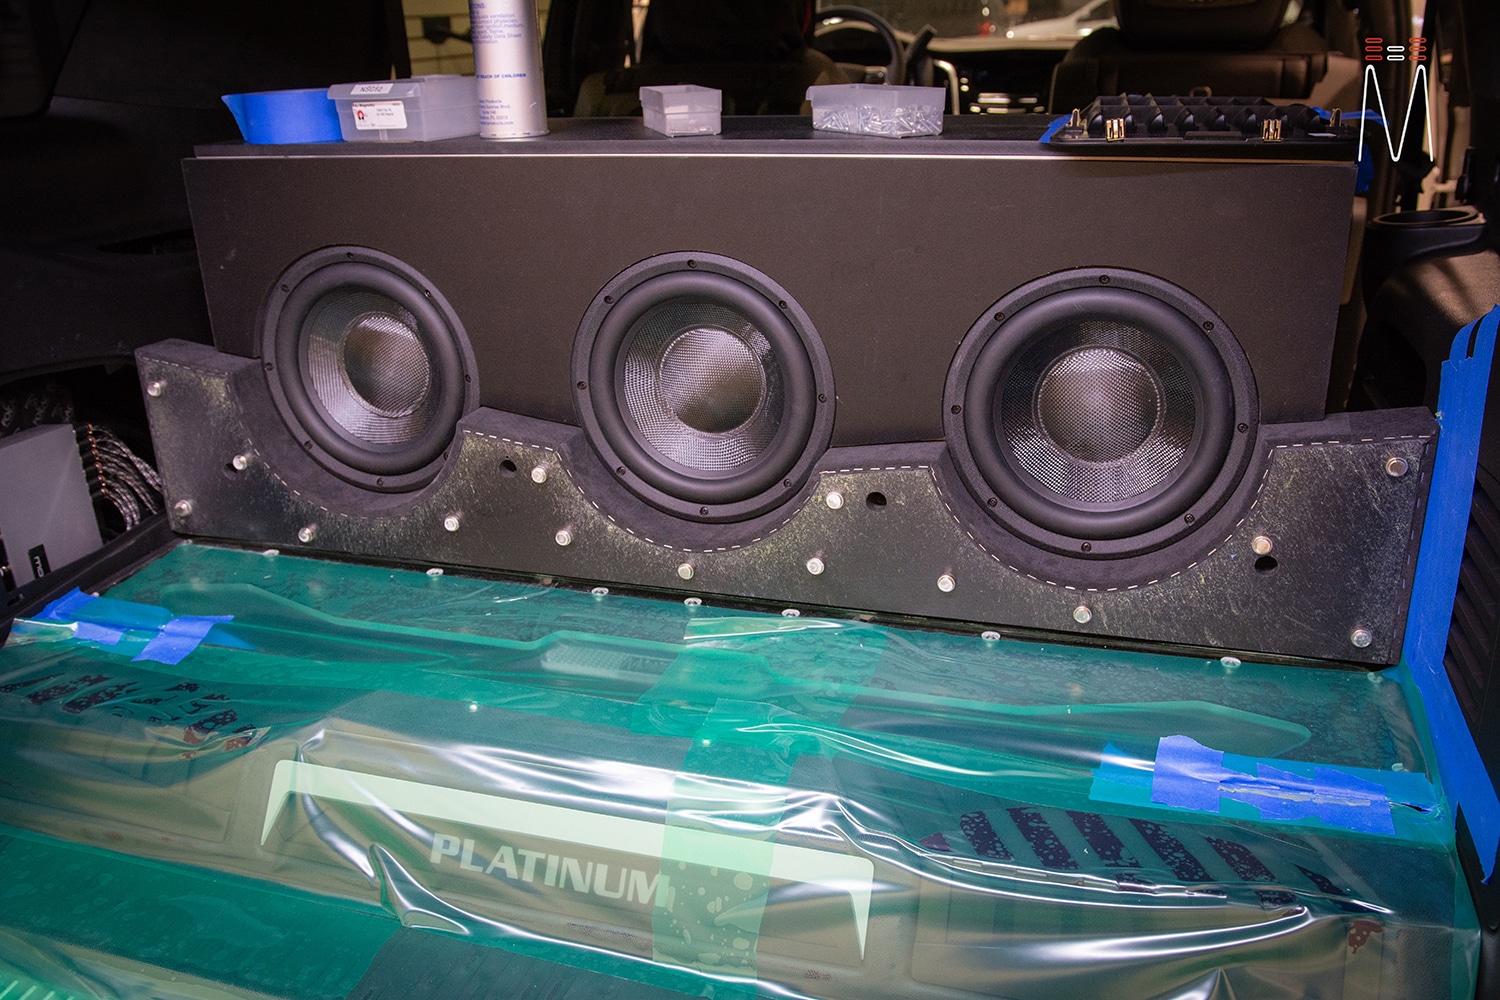
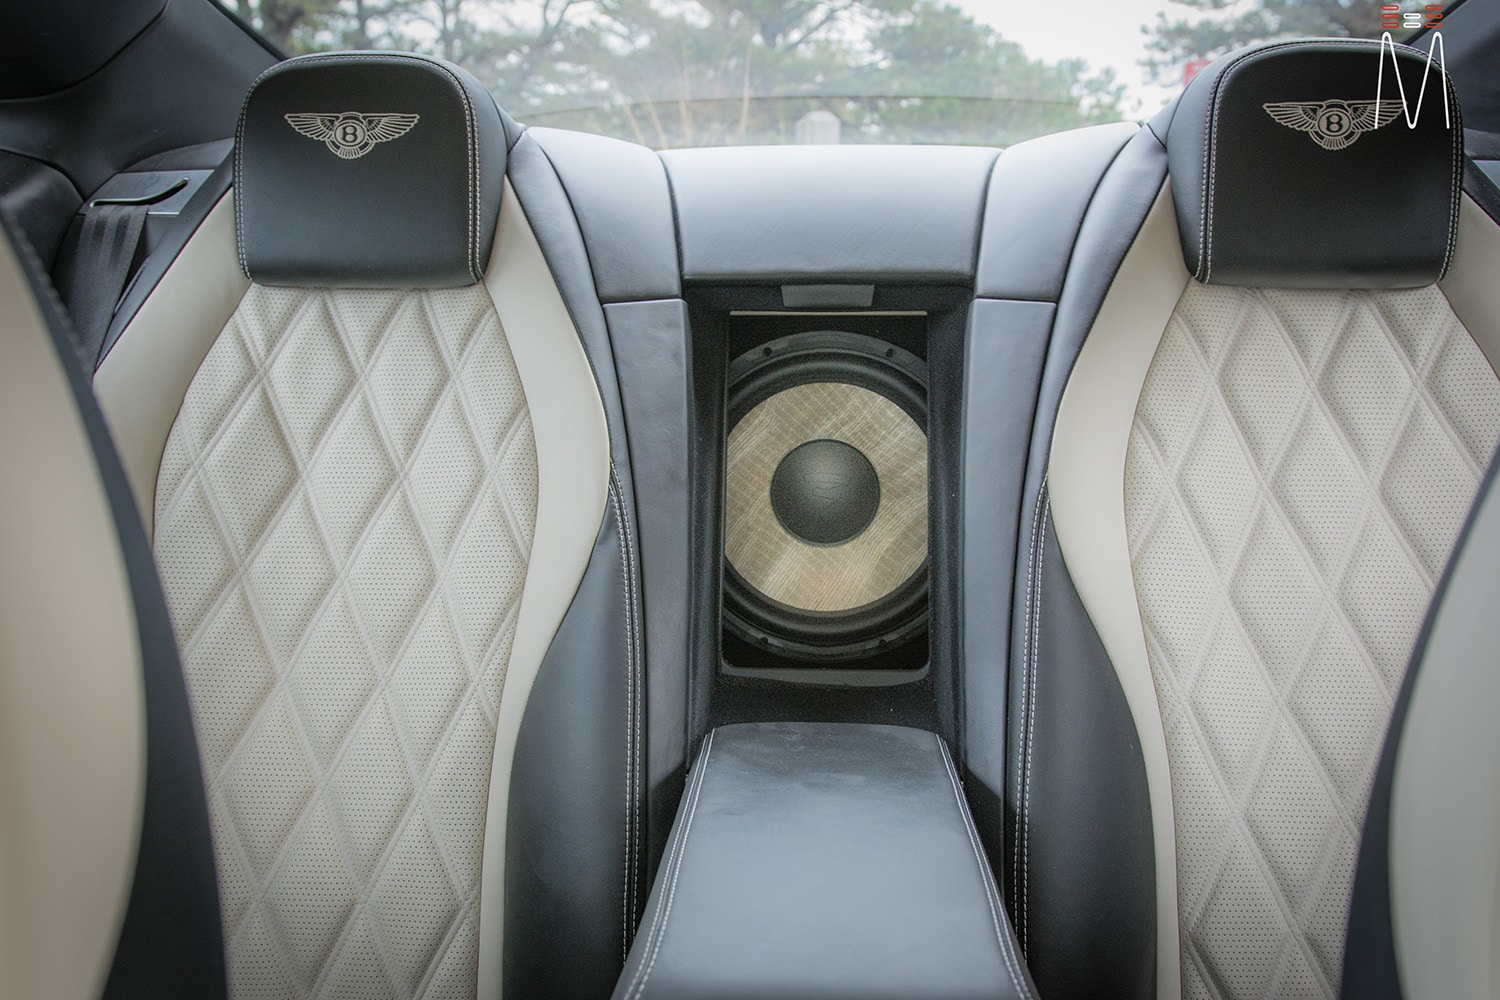
Three ORCA Design Raven 10” subwoofer were chosen for the low end of the build. A sealed enclosure was made from Russian Baltic Birch and was mounted to a subfloor, which in turn, mounts to the OEM third row seat points. We fabricated a ton of different beauty panels to house our amplifiers and to display our product. You can find five Mosconi Pro amplifiers that reside right under the three subwoofers. A few grille panels were fabricated to scale to match the design of the Mosconi Pro Amplifiers. This made these Amplifiers look as though they completely match the design. A motorized amp rack was created to house the final four amplifiers. This amp rack is activated by pressing the “up” button from the rear seat button that can be found right inside the trunk trim. This was a button that would activate the rear seat to flip for more cargo area. When the amp rack hits the top of the motor stroke, the RGB leg on the acrylic activates as a second action. Blackhole Tile was used to kill the linear actuator wine inside the enclosure. This dropped the noise substantially for a more pleasant effect. A modular design was used for the top caps (perforated Alcantara suede inserts) and bolted down with stainless steel Allen bolts to incorporate the clients lifestyle in with his project. He builds custom Ducati motorcycles. Over engineering, modular parts, and mounting hardware are the first things that come to mind when I think of Ducati bikes. So that is exactly the direction we went with the build.
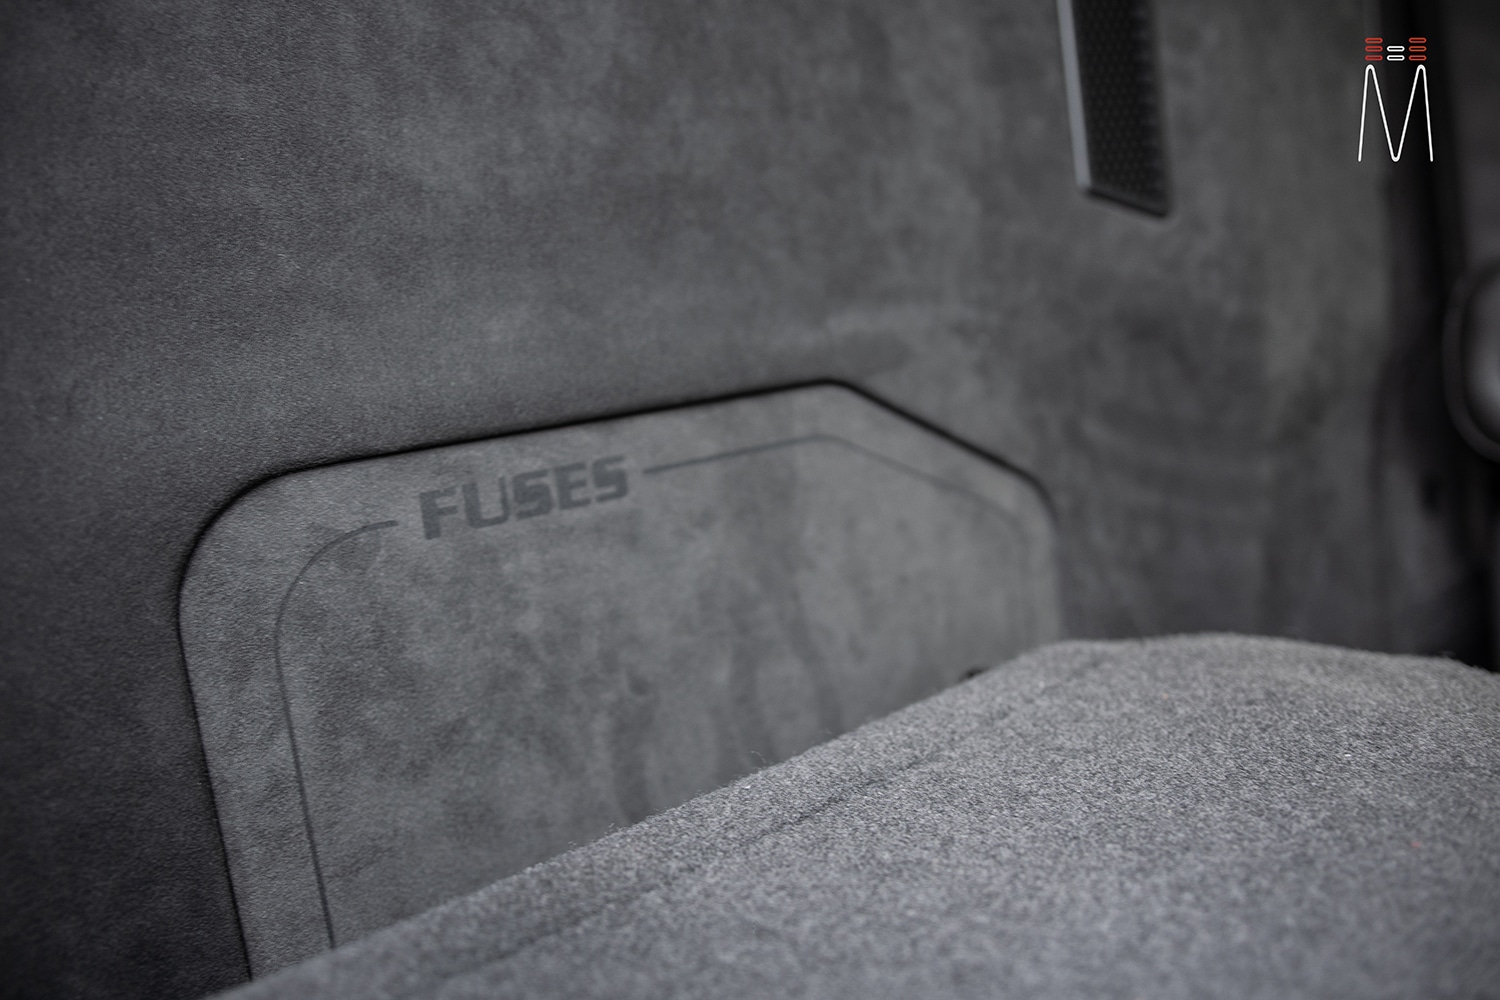
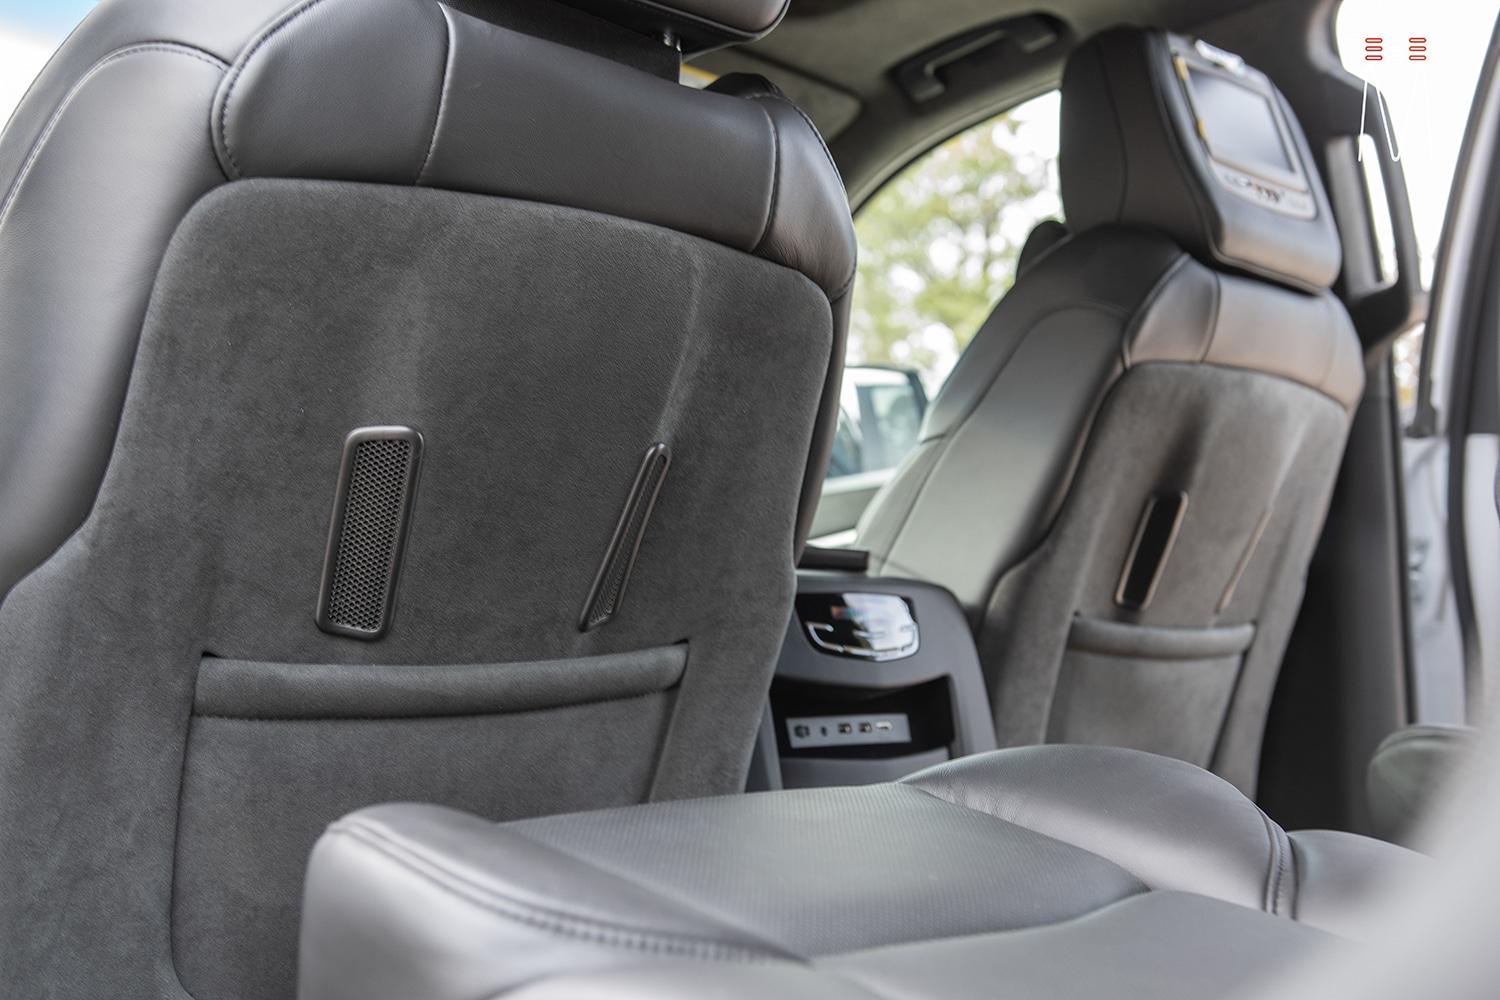
The back of the subwoofer enclosure, as seen from the back seats, was made to emulate the seat backs of the front seats. You will find two grilles on either side of a “hump” that are embedded within an Alcantara panel. Splitting the back seats you can find the same design. Two magnetic removable inserts were flushed into this panel behind each seat to gain access to system fusing on one side and relays and modules on the other. Each one of these Alcantara inserts have either “Relays” or “Fuses” rastered into the suede using the “Escalade” font.
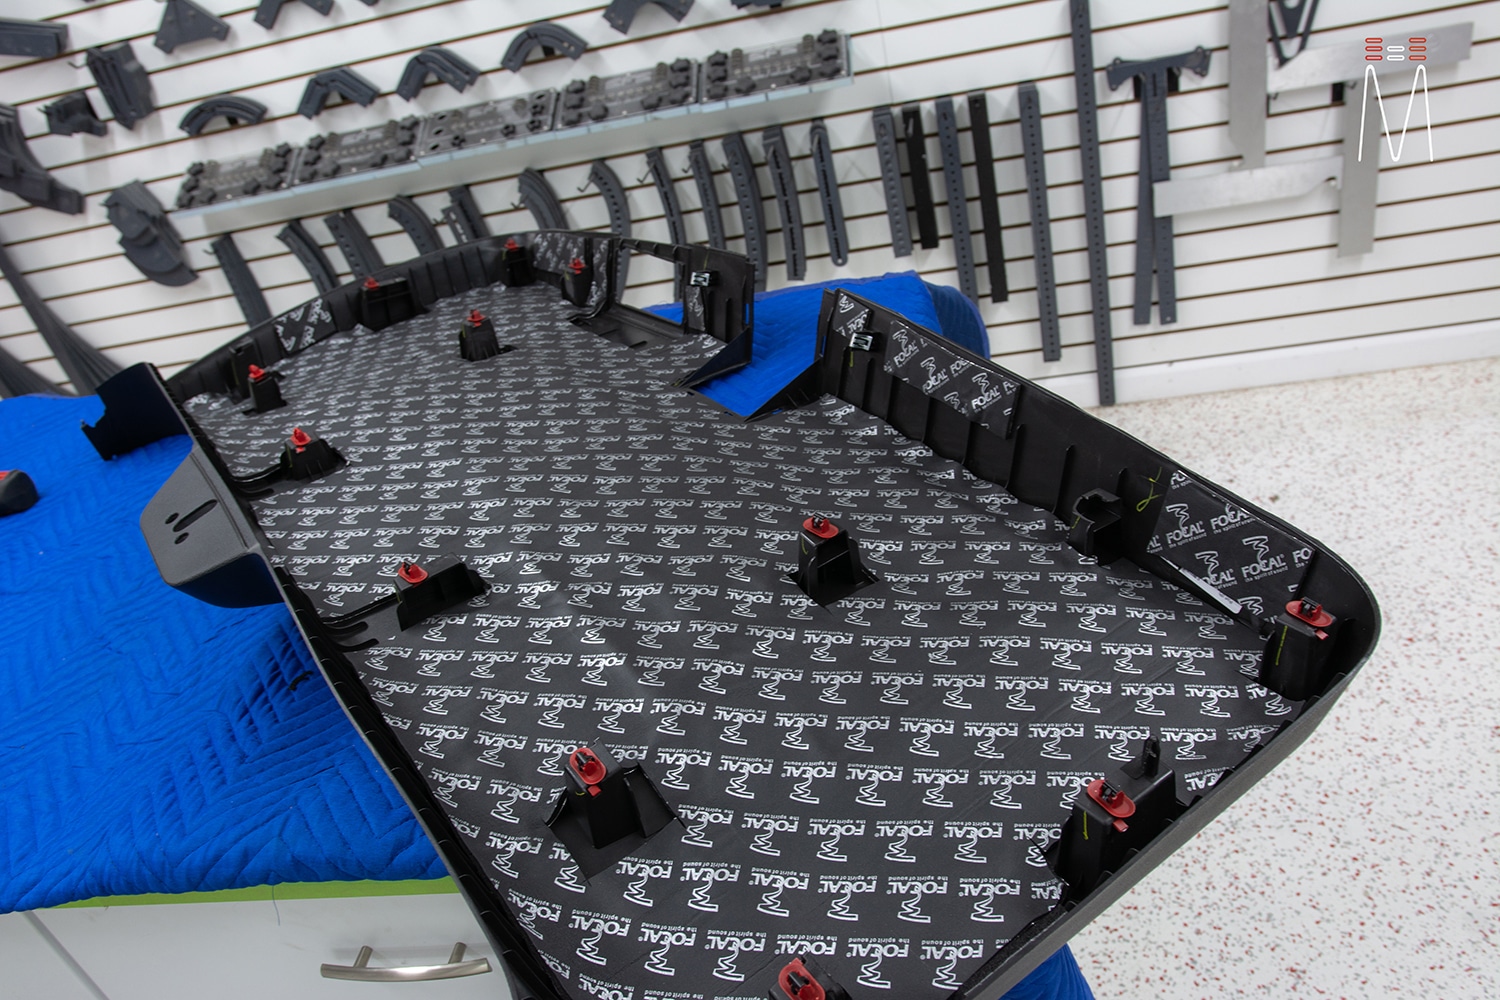
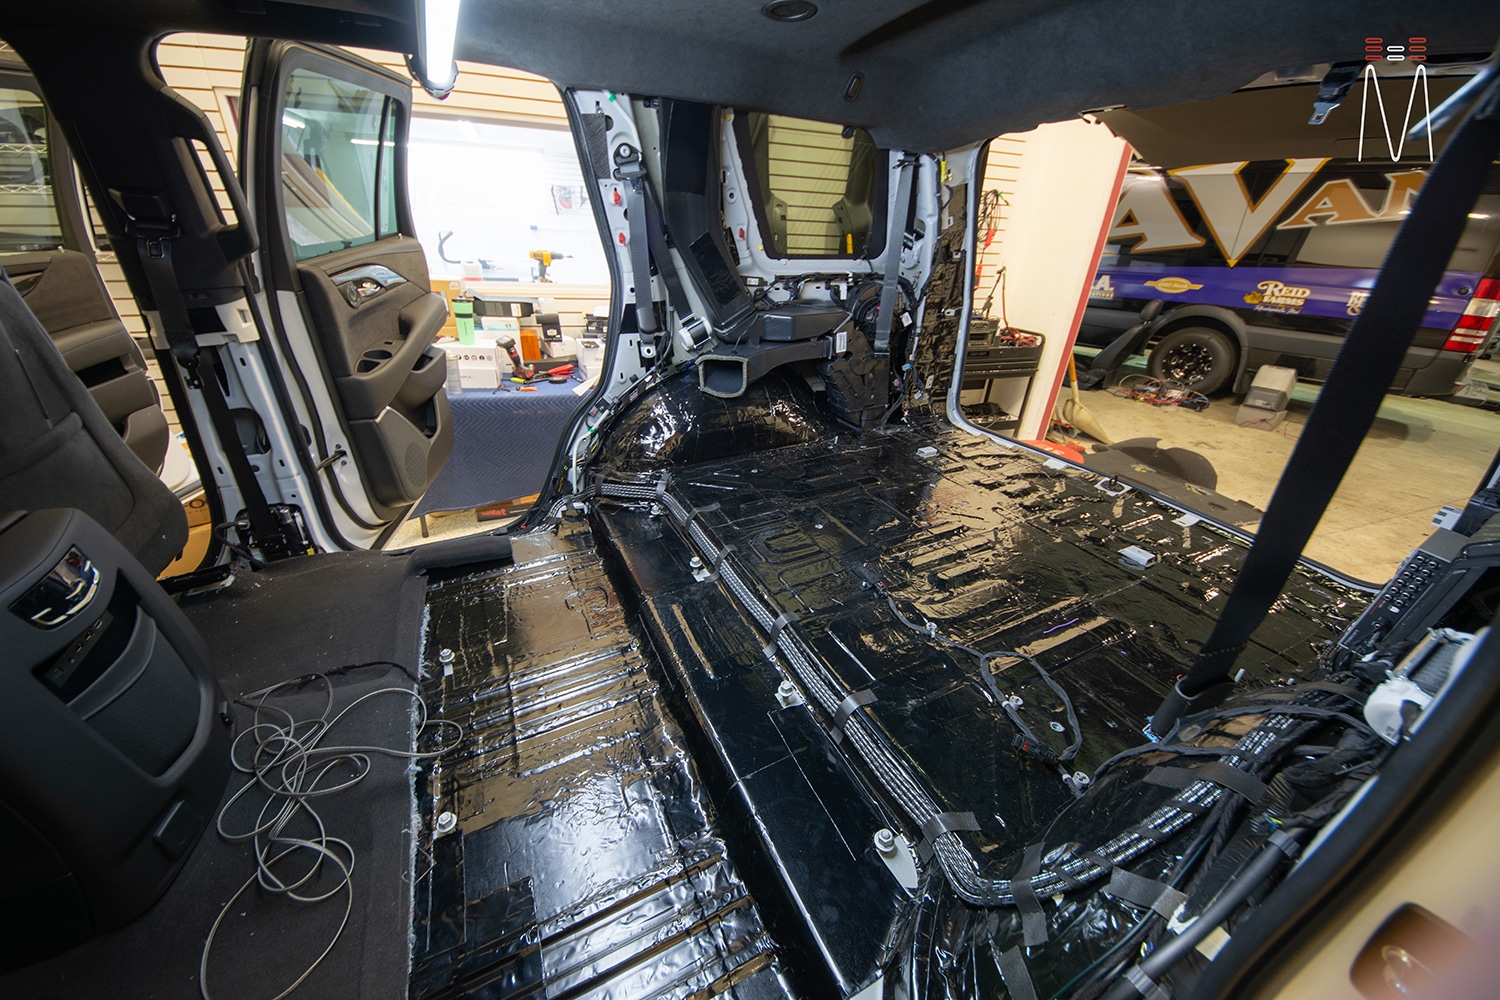
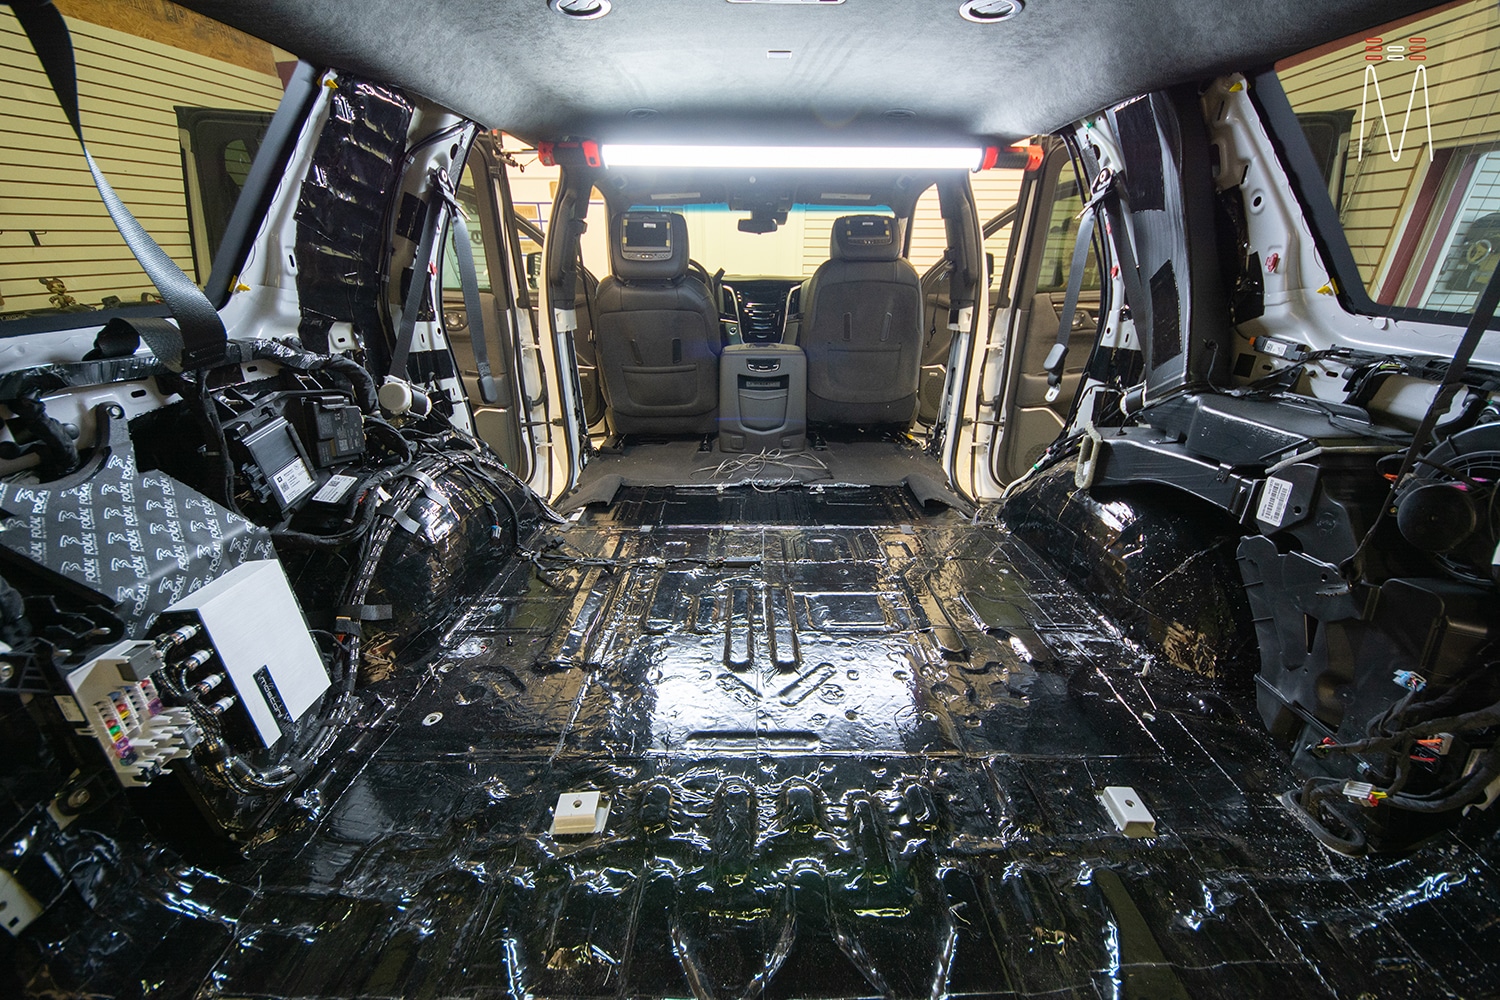
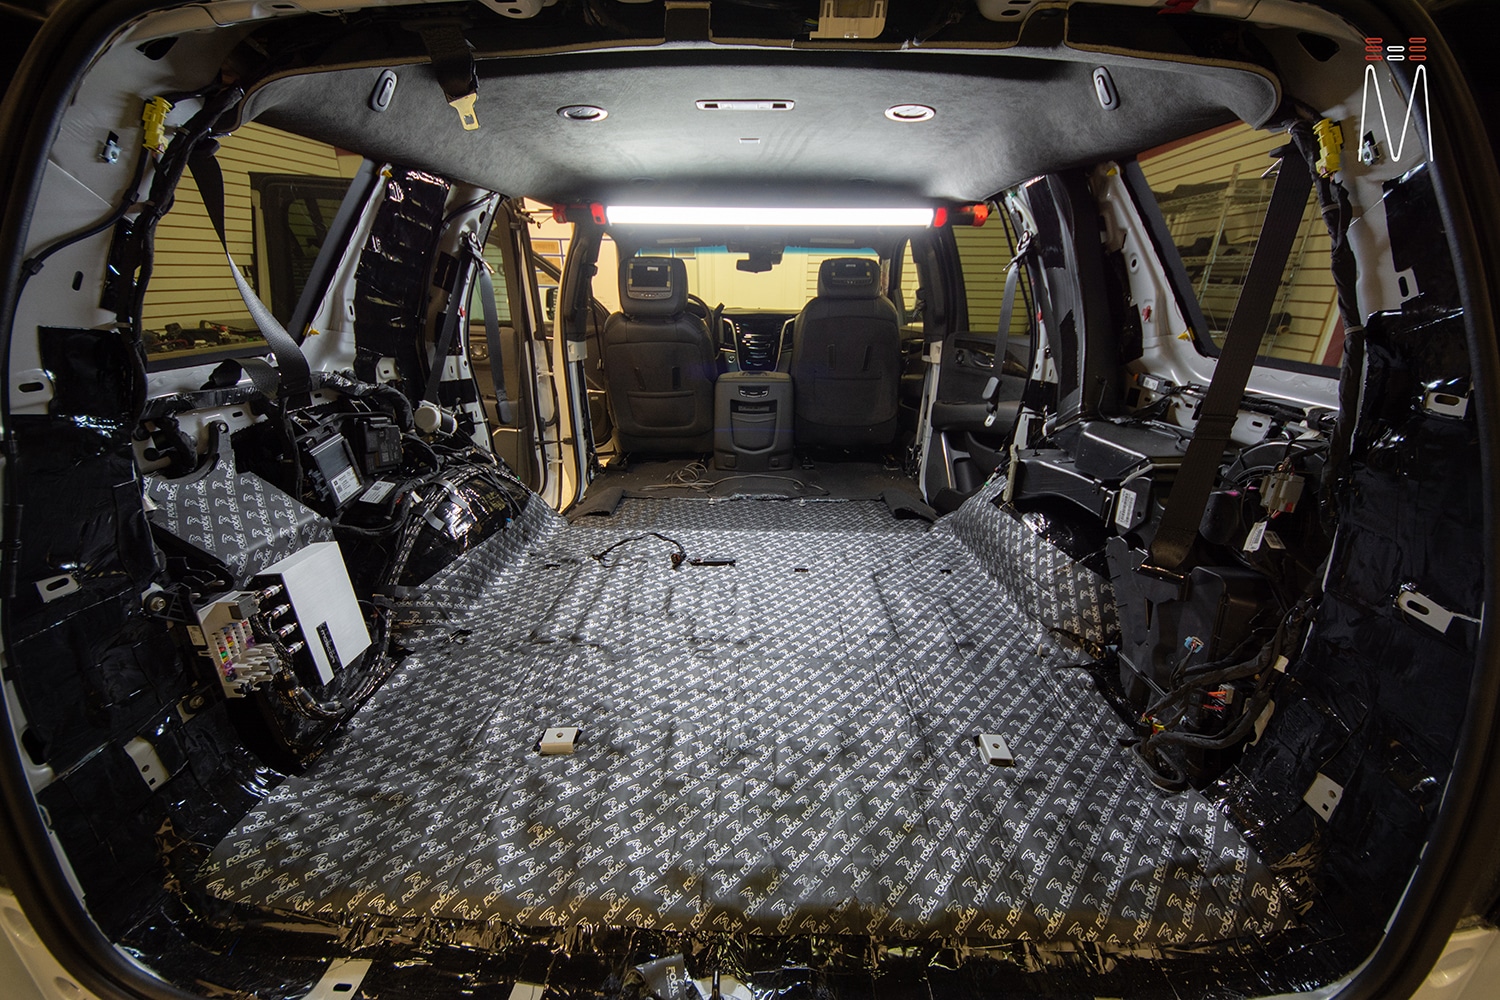
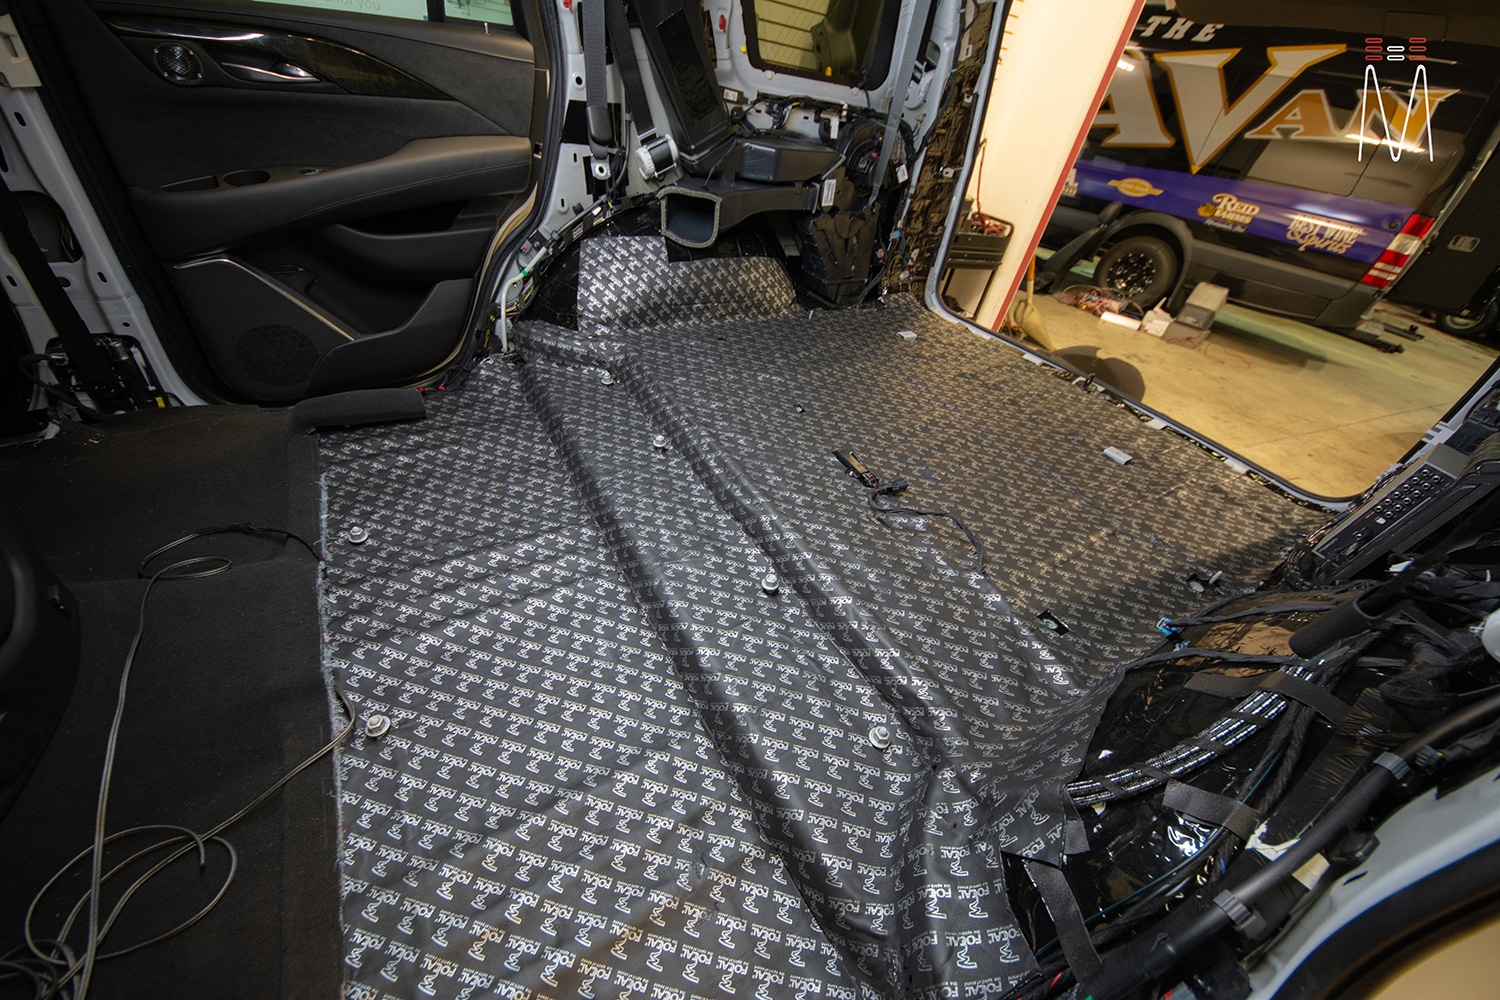
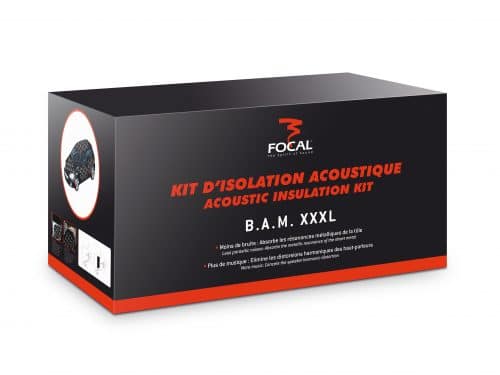
Upon the finishing work, the entire entire was removed from the vehicle and a full layer of Hushmat covered every inch of metal within the car. Then, a full layer of Focal BAMXXL was used to cover the Hushmat. Focal BAM was also used to back every single plastic panel to acoustically treat it before reassembly.
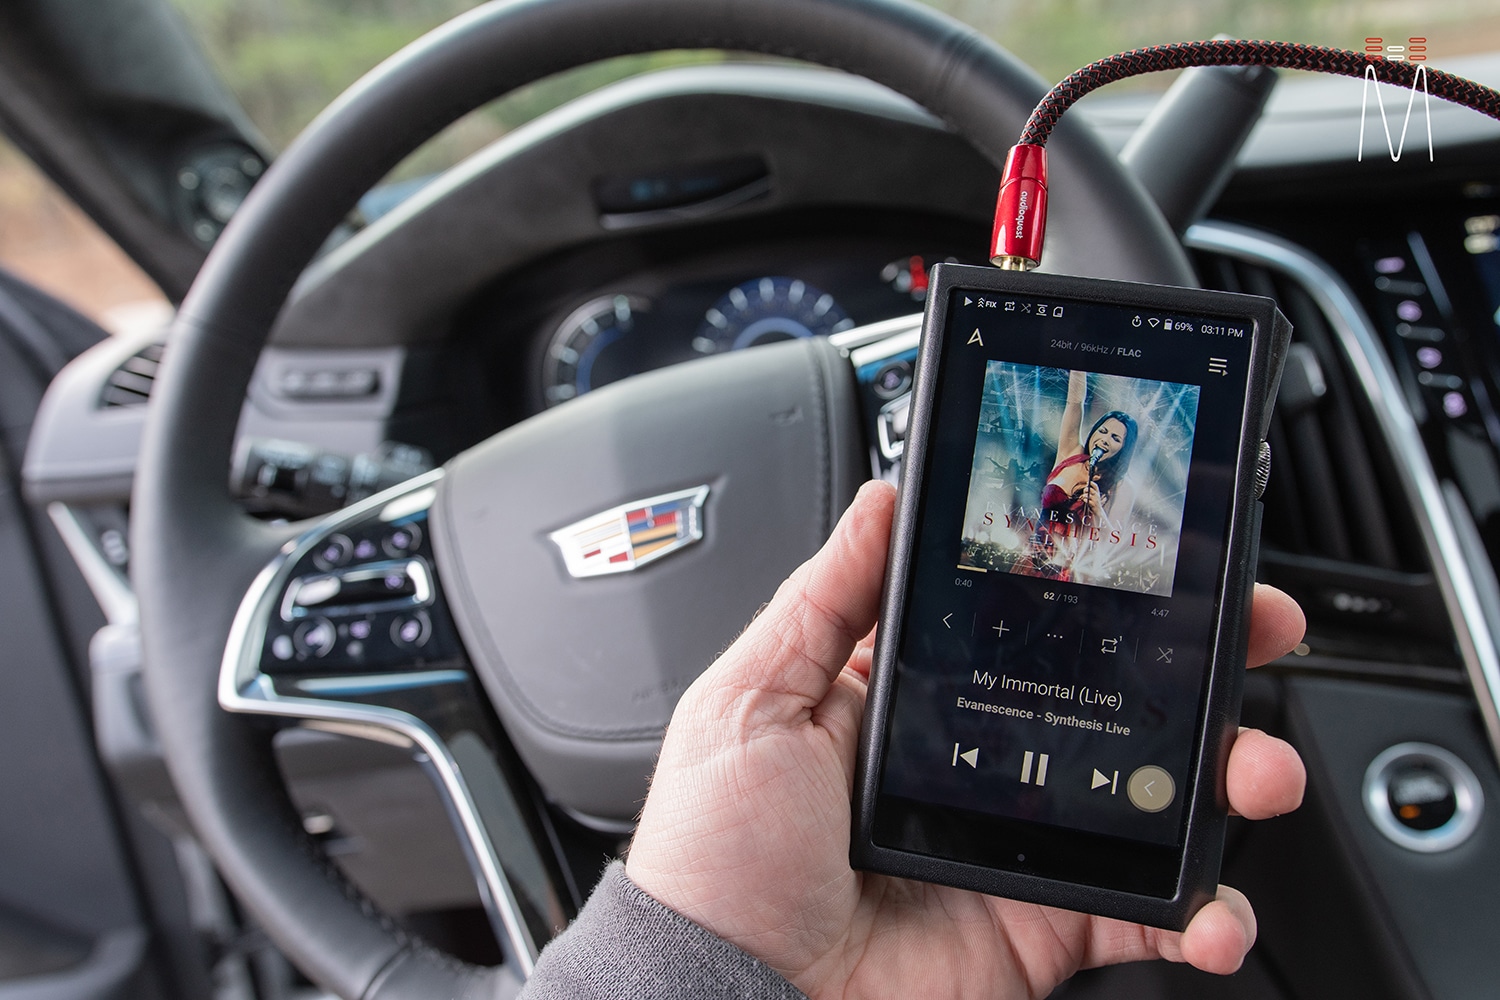
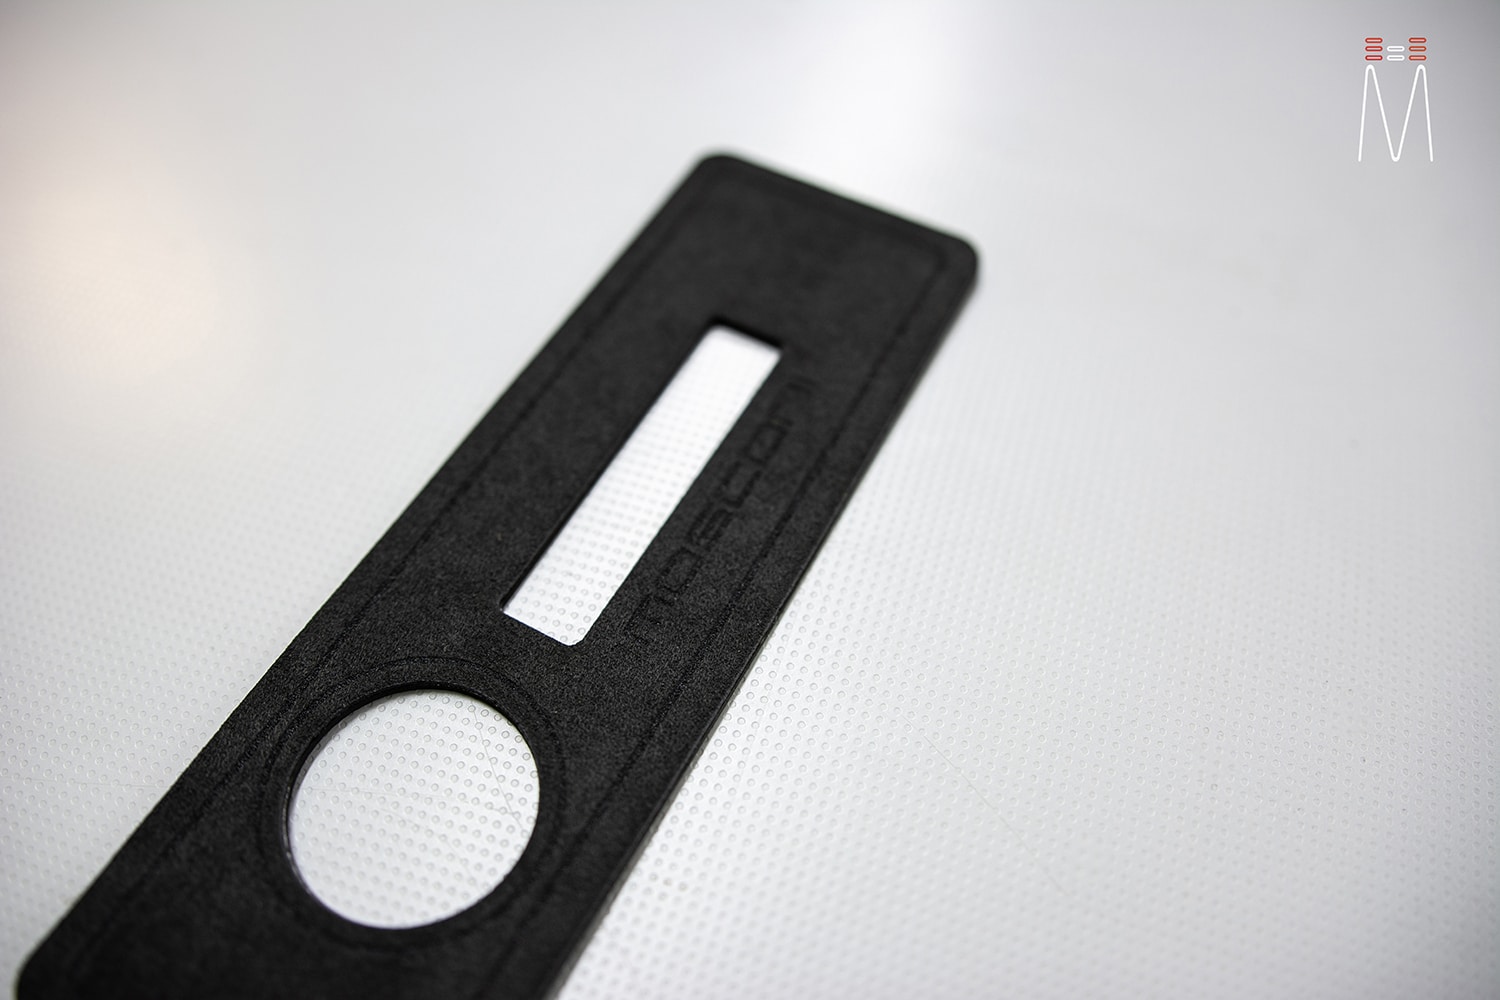
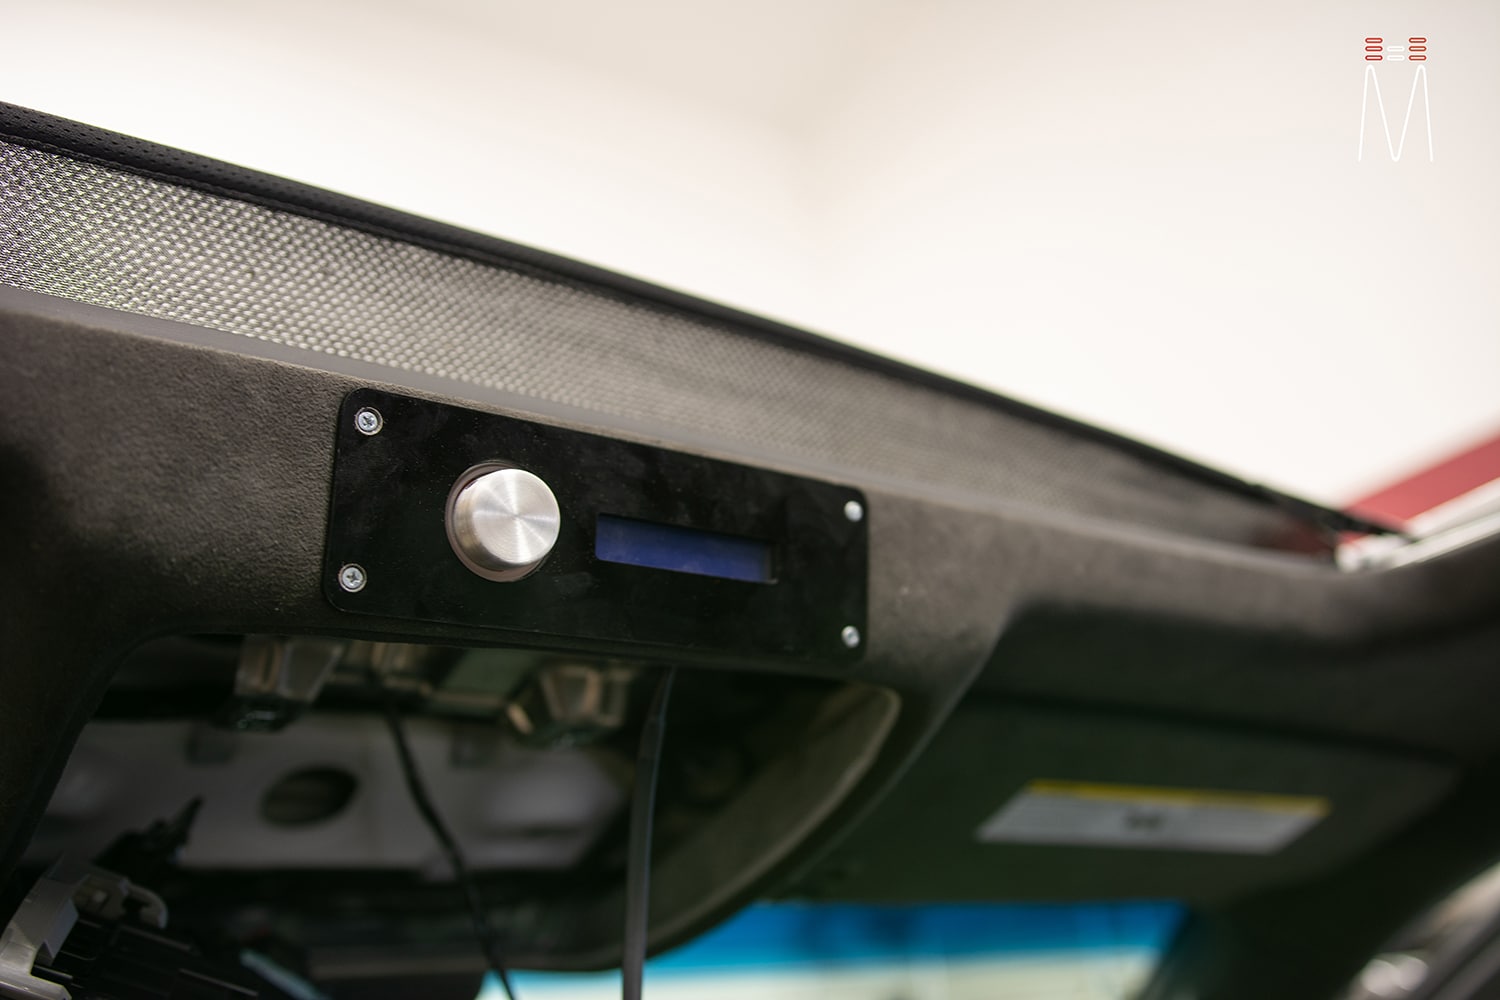
All of the audio signal feeds to a Mosconi 8to12 Aerospace DSP. This is located behind the removable panel in the trunk that would otherwise gain access to the jack. The vehicle was setup with 4 separate presets. Preset 1 gives access to the OEM radio and features in which a perfect signal was obtained using a NavTV ZEN module. This gives full range, unclipped, analog or digital outputs to our DSP. Preset 2 gives access to the uses of the Mosconi AMAS96 BT module. This gives the customer the ability to pair his phone quickly to the DSP using a high quality Bluetooth chipset for maximum Bluetooth quality. In this mode, he can essentially be connected to the AMAS and OEM radio at the same time. This gives him the ability to have album art and information display on his factory radio, all while sending the audio signal directly to the DSP. Preset 3 gives access to an analog input for our Astell and Kern SP2000 DAP. This is a hand held player with one job, to break down the digital to analog conversion in which the most common devices (phones) do not. Having a built in high end Dual DAC (one for the left channel and one for the right), it gives you the separation, width and depth that you would typically never get in a common device. Given your installed equipment, a great deal of improvement to the listening experience can be made with the device. The Mosconi controller was mounted within the headliner. An acrylic mount was made and skinned in Alcantara suede to match the front of the controller. This made it blend right into the headliner while still retaining the appearance of the controller design.
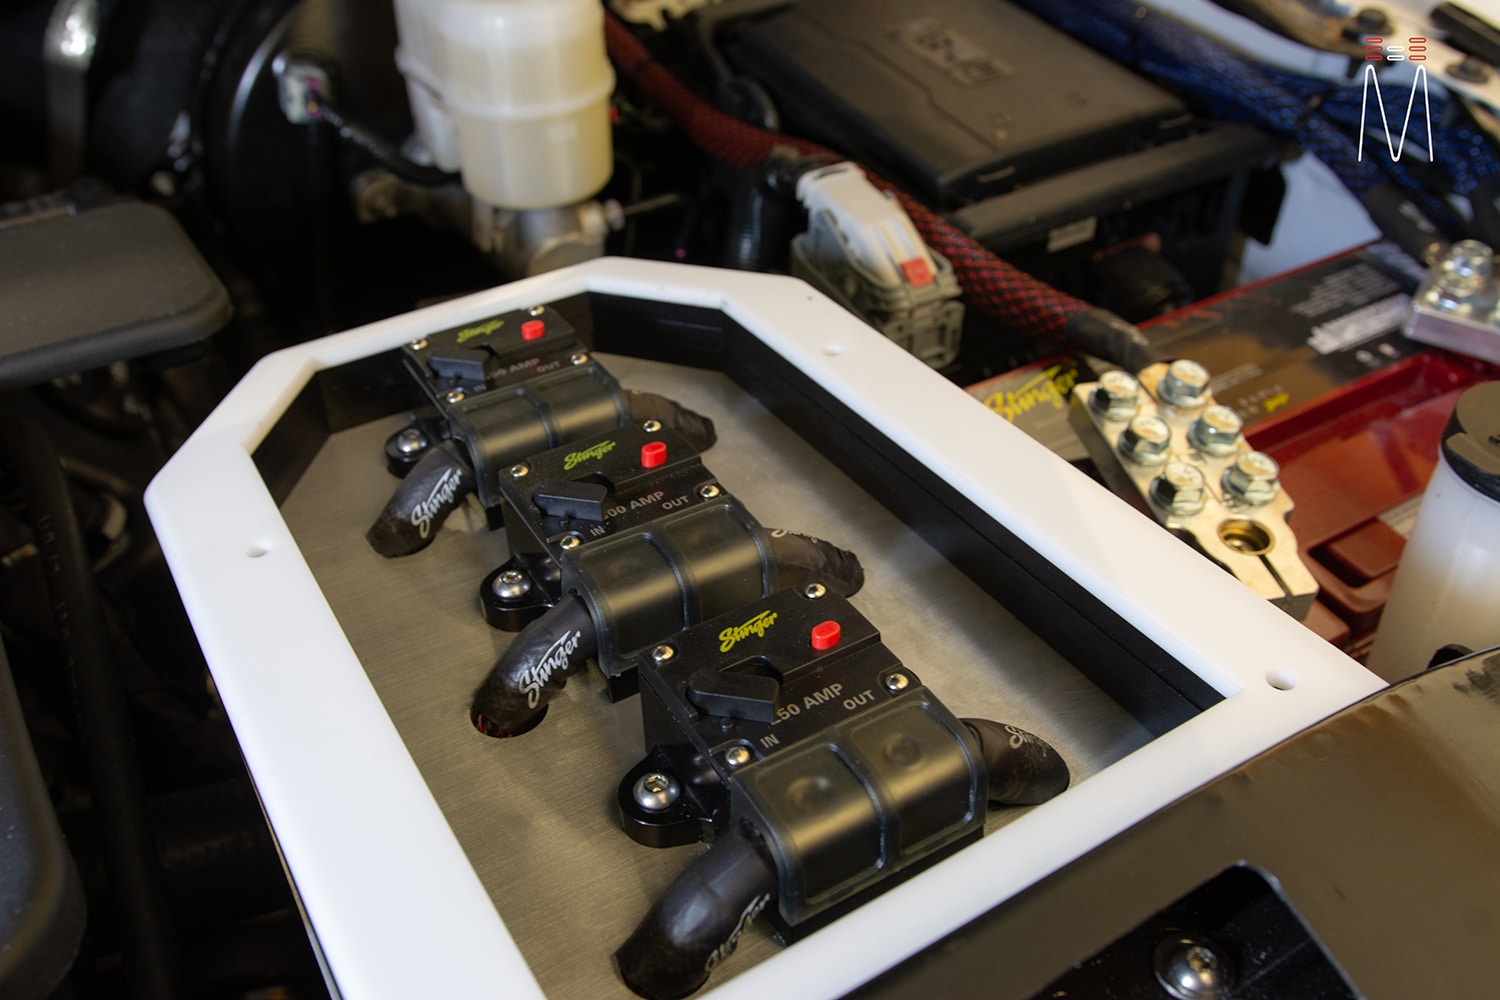
For the power supply upgrade, a Mechman 370A high output alternator was installed to deliver maximum performance to our equipment. The OEM battery was replaced with an AGM Stinger battery. An auxiliary AGM Stinger battery was installed as a secondary power source. All under hood power / ground couple was upgraded to multiple runs of 0g to ensure the best power flow. Finally, an aluminum stacked enclosure (over-engineering at its best) was made to house all three system main circuit breakers.
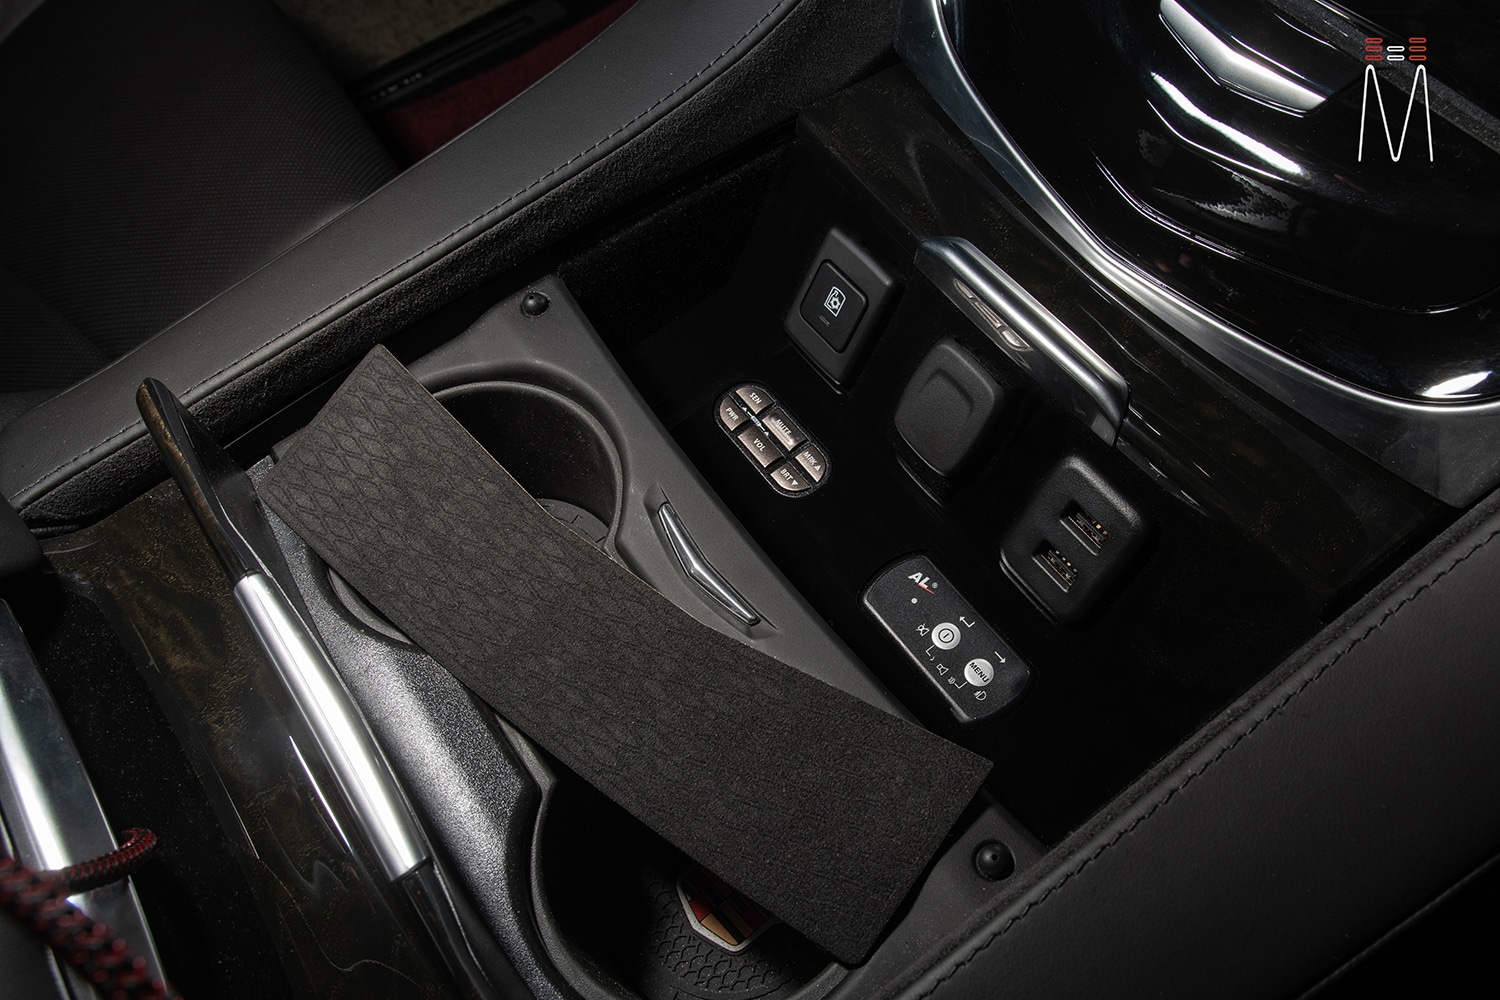
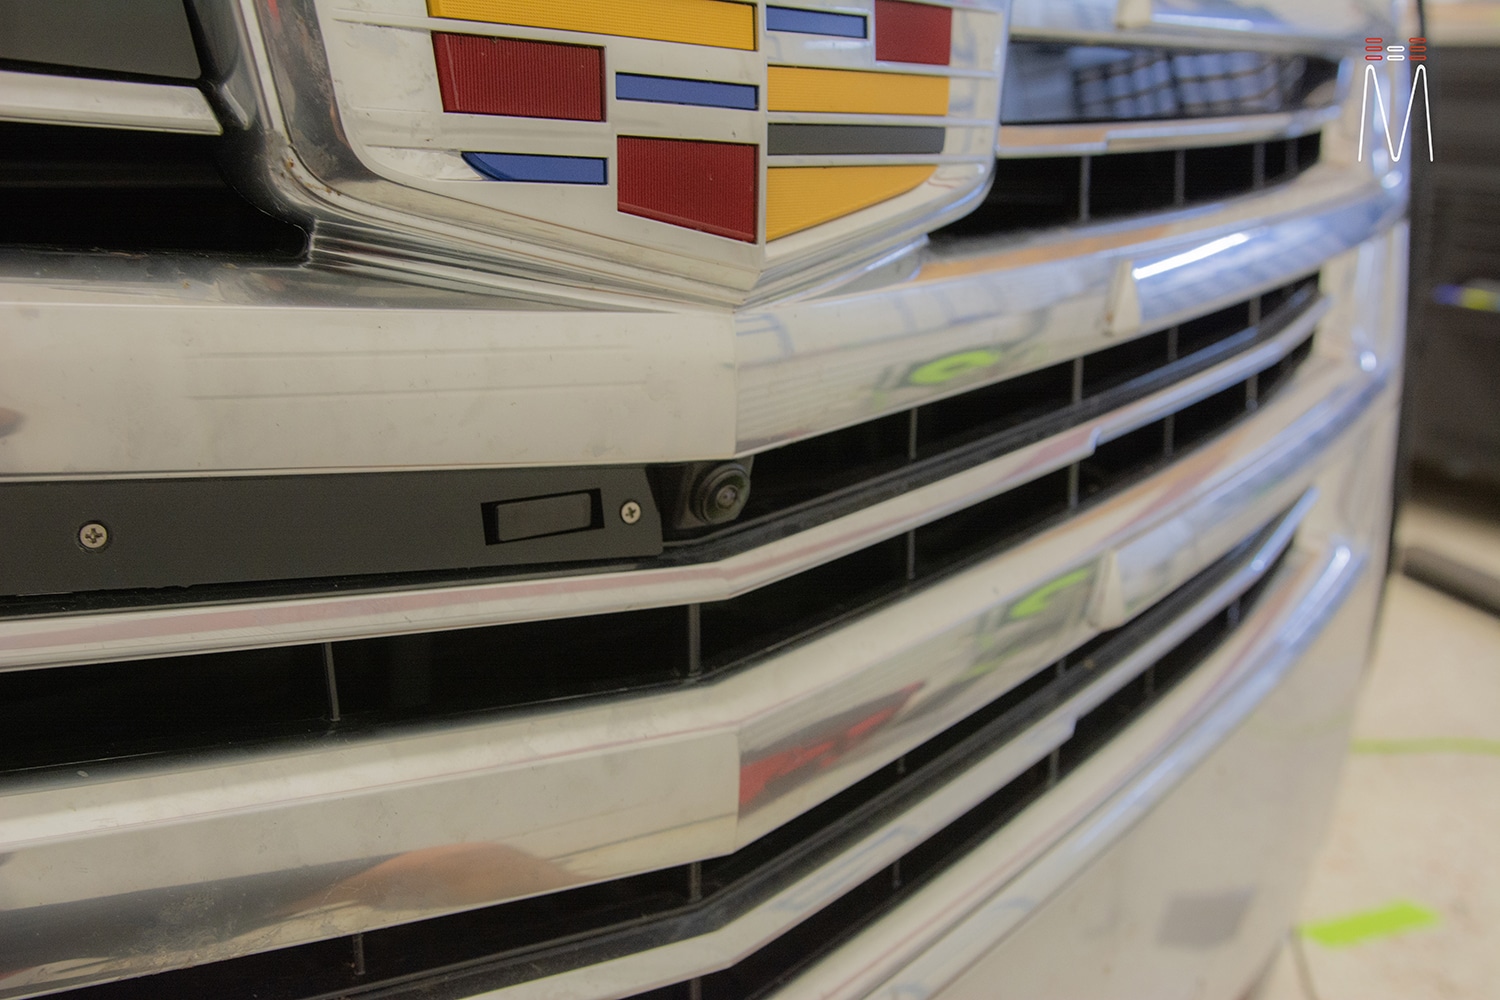
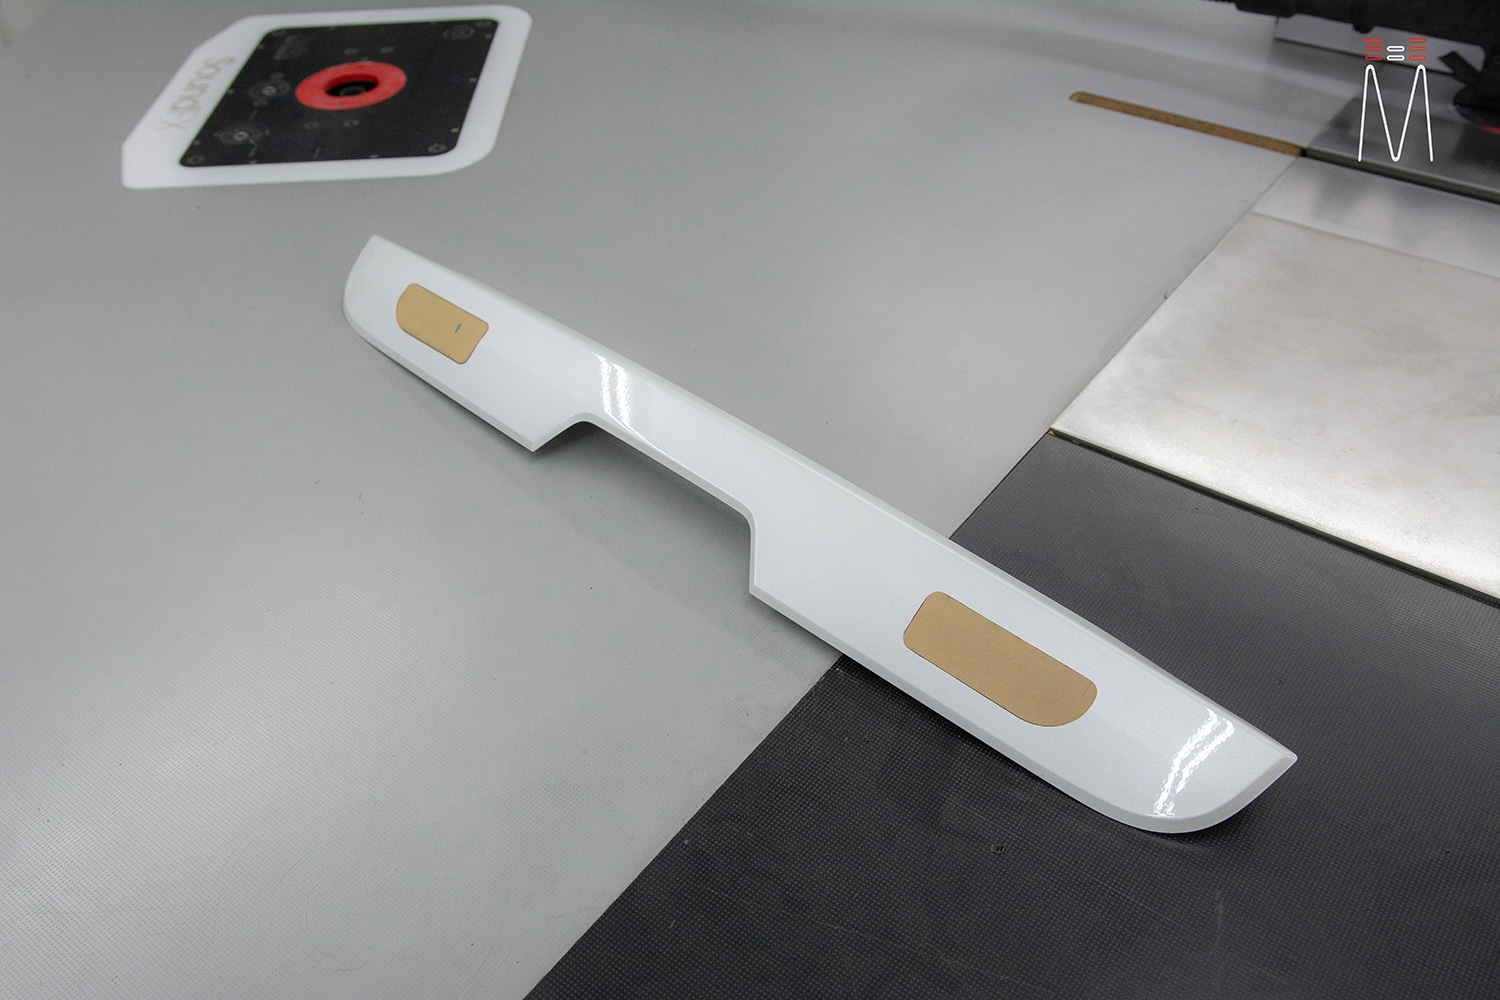
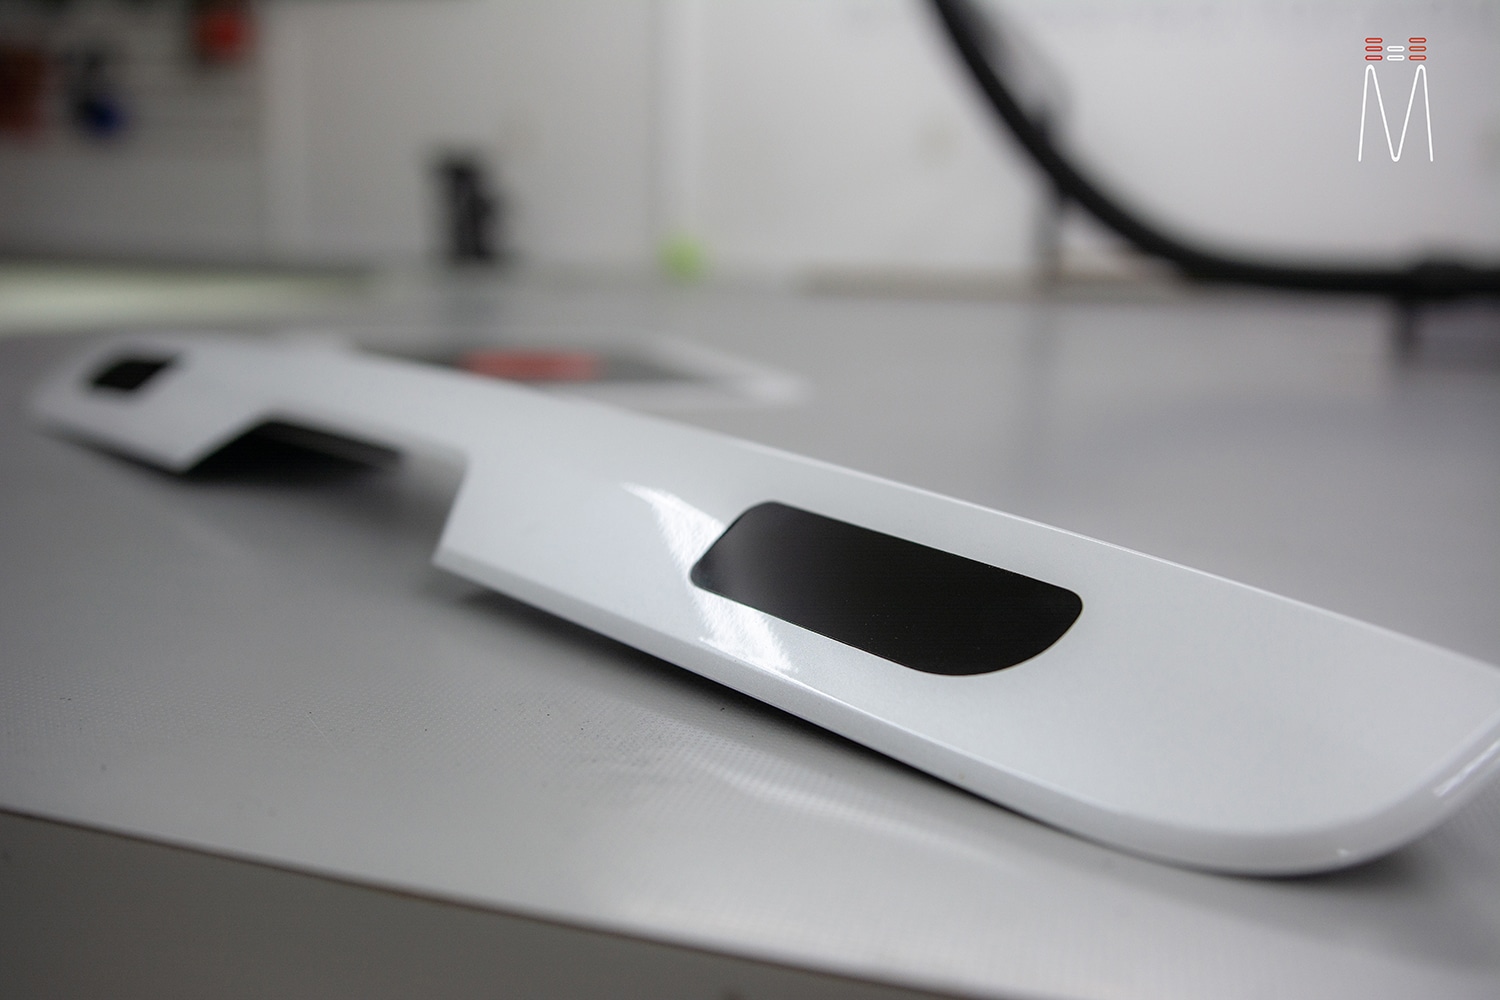
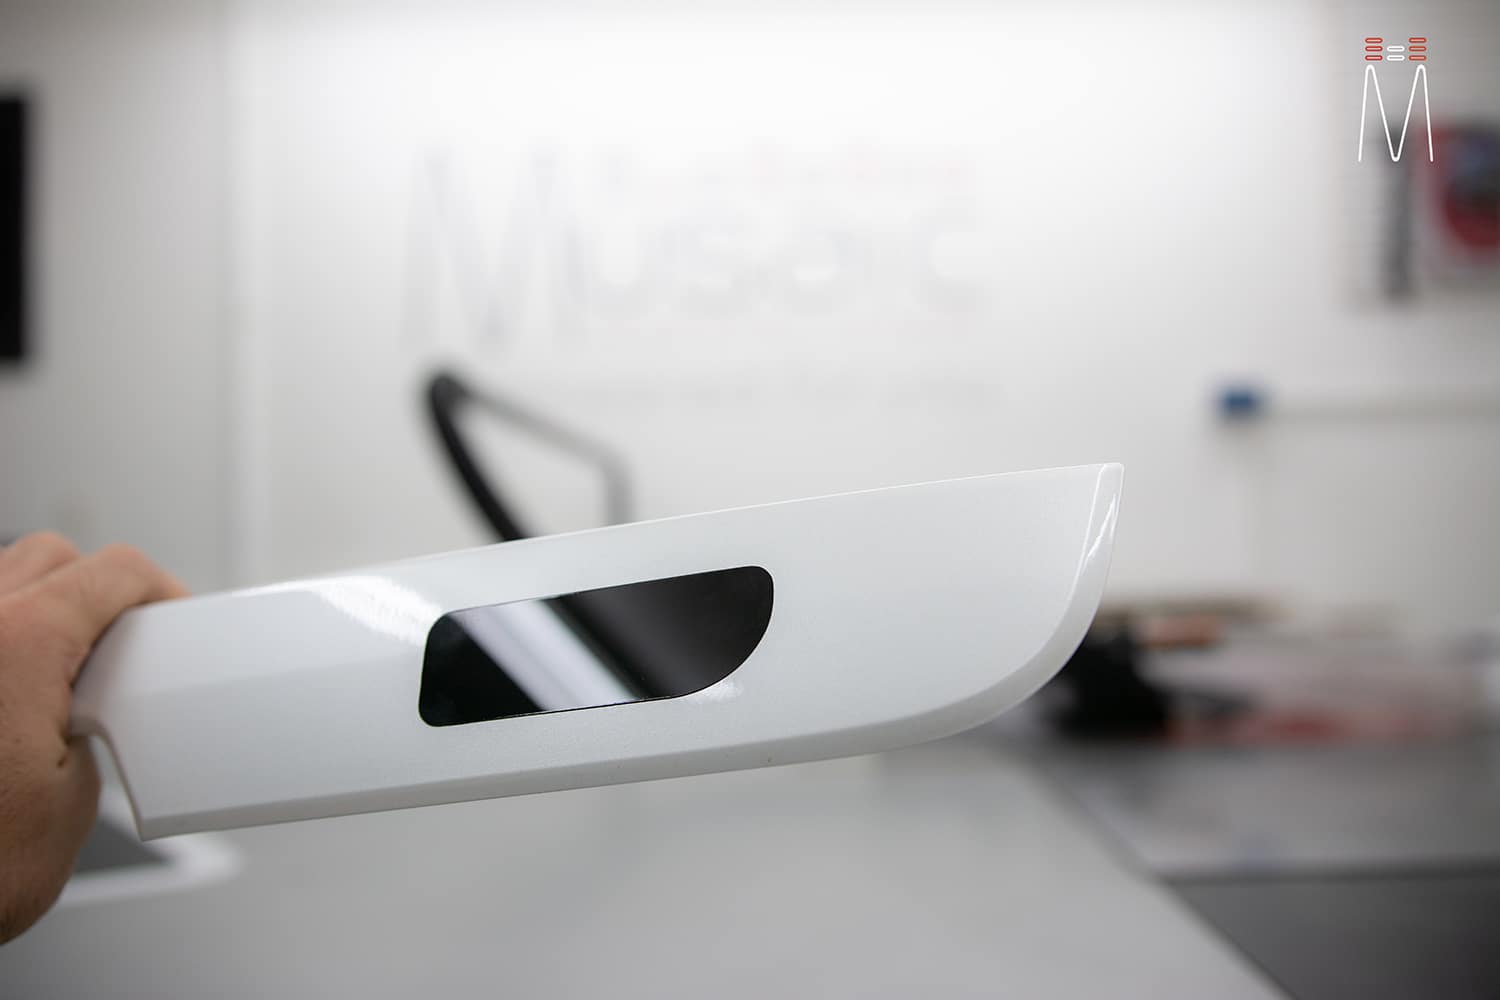
To complete the build, an Escort MaxCi (Radar) and AL Priority (Laser) defense system was installed. We fabricated a display right above the gauge cluster to house the Escort display. It resets right behind a smoked black acrylic window which sits flush in a custom Alcantara suede panel. Both controllers can be found under the front retractable coin tray. A new insert was made to cover both of the controllers when not in use. Three front AL Priority diffusers were “stealthed” into the front grille. This includes two regular and one TX. The two rear diffusers were fabricated to be house into the OEM hatch handle. A jig was made to router the plastic that way we could load in a perfect fitting piece of acrylic. The gives a seamless integration without having to repaint the factory handle. Finally, a speaker adapter was made to load into the OEM dash mid location. This would house the AL Priority system LED. When giving you alerts, it will reflect off the windshield right next to the heads up display giving you a totally integrated approach.
When all said and done, there was no detail left behind. The amount of mid-bass mixed with the potential of the subwoofers, gives you an absolutely insanely amount of believable punch from the dashboard. That tied with the realism of Focal Utopia M mid and tweeter, as well as a perfect image, gives one of the most believable cars I have ever sat in. I am thrilled for the customer to get his dream car, but extremely sad that this had to leave the shop. On to the next one. “


